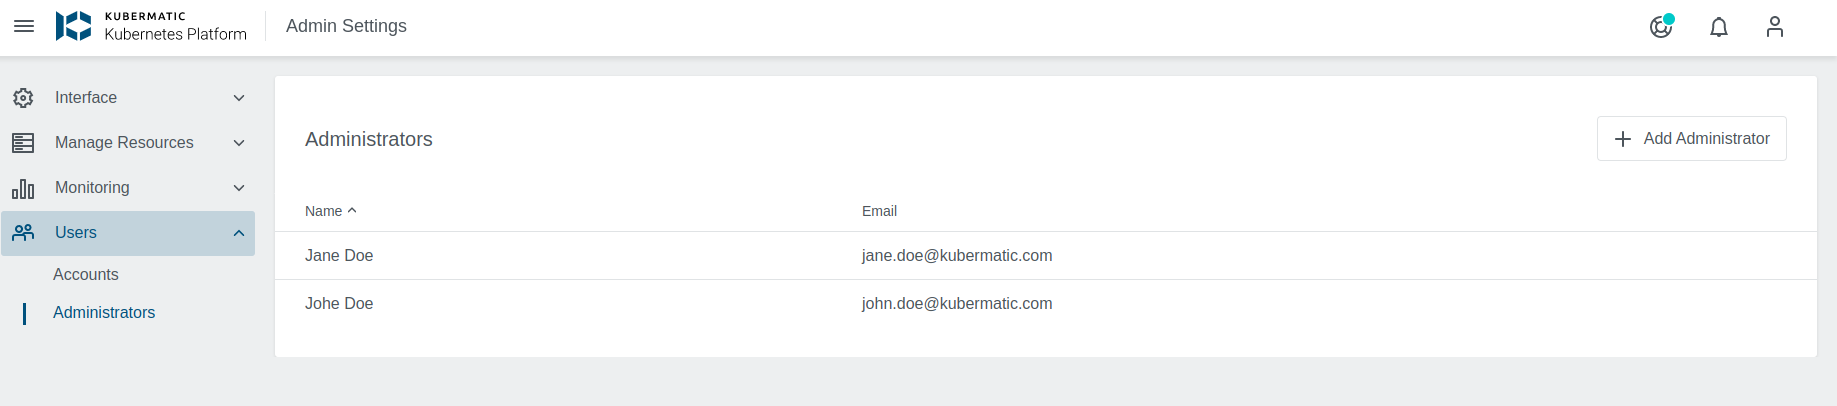
Administrators view in the Admin Panel allows adding and deleting administrator rights to the users.
Adding Administrators
Administrators can be added after clicking on the plus icon in the top right corner of the Administrators view.
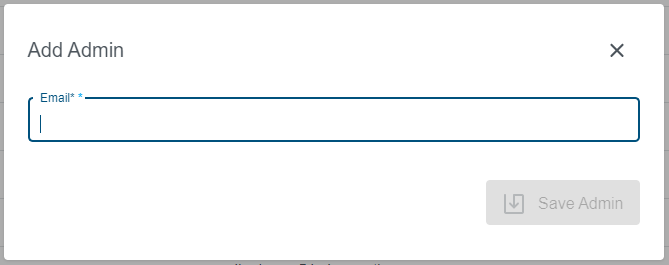
Email address is the only field that is available in the dialog. After providing an email and confirming the save action, provided user should be able to access and use the Admin Panel.
Deleting Administrators
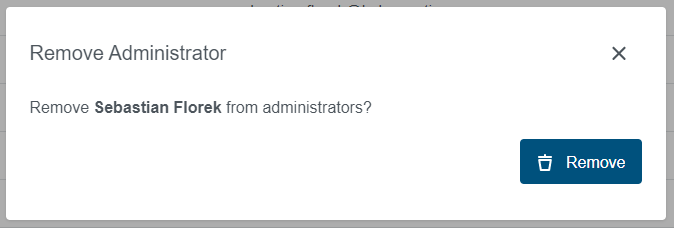
Administrator rights can be taken away after clicking on the trash icon that appears after putting mouse over one of the rows with administrators. Please note, that it is impossible to take away the rights from current user.
Admin Groups
Instead of promoting every user by hand, you can nominate one or more of your identity provider groups as admin groups. Members of those groups are granted administrator privileges automatically the next time they log in, and they lose the privileges again once the group is removed from the setting or the user leaves the group.
Admin Groups are available in the Enterprise Edition only.
Configuring Admin Groups
The setting lives on the Defaults page of the Admin Panel. Add the group names that should receive administrator privileges.
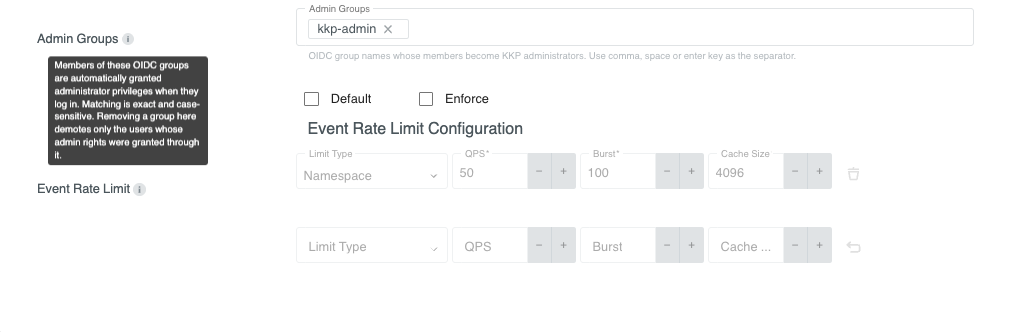
The names you enter here have to match the groups that your OIDC provider actually sends to KKP. The match is exact and
case-sensitive, so Admins and admins are two different groups. A name that no upstream group corresponds to simply
never matches anyone.
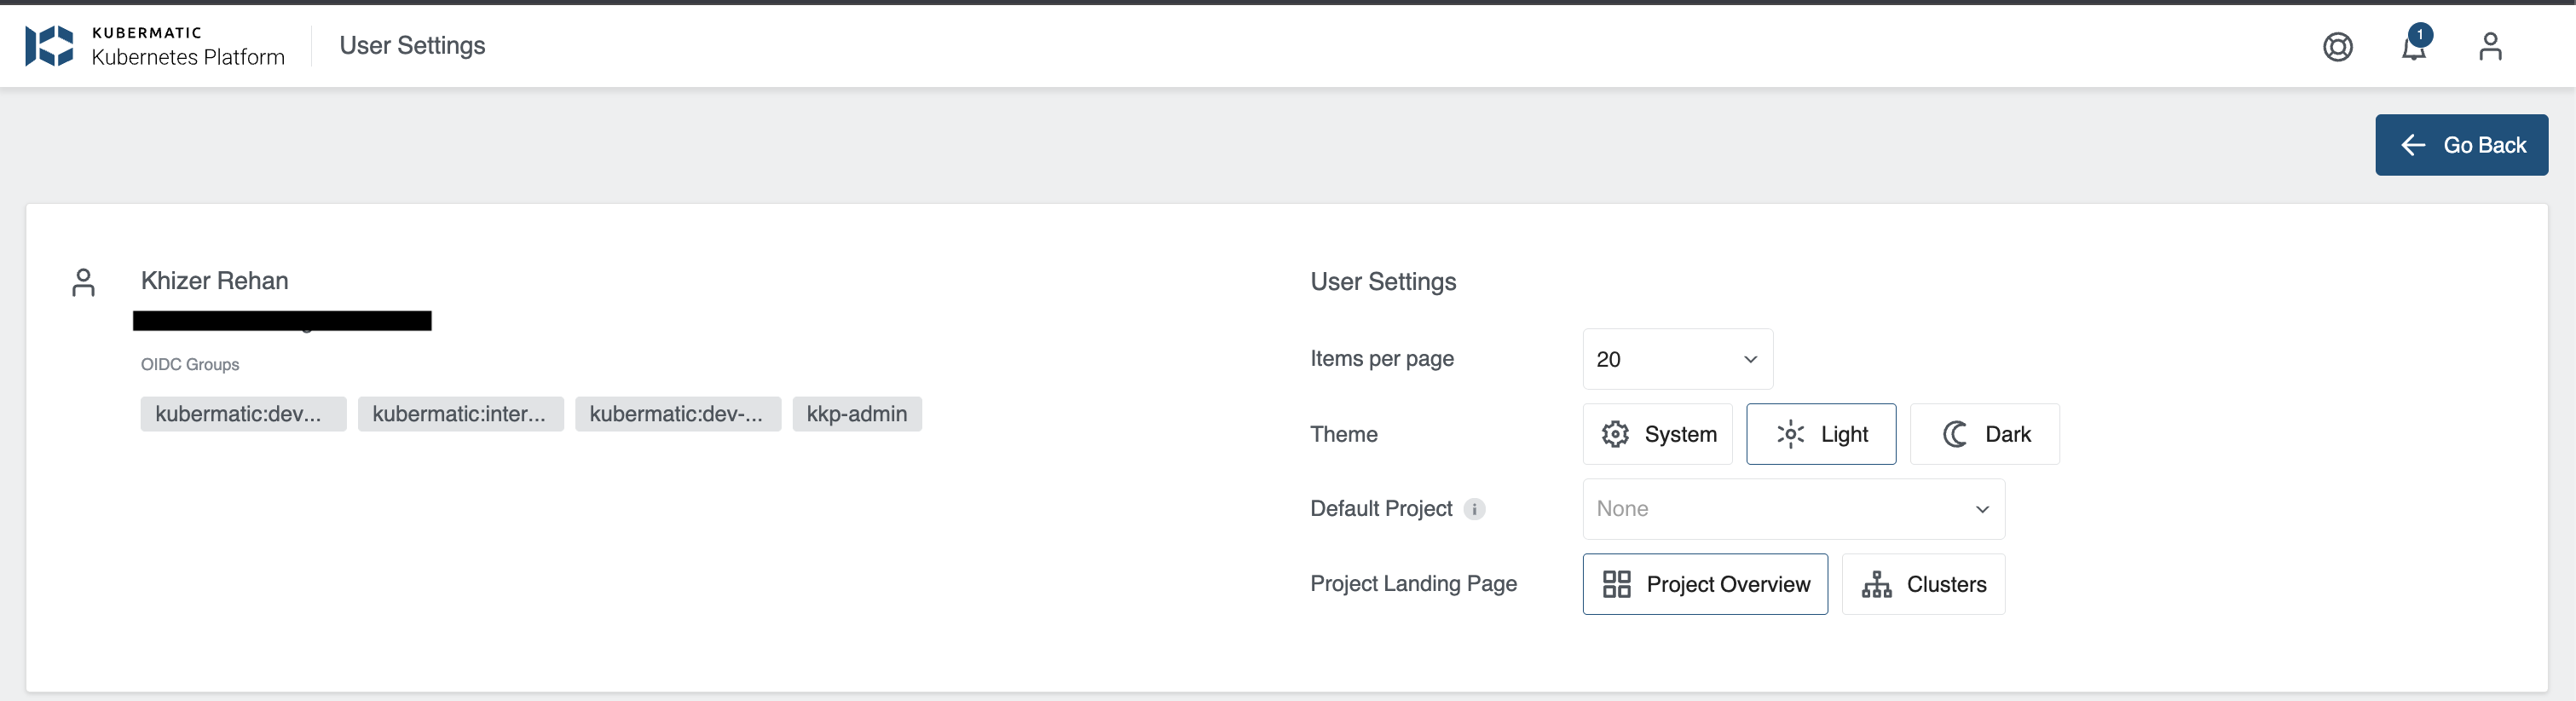
The groups a user brings along from the identity provider are shown on the User Accounts page, which makes it easy to pick the right group name.
Group-Granted Administrators
Administrators who received their privileges through a group are marked with a label in the Administrators list. Hovering over the label shows which group granted the privileges. These entries cannot be deleted from the list directly: to revoke the privileges, remove the group from the Admin Groups setting.

Some users are deliberately left out of this mechanism:
- Users who are already administrators keep the privileges they were given manually. They are never labelled as group-granted, and removing a group from the setting never takes their privileges away.
- Global Viewers are never promoted, because a user cannot be an administrator and a Global Viewer at the same time. If a group-granted administrator is later turned into a Global Viewer, the group label is dropped as well.
- Service accounts are ignored entirely, even if they carry a matching group.