This guide targets Cluster Admins and details how KKP Applications can be integrated into a cluster. For more details on Applications, please refer to our Applications Primer.
Managing Applications via the UI
Adding Applications to an Existing Cluster
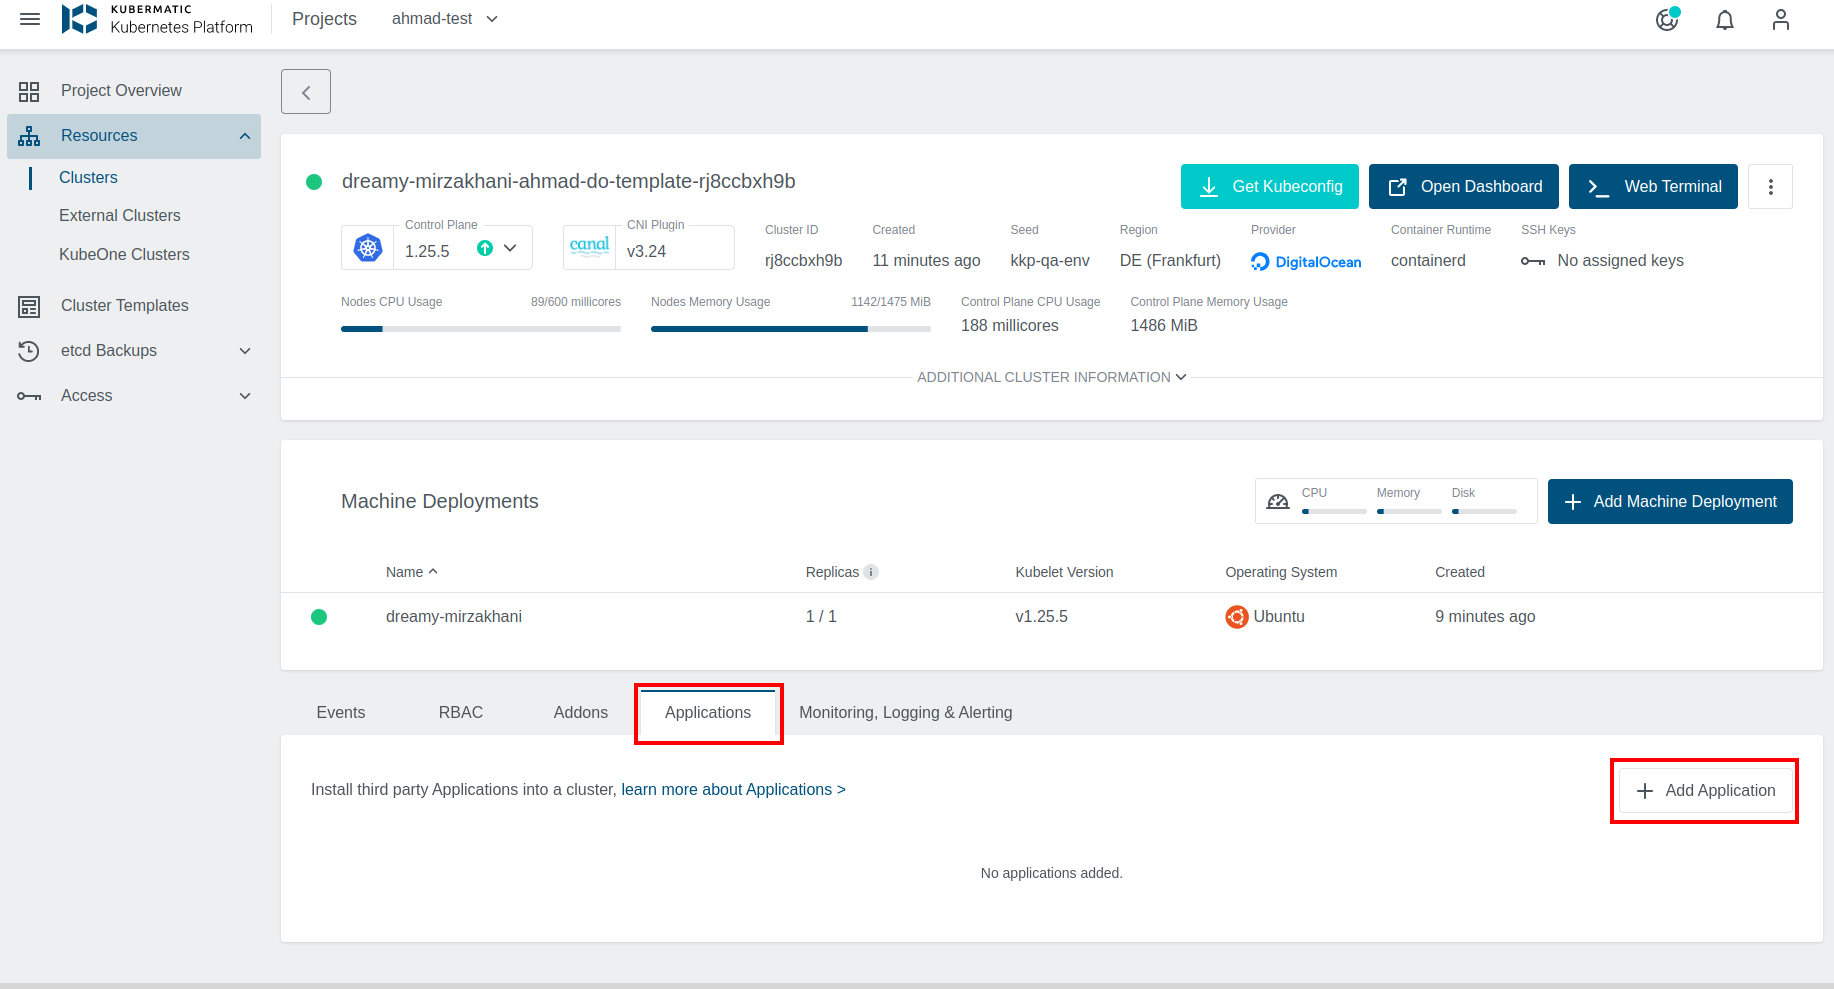
All App functionality resides in the Applications Tab, from which a new Application can be added.
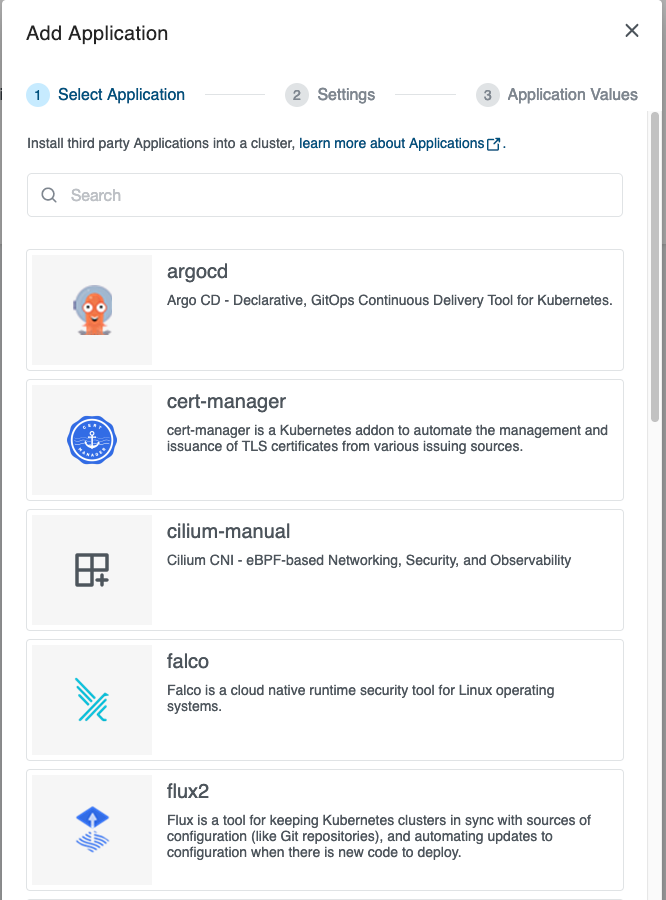
An application catalog will be displayed. If no Applications are being displayed, please contact your KKP administrator to create an Application Catalog
After choosing an Application, its installation can be further customized.
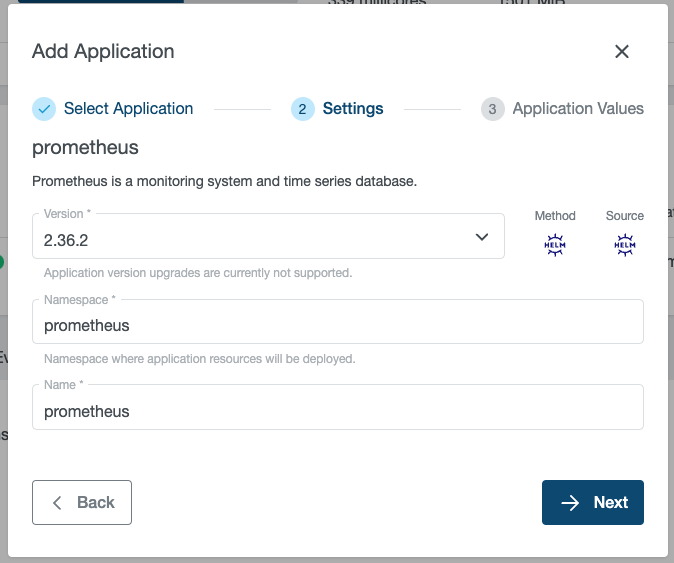
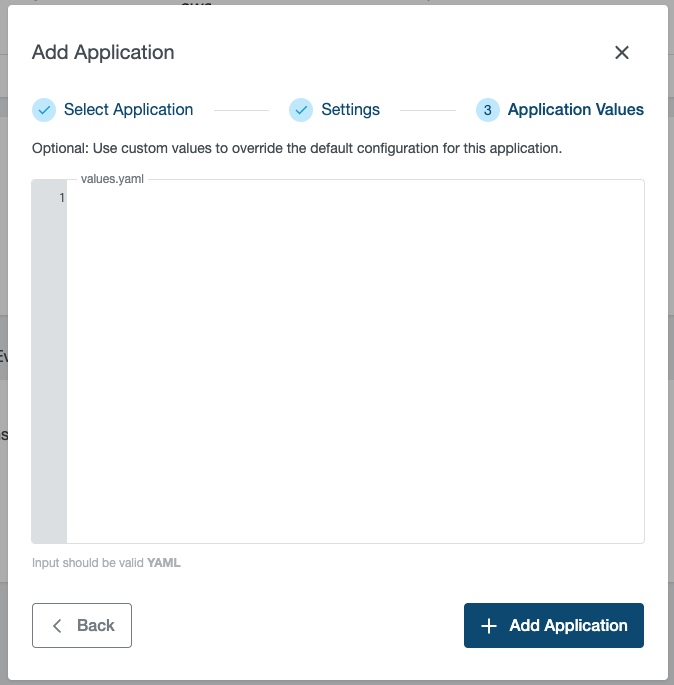
The following can be customized:
Version-> The version of the Application that should be displayedNamespace-> The namespace the workload should be installed in. If the namespace does not exist, KKP will automatically create itName-> The name of the ApplicationValues-> Value override for Installation. This will be left-merged with the default values of your Application.
The combination of Namespace and Name must be unique within your cluster.
After you have selected your customizations, the installation-status of your Application can be viewed in the Applications Tab.

Creating a New Cluster With Applications
In the cluster creation wizard, you can select applications to install into your cluster. KKP will automatically install your selection after the infrastructure is provisioned and the cluster is ready.
Applications can be added in the Applications Section of the wizard.
For a detailed flow and explanation of all customizations see the “Adding Applications to an Existing Cluster” section of this guide.

Afterwards, you can track the installation progress in the Applications Tab.

Storing Applications in a ClusterTemplate
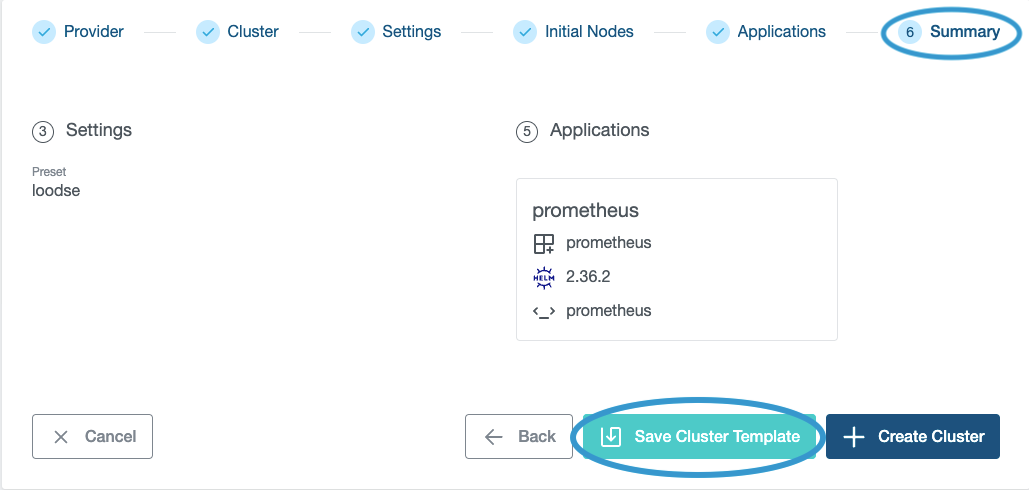
ApplicationInstallations can also be added to ClusterTemplates in order to reuse them across multiple clusters. In order to do so, select the Save Cluster Template option during the Summary step of the cluster creation wizard.
Managing Applications via GitOps
Starting with KKP 2.25, the valuesBlock field has been introduced, which retains comments. The old values field is deprecated.
KKP Applications are managed via the ApplicationInstallation custom Kubernetes resource.
ApplicationInstallations reside in the user-cluster and represent a desired state of an Application.
For a full reference of all supported fields, please check the ApplicationInstallation Reference
# Example of an ApplicationInstallation
apiVersion: apps.kubermatic.k8c.io/v1
kind: ApplicationInstallation
metadata:
  name: prometheus
  namespace: prometheus
spec:
  applicationRef:
    name: prometheus
    version: 2.36.2
  namespace:
    create: true
    name: prometheus
  valuesBlock: |
    alertmanager:
      enabled: false
After creating an ApplicationInstallation, you can directly apply it into the desired cluster using kubectl. This will trigger a controller within KKP, which will automatically install your Application. We recommend to apply the ApplicationInstallation to the same namespace as the workload and configuration you want to deploy.
kubectl apply -n <namespace> -f <your-appinstall>
You can check the progress of your installation in status.conditions.
kubectl -n <namespace> get applicationinstallation <name> -o jsonpath='{.status.conditions}'
There are 2 conditions:
ManifestsRetrieved-> application’s source has been correctly downloadedReady-> application has been correctly installed or upgraded
Additionally when using helm, the field status.helmRelease will contain additional information.
kubectl -n <namespace> get applicationinstallation <name> -o jsonpath='{.status.helmRelease}'