Open Policy Agent (OPA) is an open-source, general-purpose policy engine that unifies policy enforcement across the stack. We are integrating it with using Gatekeeper, which is an OPA’s Kubernetes-native policy engine. More info about OPA and Gatekeeper can be read from their docs and tutorials.
Admin Panel for OPA Options
As an admin, you will find a few options in the Admin Panel. You can access this panel by clicking on the account icon on the top right and select Admin Panel.
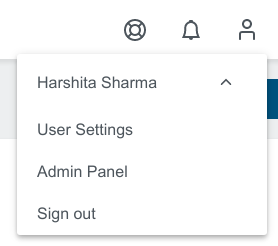
In here you can see the OPA Options with two checkboxes attached.
Enable by Default: Set theOPA Integrationcheckbox on cluster creation to enabled by default.Enforce: Enable to make users unable to edit the checkbox.

The Admin Panel also offers you the possibility to specify Constraint Templates.

Here you navigate to the OPA menu and then to Default Constraints.

Cluster Details View
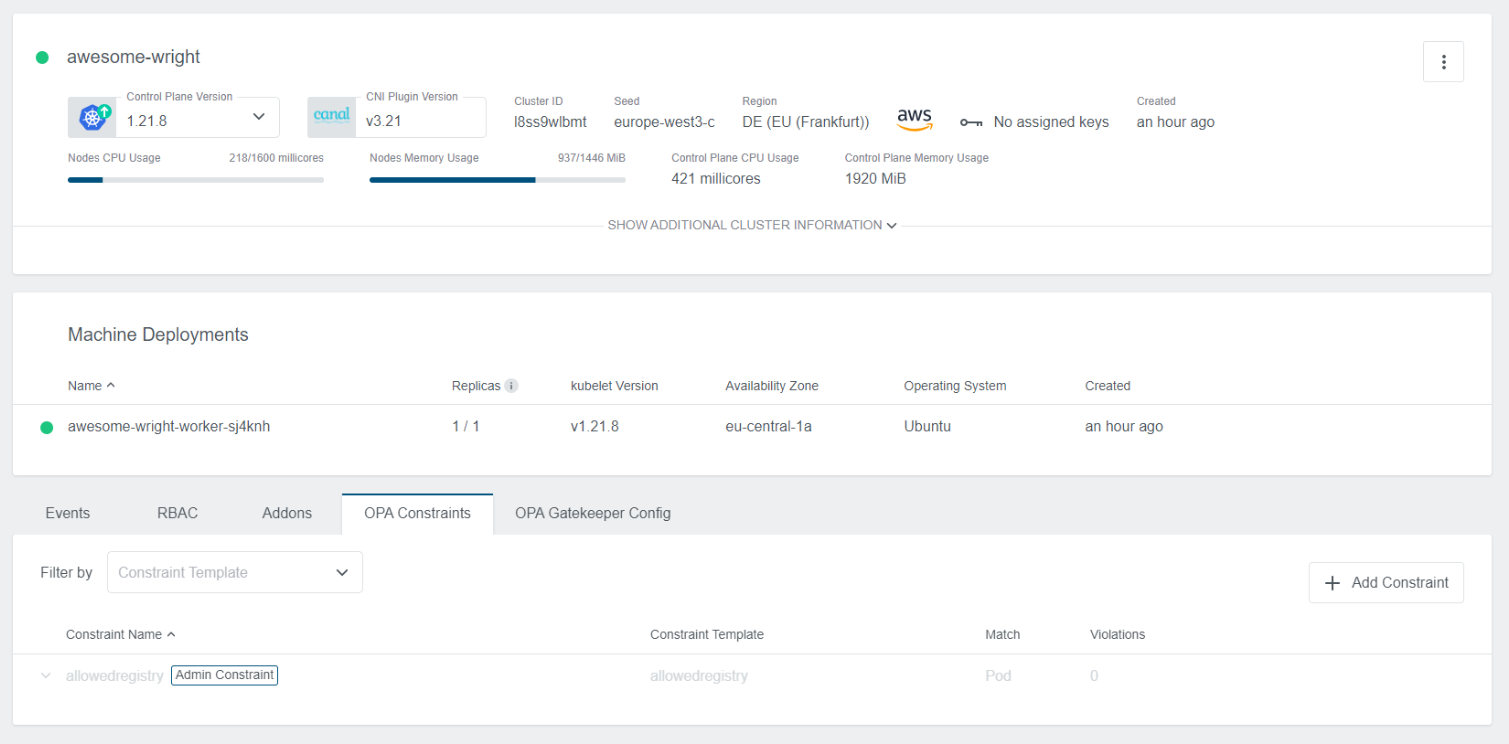
The cluster details view is extended by some more information if OPA is enabled.
OPA Integrationin the top area is indicating if OPA is enabled or not.OPA Gatekeeper ControllerandOPA Gatekeeper Auditprovide information about the status of those controllers.OPA ConstraintsandOPA Gatekeeper Configare added to the tab menu on the bottom. More details are in the following sections.
Activating OPA
To create a new cluster with OPA enabled you only have to enable the OPA Integration checkbox during the cluster creation process. It is placed in Step 2 Cluster and can be enabled by default as mentioned in the Admin Panel for OPA Options section.
If you don’t know how to create a cluster using the Kubermatic Kubernetes Platform follow our Project and cluster management tutorial.

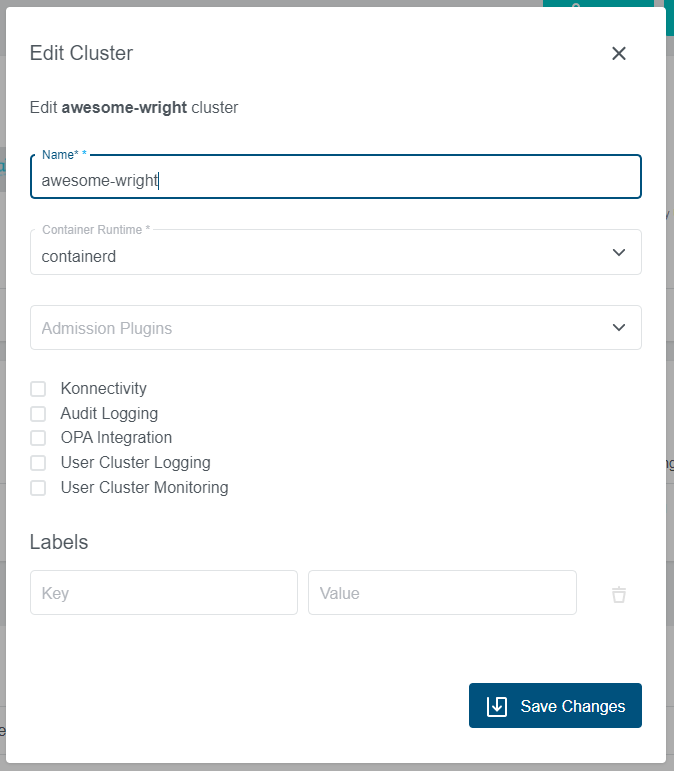
It is also possible to enable - or disable - OPA for an existing cluster. In the cluster detail view simply click on the vertical ellipsis menu and select Edit Cluster.

In the appearing dialog, you can now enable/disable the OPA Integration.
Operating OPA
Constraint Templates
Constraint Templates allow you to declare new Constraints. They are intended to work as a schema for Constraint parameters and enforce their behavior. The Constraint Templates view under OPA menu in Admin Panel allows adding, editing and deleting Constraint Templates.
The Admin Panel also offers you the possibility to specify Constraint Templates.

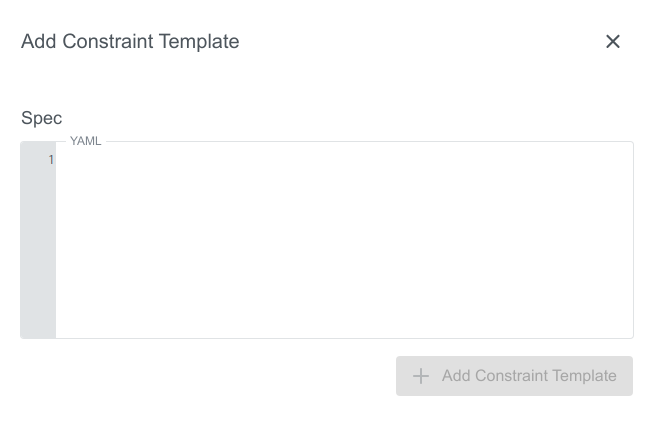
Constraint Templates can be added after clicking on the + Add Constraint Template icon in the top right corner of the view. A new dialog will appear, where you can specify the spec of the template:
Spec is the only field that needs to be filled with a yaml.
The following example requires all labels that are described by the constraint to be present:
crd:
  spec:
    names:
      kind: K8sRequiredLabels
    validation:
      # Schema for the `parameters` field
      openAPIV3Schema:
        properties:
          labels:
            type: array
            items: string
targets:
  - target: admission.k8s.gatekeeper.sh
    rego: |
      package k8srequiredlabels

      violation[{"msg": msg, "details": {"missing_labels": missing}}] {
        provided := {label | input.review.object.metadata.labels[label]}
        required := {label | label := input.parameters.labels[_]}
        missing := required - provided
        count(missing) > 0
        msg := sprintf("you must provide labels: %v", [missing])
      }
Just click on Add Constraint Template to create the constraint template.
Constraint Templates can be edited after clicking on the pencil icon that appears when hovering over one of the rows. The form is identical to the one from creation. In this table you can also delete it if needed.

Constraints
Constraints are the filler for rules that are defined by the constraint templates. Constraints provide the parameters which are used in the Constraint Template rule.
Create Constraint in the Cluster


To add a new constraint click on the + Add Constraint icon on the right. A new dialog will appear, where you can specify the name, the constraint template, and the spec:
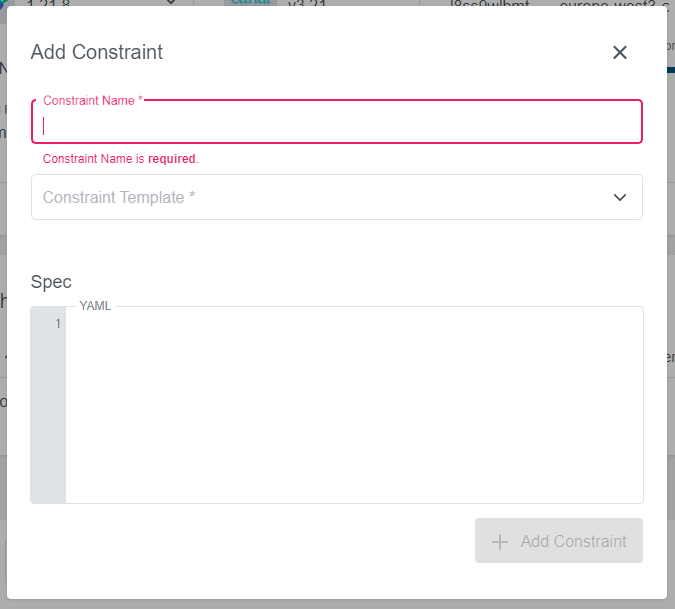
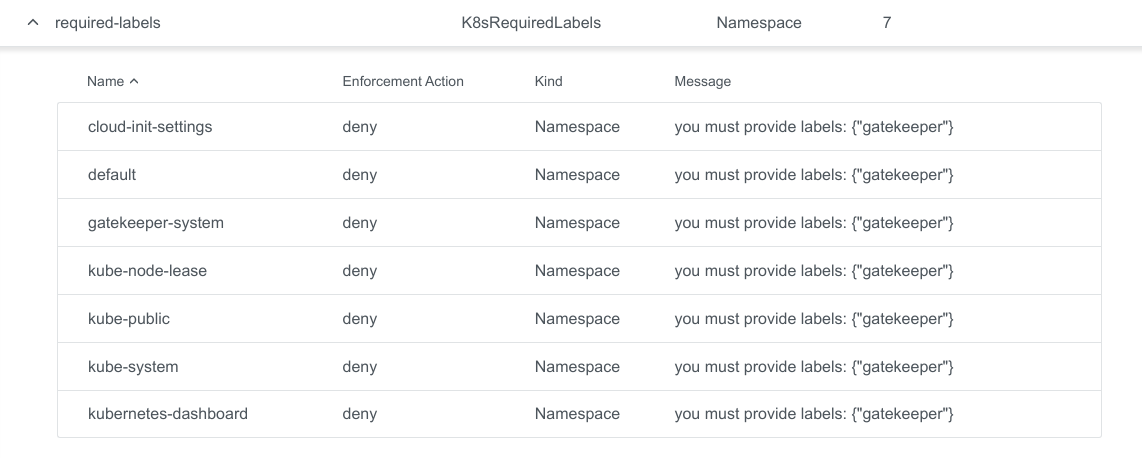
The following example will make sure that the gatekeeper label is defined on all namespaces, if you are using the K8sRequiredLabels constraint template from above:
match:
  kinds:
    - apiGroups: [""]
      kinds: ["Namespace"]
parameters:
  labels: ["gatekeeper"]
Just click on + Add Constraint to create the constraint. In this table, you can also edit or delete it again if needed after clicking on the icons that appears when hovering over one of the rows.

It also shows you possible violations. Click on the row to expand the view and to see all violations in detail.
Default Constraints
Default Constraints allow admins to conveniently apply policies to all OPA enabled clusters This would allow admins an easier way to make sure all user clusters are following some policies (for example security), instead of the current way in which Constraints need to be created for each cluster separately. Kubermatic operator/admin creates a Constraint in the admin panel, it gets propagated to seed clusters and user clusters with OPA-integration
On Cluster Level, Default Constraints are differentiated from Constraints with default label.
Create Default Constraint
In the Admin view navigate to the OPA menu and then to Default Constraints.
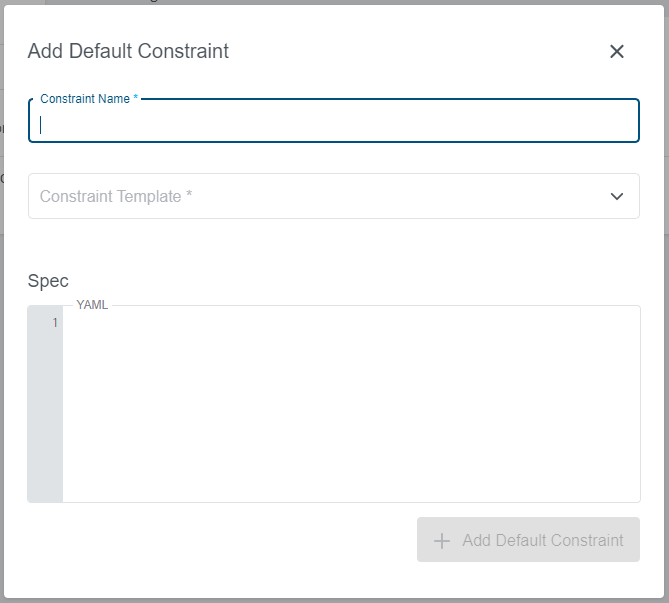
 To add a new default constraint click on the
 +Add Default Constraint icon on the right. A new dialog will appear, where you can specify the name, the constraint template and the spec:
constraintType: K8sPSPAllowPrivilegeEscalationContainer
match:
  kinds:
    - kinds:
        - Pod
      apiGroups:
        - ''
  labelSelector: {}
  namespaceSelector: {}
selector:
  labelSelector: {}

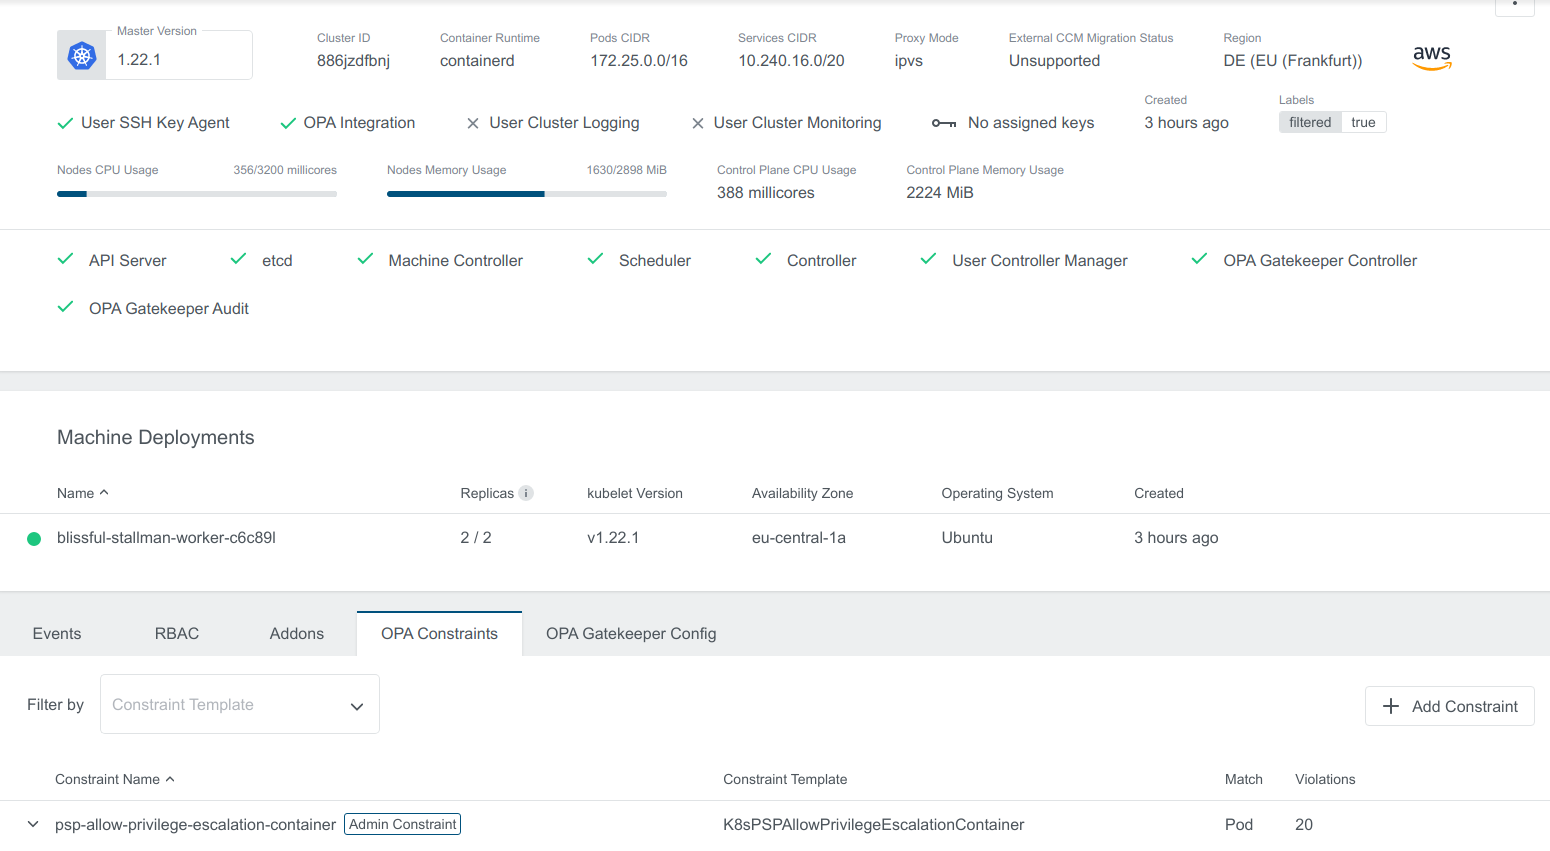
The Default Constraint created will also show up in the applied cluster view with Admin Constraint label

Edit Default Constraint
Editing Default Constraint will sync the changes to all the respective constraints on the user clusters.
admin_default_constraint.png
To edit the constraint click on edit button on the right that appears when hovering over one of the rows.

In the appearing dialog you can now edit the Default Constraint.

Filtering Clusters on Default Constraints
This is an EE feature.
Filter Clusters feature enables Admin to filter User Clusters where Default Constraint is applied using with Cloud Provider and Label Selector filters.
In case of no filtering applied Default Constraints are synced to all User Clusters which can be verified by the Applies To field as shown here:

for example, Admin wants to apply a policy only on clusters with the provider as aws and label selector as filtered:true
To enable this add the following selectors in the constraint spec for the above use case.
selector:
  providers:
    - aws
  labelSelector:
    matchLabels:
      filtered: 'true'

Constraints then can only be seen in the clusters which satisfy the filters.
for example, for the above use case Default Constraints will be applied to Cluster blissful-stallman with Provider aws and filter filtered: 'true' and not on the Cluster zen-knuth with Provider gcp

Disabling Constraint
This is an EE feature.
Disabling Constraint feature allows users to disable constraints temporarily for use cases like testing.
Constraint can be Disabled/Turned off by setting disabled flag to true in the constraint spec.
As a result Constraint Policy will not be applied to clusters.
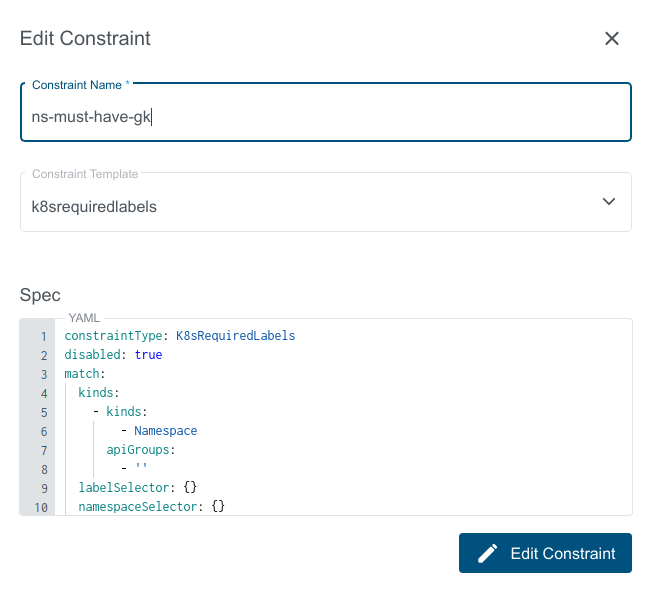
Disabled Kubermatic Constraint on a Cluster is blurred to differentiate between Enabled and Disabled Constraints

Disable Default Constraints
In Admin View to disable Default Constraints, click on the green button under On/Off

Kubermatic adds a label disabled: true to the Disabled Constraint
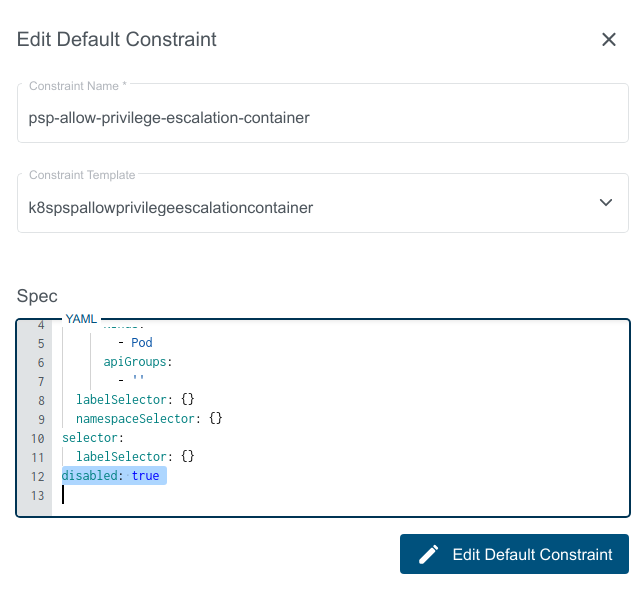

Enable the constraint by clicking the same button

Delete Default Constraint
Deleting Default Constraint causes all related Constraints on the user clusters to be deleted as well.
To delete the constraint click on delete button on the right that appears when hovering over one of the rows.

AllowedRegistry
AllowedRegistry is a part of the OPA Integration Admin Panel.
It allows users to manage the built-in KKP Constraint AllowedRegistry through which you can easily create policies on what image registries can be used for Pods on all OPA-enabled user clusters.

To create an AllowedRegistry just click on the + Add Allowed Registries button and set a K8s compliant name and a registry prefix.
OPA matches these prefixes with the Pods container image field and if it matches with at least one, it allows the Pod to be created/updated.
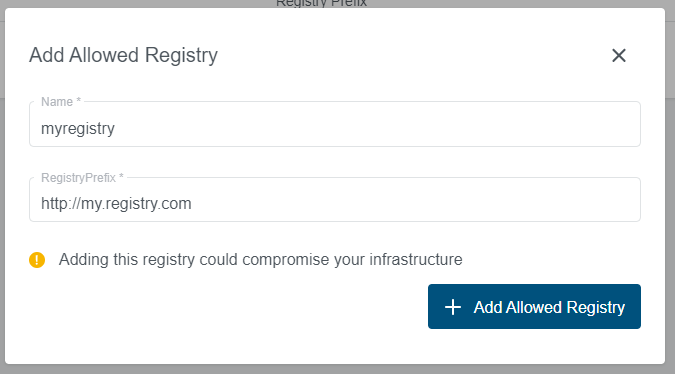
The Allowed Registries can be managed through the same form by using the edit button, or deleted by the trash button.
A controller is collecting the Allowed Registries prefixes and creates a corresponding Constraint Template and Default Constraint.
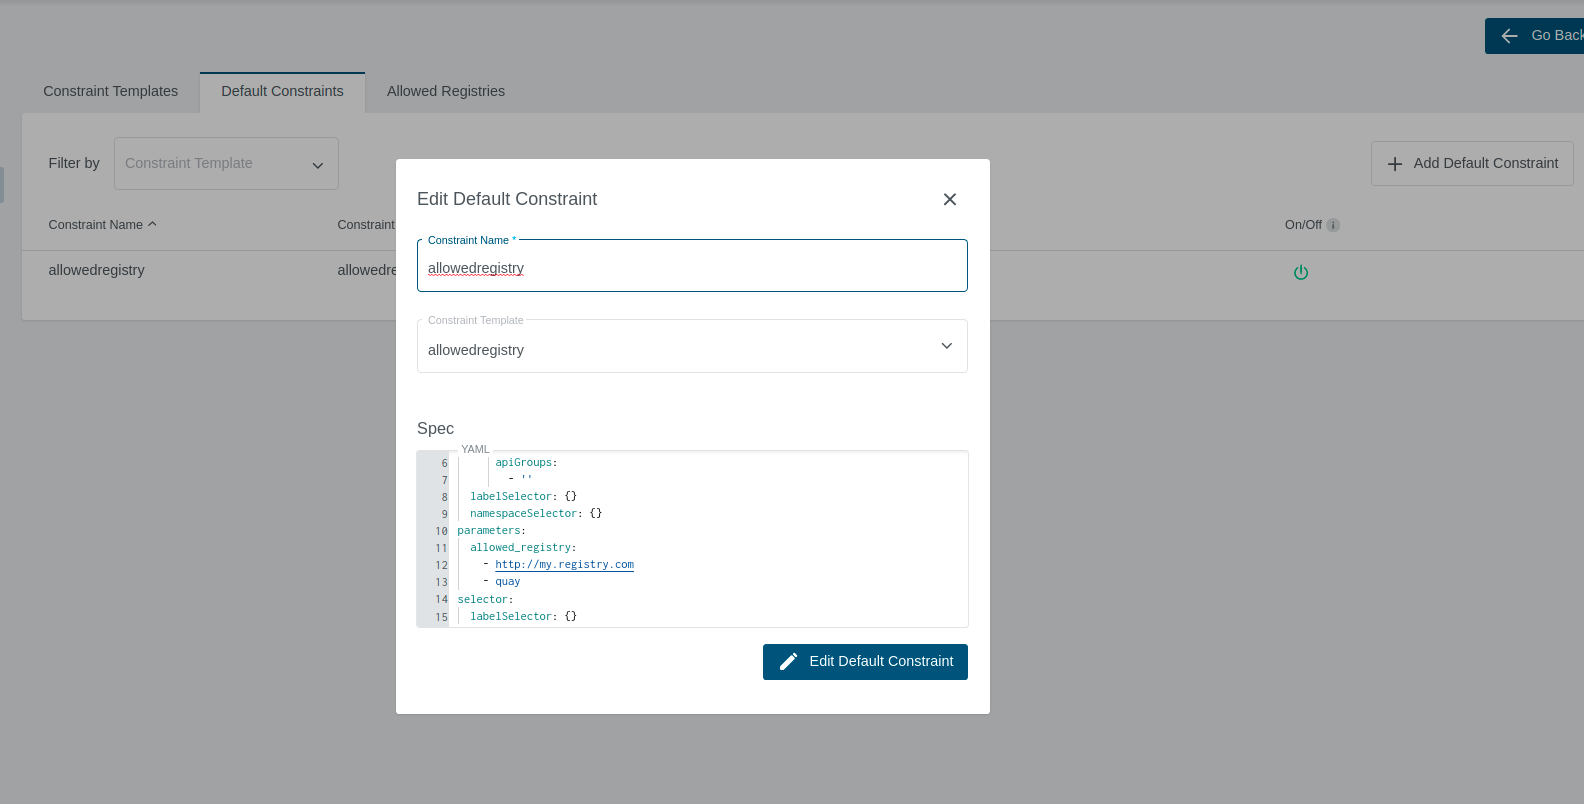
We manage this Default Constraint automatically (Parameters list, Pod match, Enabled/Disabled) but users can still change other values, most importantly the Filtering.
Gatekeeper Config
In this area, you have the possibility to define a Gatekeeper Config. It is not required but might be needed for some constraints that need more access.
Initially, you will only see the Add Gatekeeper Config button.

Click on this button to create a config. A new dialog will appear, where you can insert your spec:
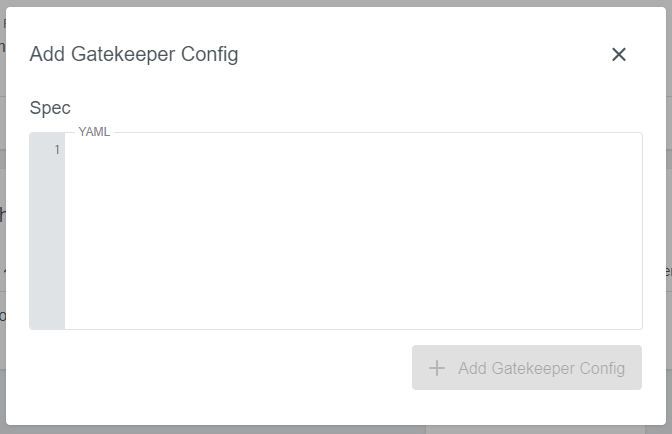
The following example will dynamically update what objects are synced:
sync:
  syncOnly:
    - group: ""
      version: "v1"
      kind: "Namespace"
    - group: ""
      version: "v1"
      kind: "Pod"
Just click on Add to create the config. The view then displays the config parts you specified. You can also edit and delete it later.
