Add GKE Cluster
You can add an existing Kubernetes cluster and then manage it using KKP.
- Navigate to
External Clusterspage.

- Click the
Import External Clusterbutton and PickGoogle Kubernetes Engineprovider.

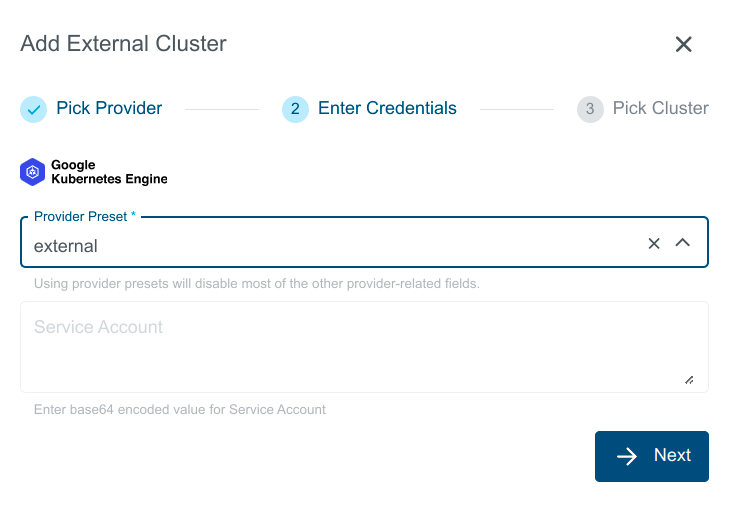
- Select preset with valid credentials or enter GKE Service Account to connect to the provider.
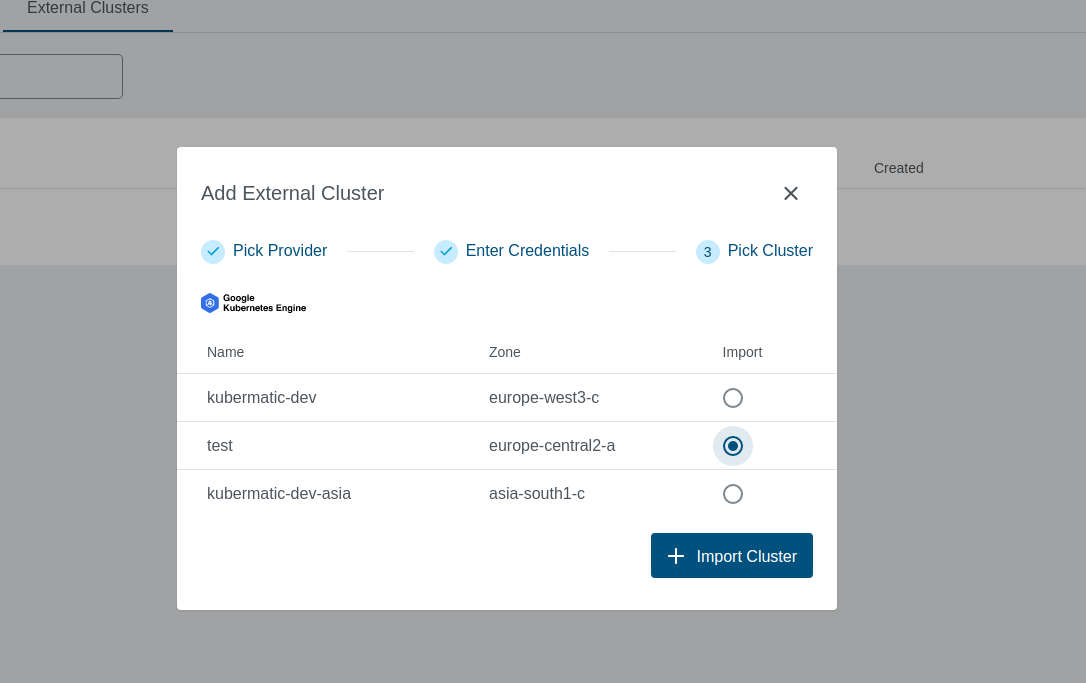
You should see the list of all available clusters. Select the one and click the Import Cluster button.
Clusters can be imported only once in a single project. The same cluster can be imported in multiple projects.
Provide Credentials in either of the below mentioned ways:
Select a pre-created preset which stores the provider specific credentials.
Create a preset on your KKP cluster with
spec.gke.serviceAccountcontaining the base64 encoded service account.Manually enter the credentials ServiceAccount
After user provides all required credentials, credentials will be validated.
Validation performed will only check if the credentials have Read access.
Create GKE Preset
Admin can create a preset on a KKP cluster using KKP Admin Panel.
This Preset can then be used to Create/Import an GKE cluster.
- Click on
Admin Panelfrom the menu.

- Navigate to
Provider PresetsPage and Click on+ Create Presetbutton.
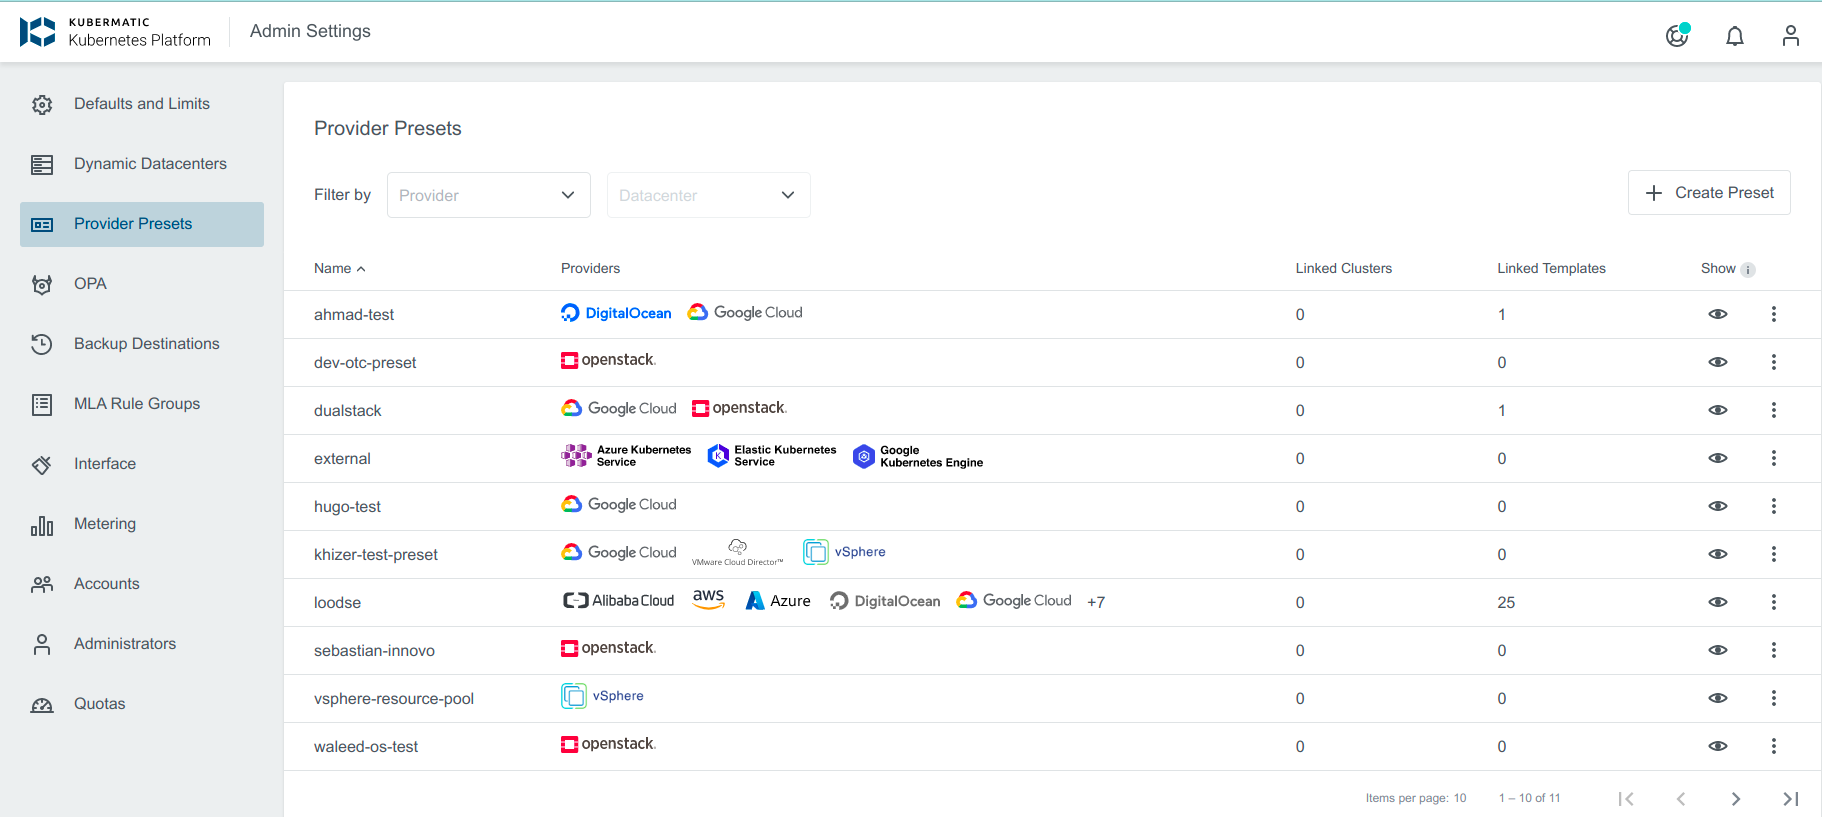
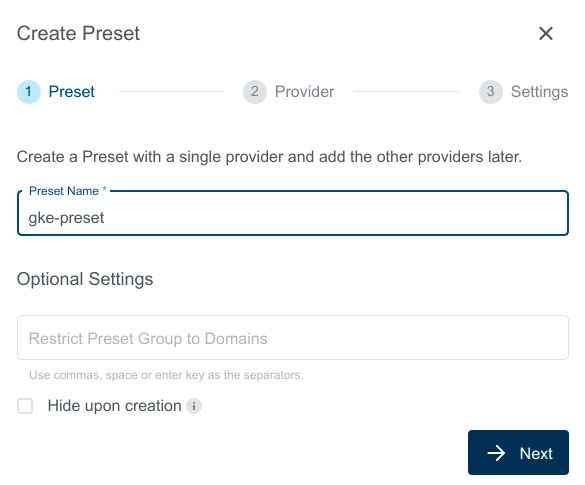
- Enter Preset Name.
- Choose
Google Kubernetes Enginefrom the list of providers.
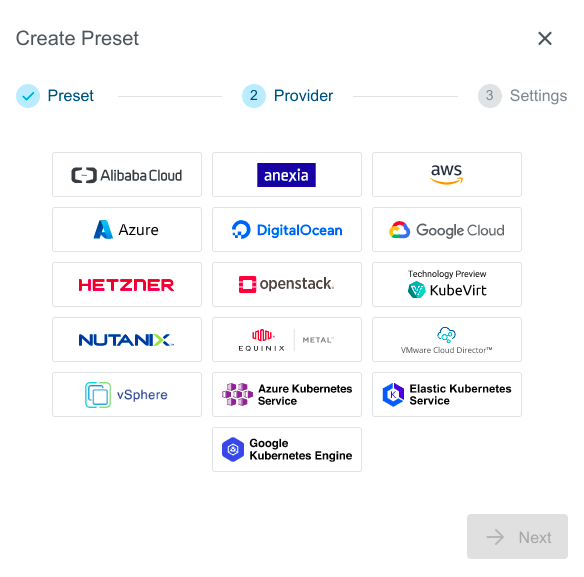
- Enter GKE credentials and Click on
Createbutton.
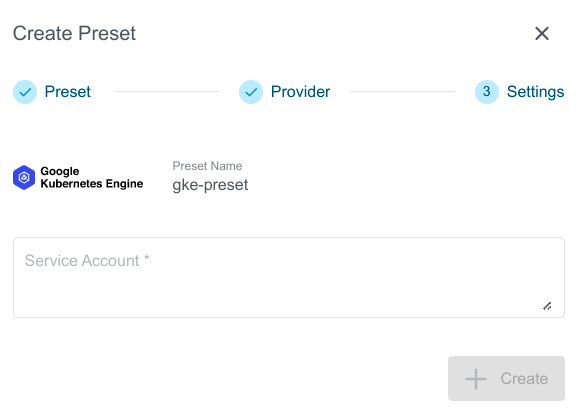
- You can now use created GKE Preset to Create or Import GKE Cluster.

Cluster Details Page
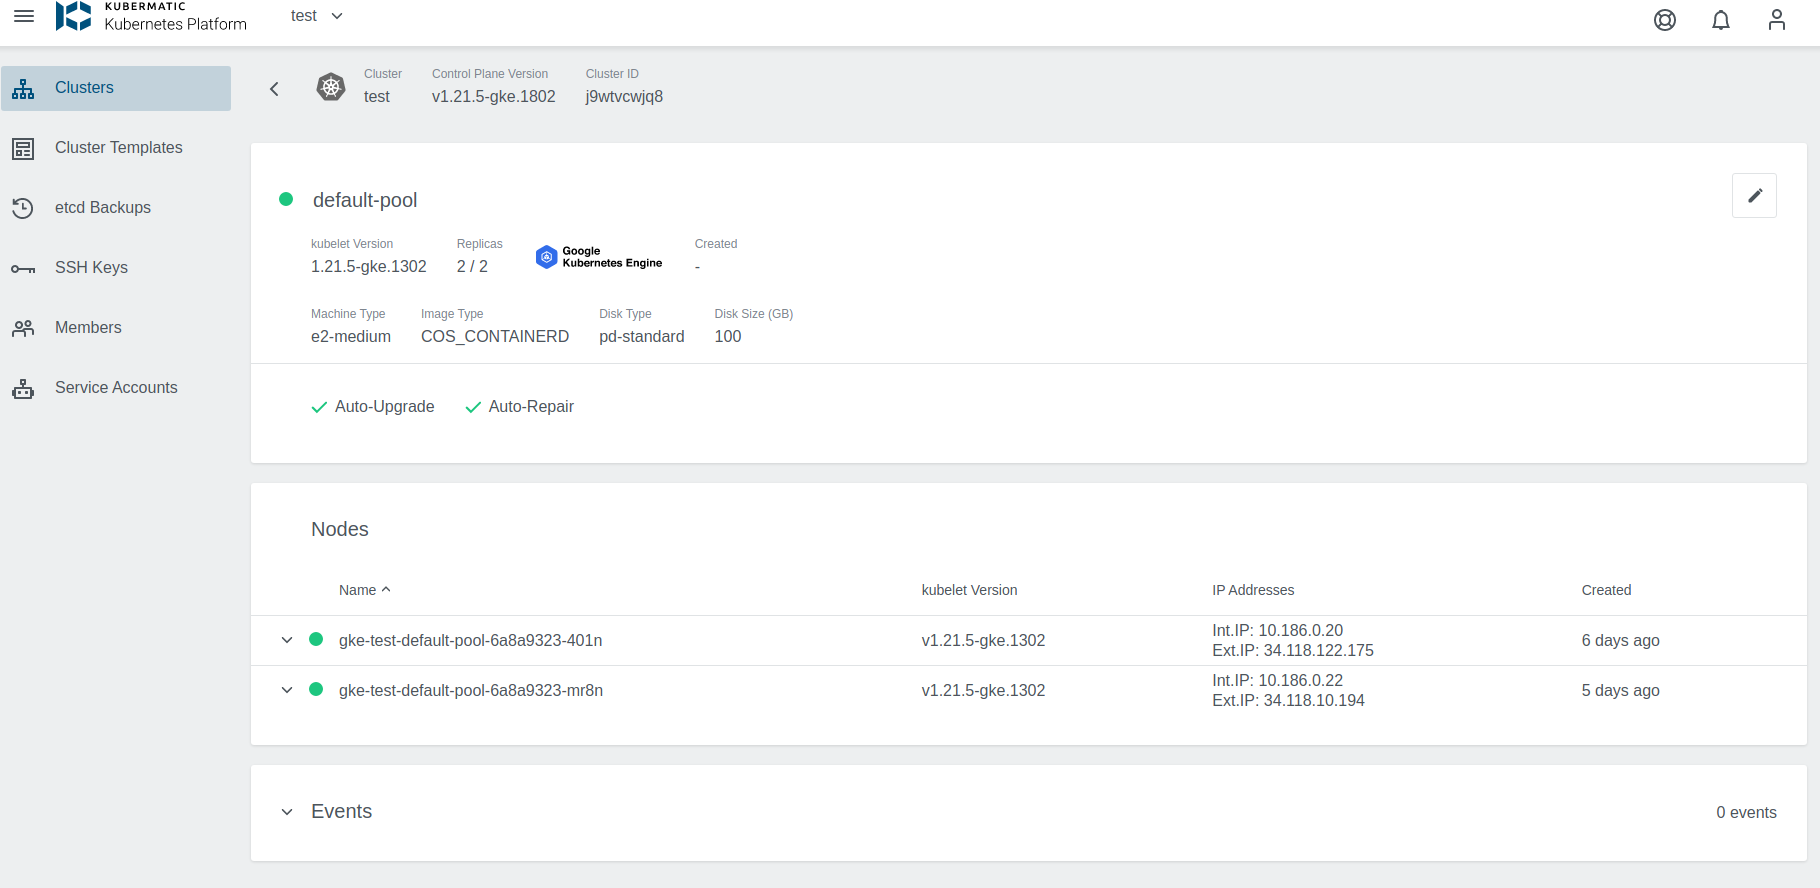
After the cluster is added, the KKP controller retrieves the cluster kubeconfig to display all necessary information. A healthy cluster has Running state. Otherwise, the cluster can be in the Error state. Move the mouse cursor over the
state indicator to get more details. You can also expand Events to get information from the controller.
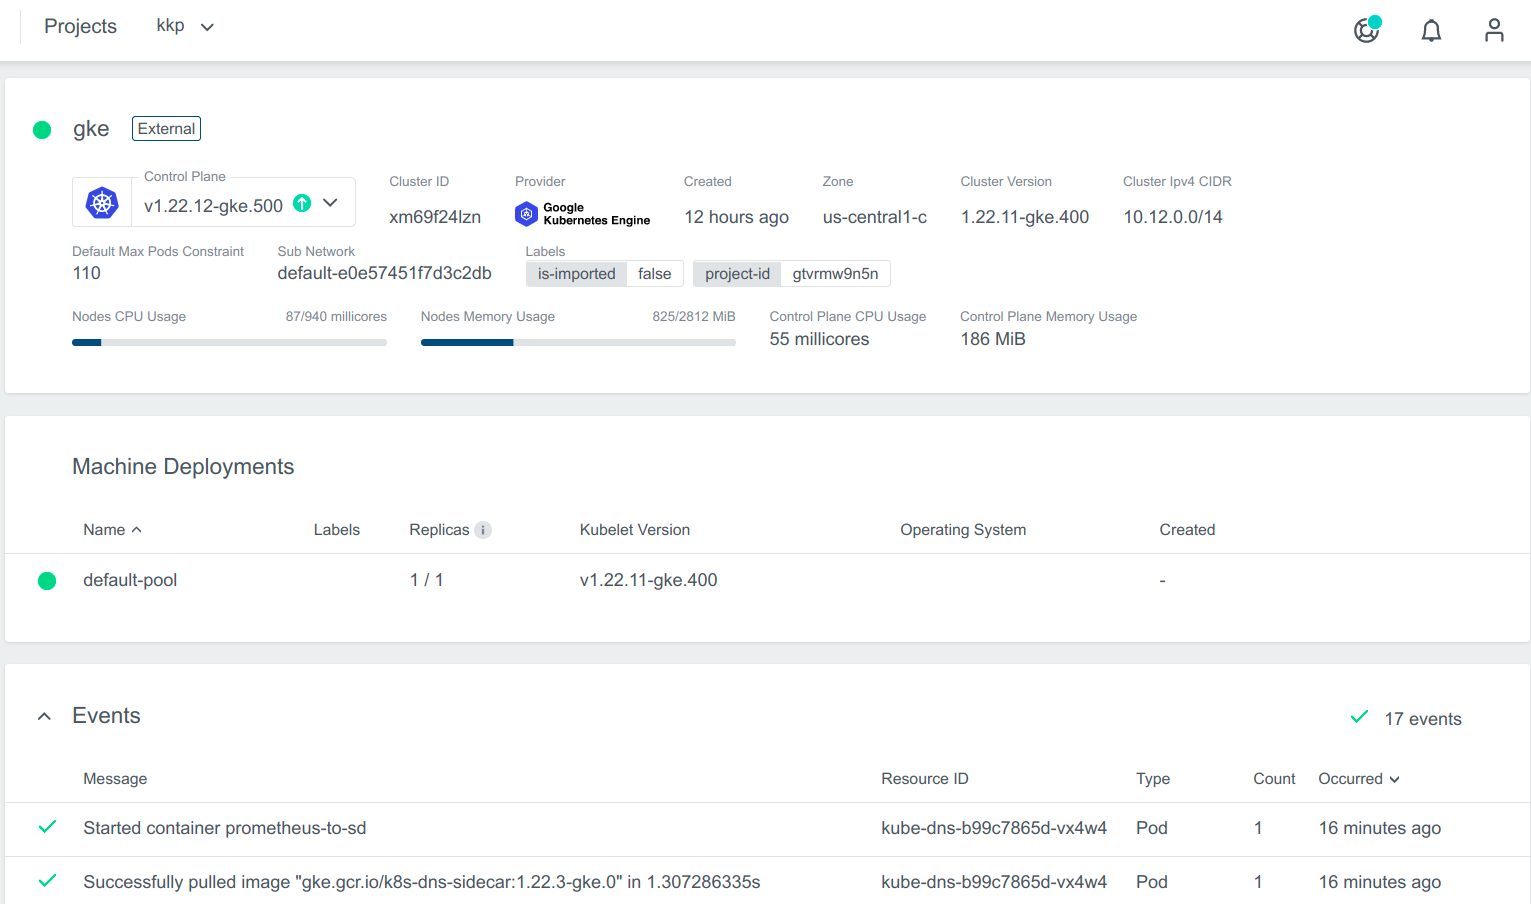
You can also expand Events to get information from the controller.
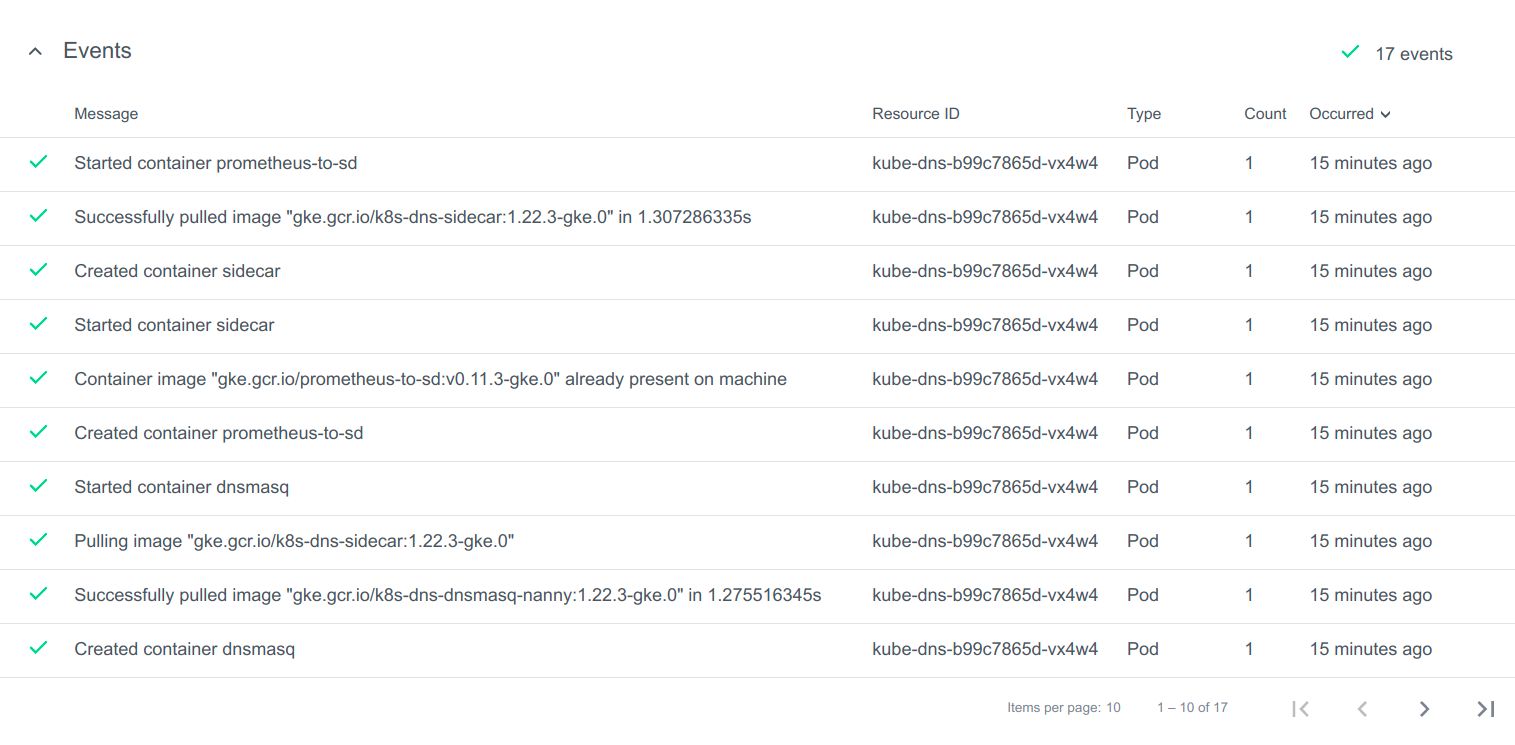
You can also click on Machine Deployments to get the details:
Update Cluster
Upgrade Version
When an upgrade for the cluster is available, a little dropdown arrow will be shown beside the Master Version on the cluster’s page. To start the upgrade, just click on the link and choose the desired version:
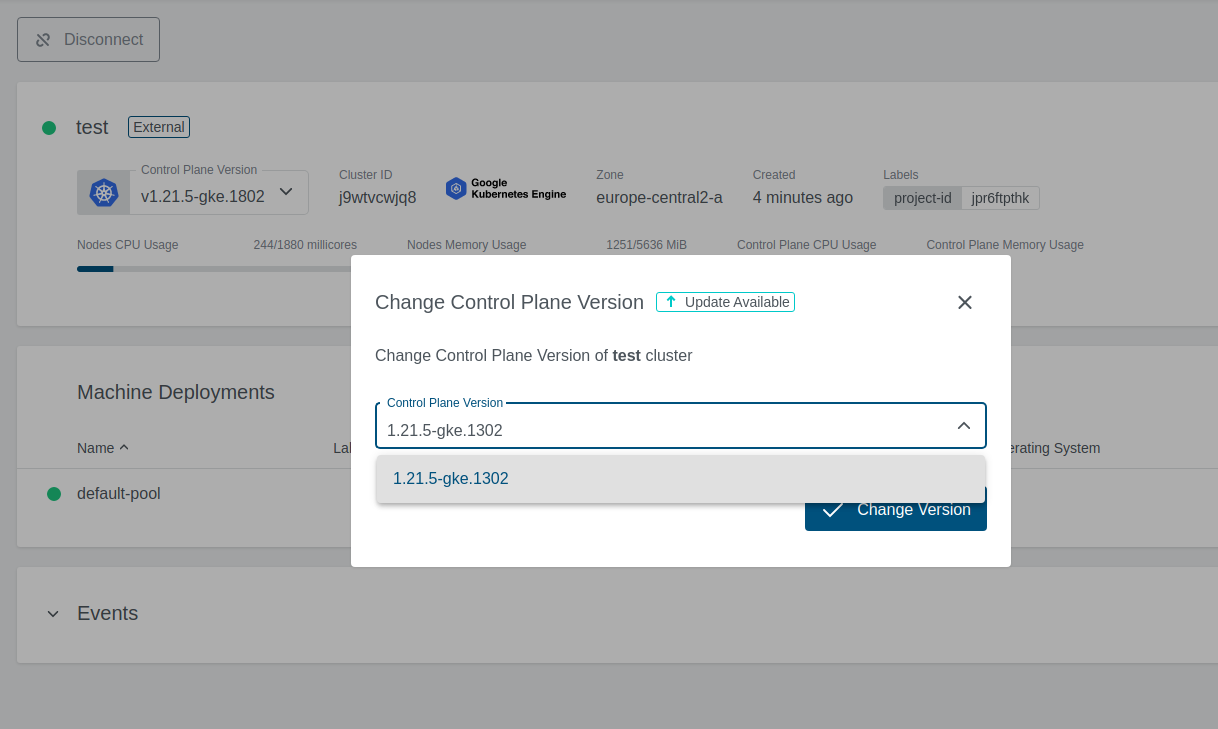
If the version upgrade is valid, the cluster state will change to Reconciling.
Edit the Machine Deployment
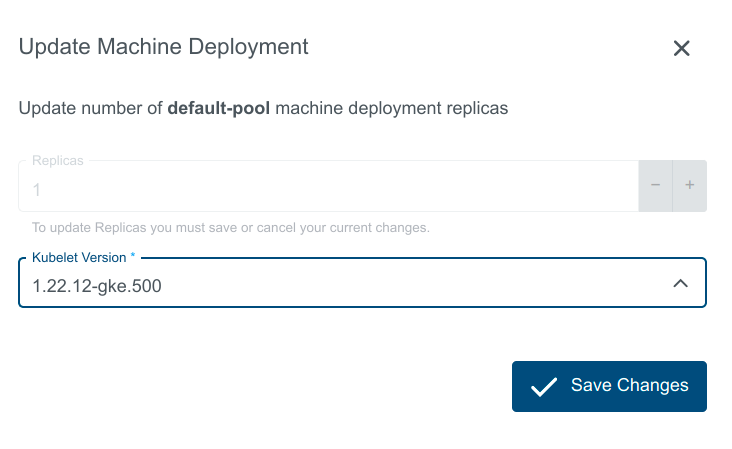
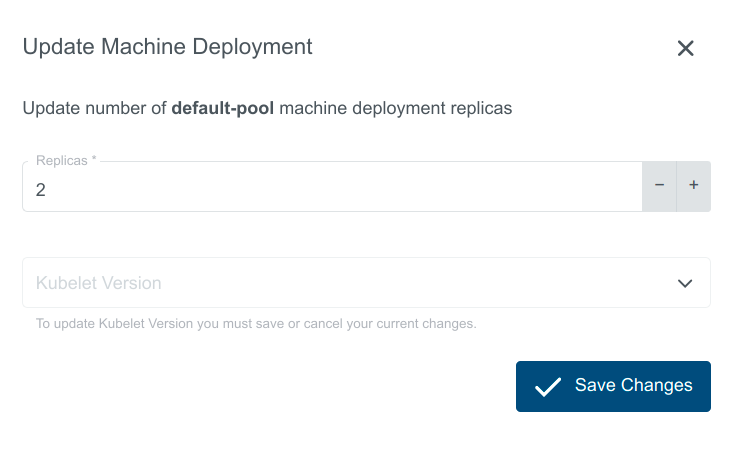
Only one operation can be performed at one point of time. If the replica count is updated then Kubernetes version upgrade will be disabled and vice versa.
- Navigate to the cluster overview, scroll down to machine deployments
- Click on the edit icon next to the machine deployment you want to edit.

- Upgrade Kubernetes Version. Select the Kubernetes Version from the dropdown to upgrade the md.
- Scale the replicas: In the popup dialog, you can increase or decrease the number of worker nodes that are managed by this machine deployment. Either specify the number of desired nodes or use the + or - to increase or decrease node count.
Delete Cluster
Delete operation is not allowed for imported clusters
Delete cluster operation allows to delete the cluster from the Provider. Click on the Delete button.

Delete the Node Pool
Navigate to the cluster overview, scroll down to machine deployments and click on the delete icon next to the machine deployment you want to delete.

Authenticating with GKE
The KKP platform allows getting kubeconfig file for the GKE cluster.
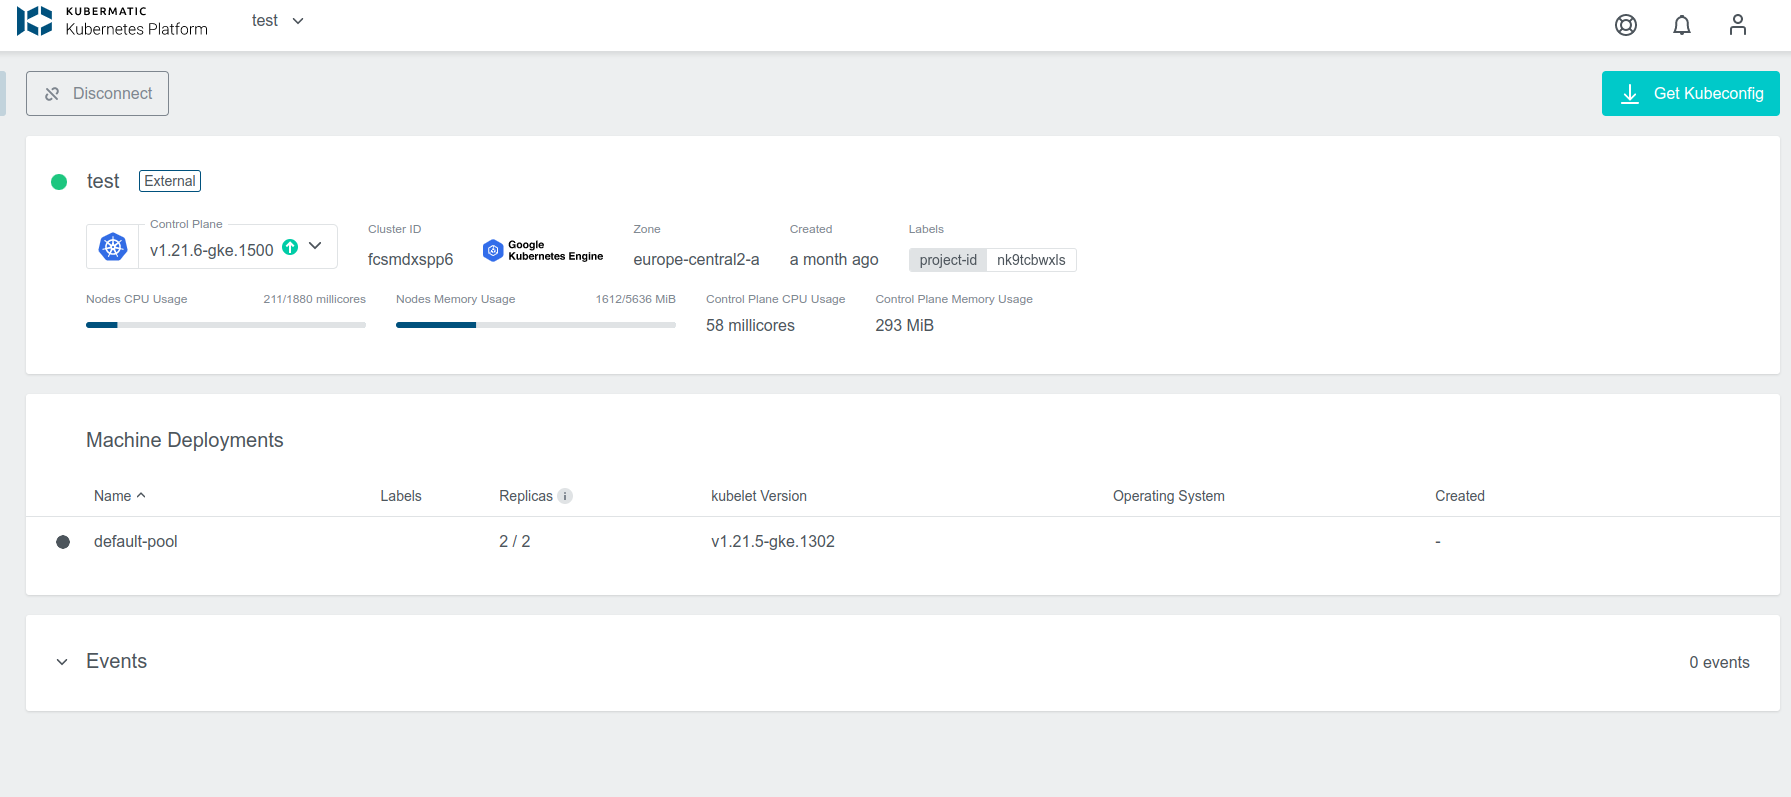
The end-user must be aware that the kubeconfig expires after some short period of time. To mitigate this disadvantage you can extend the kubeconfig for the provider information and use exported JSON with the service account for the authentication.
Add name: gcp for the users:
users:
- name: gke_kubermatic-dev_europe-central2-a_test
  user:
    auth-provider:
      name: gcp
Provide authentication credentials to your application code by setting the environment variable GOOGLE_APPLICATION_CREDENTIALS.
This variable applies only to your current shell session. If you want the variable to apply to future shell sessions,
set the variable in your shell startup file, for example in the ~/.bashrc or ~/.profile file.
export GOOGLE_APPLICATION_CREDENTIALS="KEY_PATH"
Replace KEY_PATH with the path of the JSON file that contains your service account key.
For example:
export GOOGLE_APPLICATION_CREDENTIALS="/home/user/Downloads/service-account-file.json"