Import EKS Cluster
You can add an existing Kubernetes cluster and then manage it using KKP.
Navigate to
External Clusterspage.Click the
Import External Clusterbutton

- Pick
Elastic Kubernetes Engineprovider.

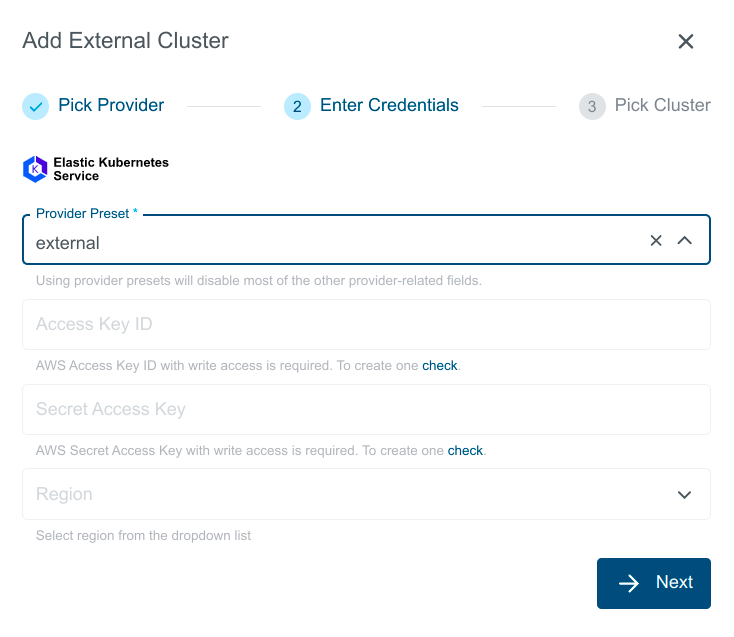
- Provide Credentials in either of the below mentioned ways:
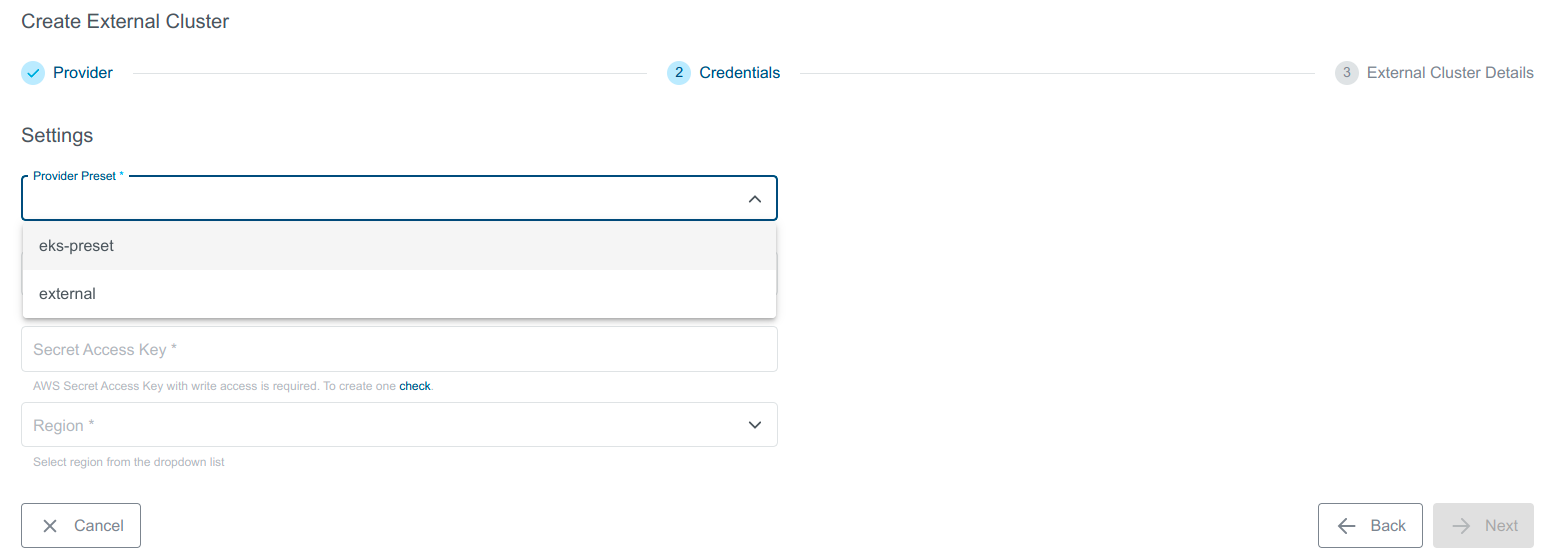
Select a pre-created preset which stores the provider specific credentials.
Manually enter the credentials
Access Key ID,Secret Access Keyand selectRegion
Region is also kept as a part of a preset as it is a required value to create an EKS client.
- After user provides all required credentials, credentials will be validated.
Validation performed will only check if the credentials have Read access.
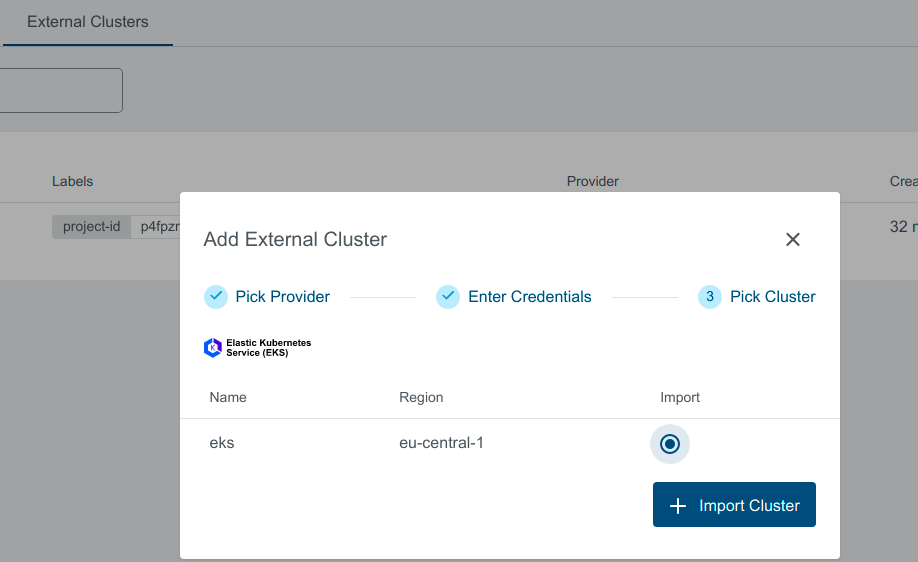
You should see the list of all available clusters in the region specified. Select the one and click the Import Cluster button. Clusters can be imported only once in a single project. The same cluster can be imported in other projects.
Create EKS Preset
Admin can create a preset on a KKP cluster using KKP Admin Panel.
This Preset can then be used to Create/Import an EKS cluster.
- Click on
Admin Panelfrom the menu.

- Navigate to
Provider PresetsPage and Click on+ Create Presetbutton.
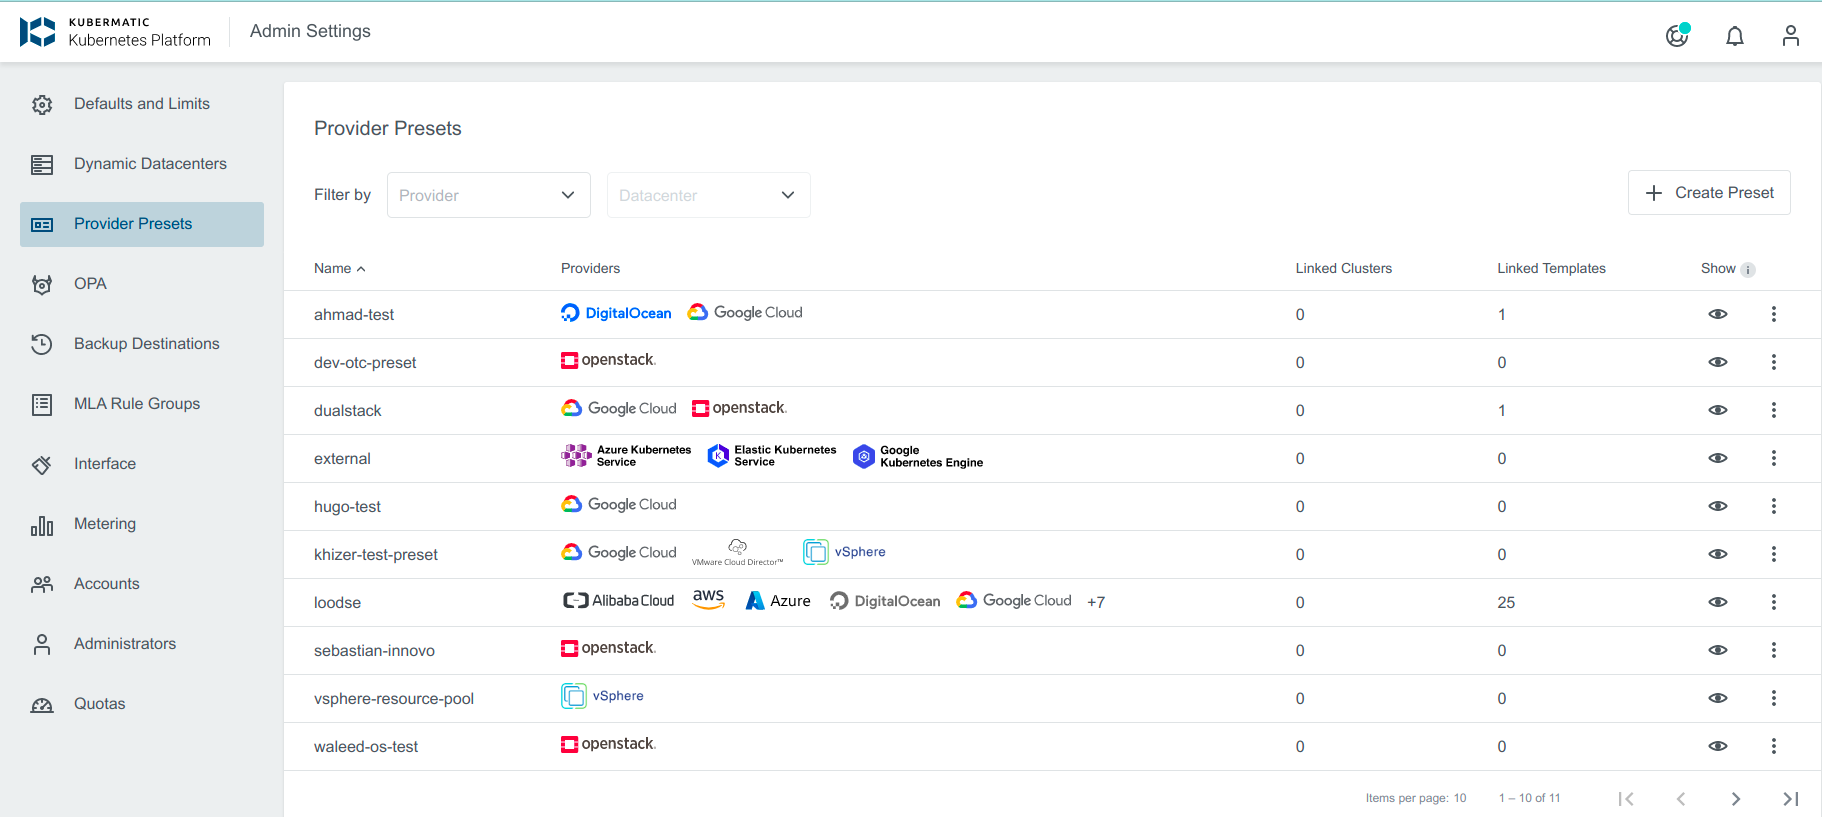
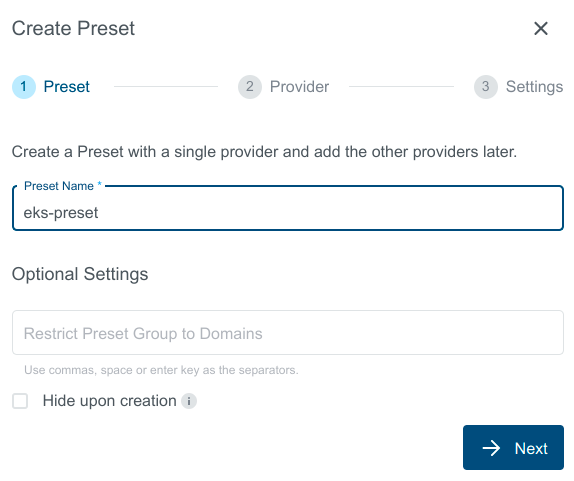
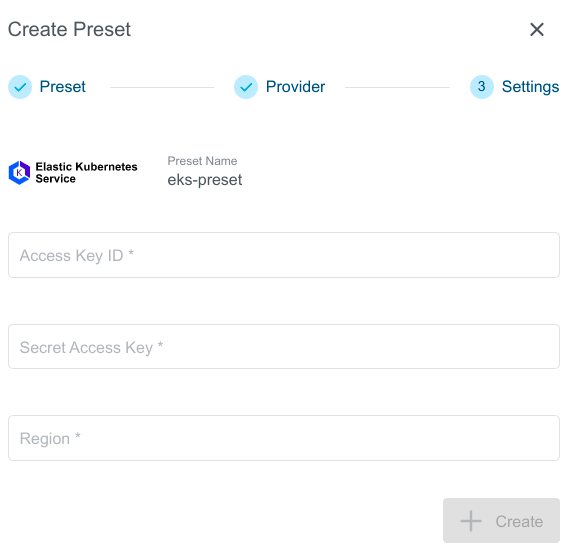
- Enter Preset Name.
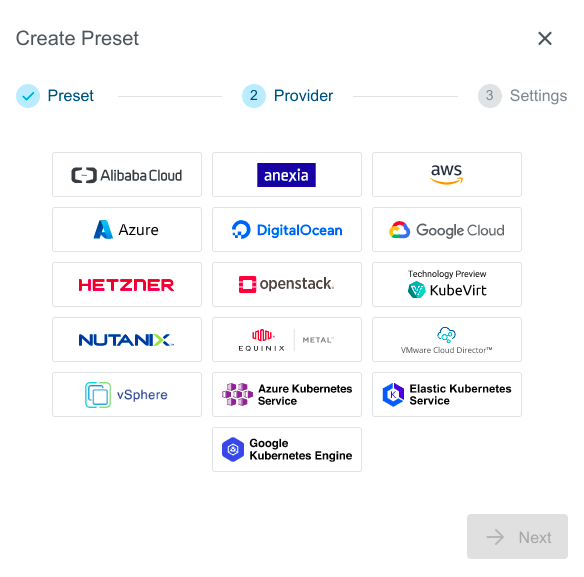
- Choose
Elastic Kubernetes Servicefrom the list of providers.
- Enter EKS credentials and Click on
Createbutton.
- You can now use created EKS Preset to Create or Import EKS Cluster.
Cluster Details Page
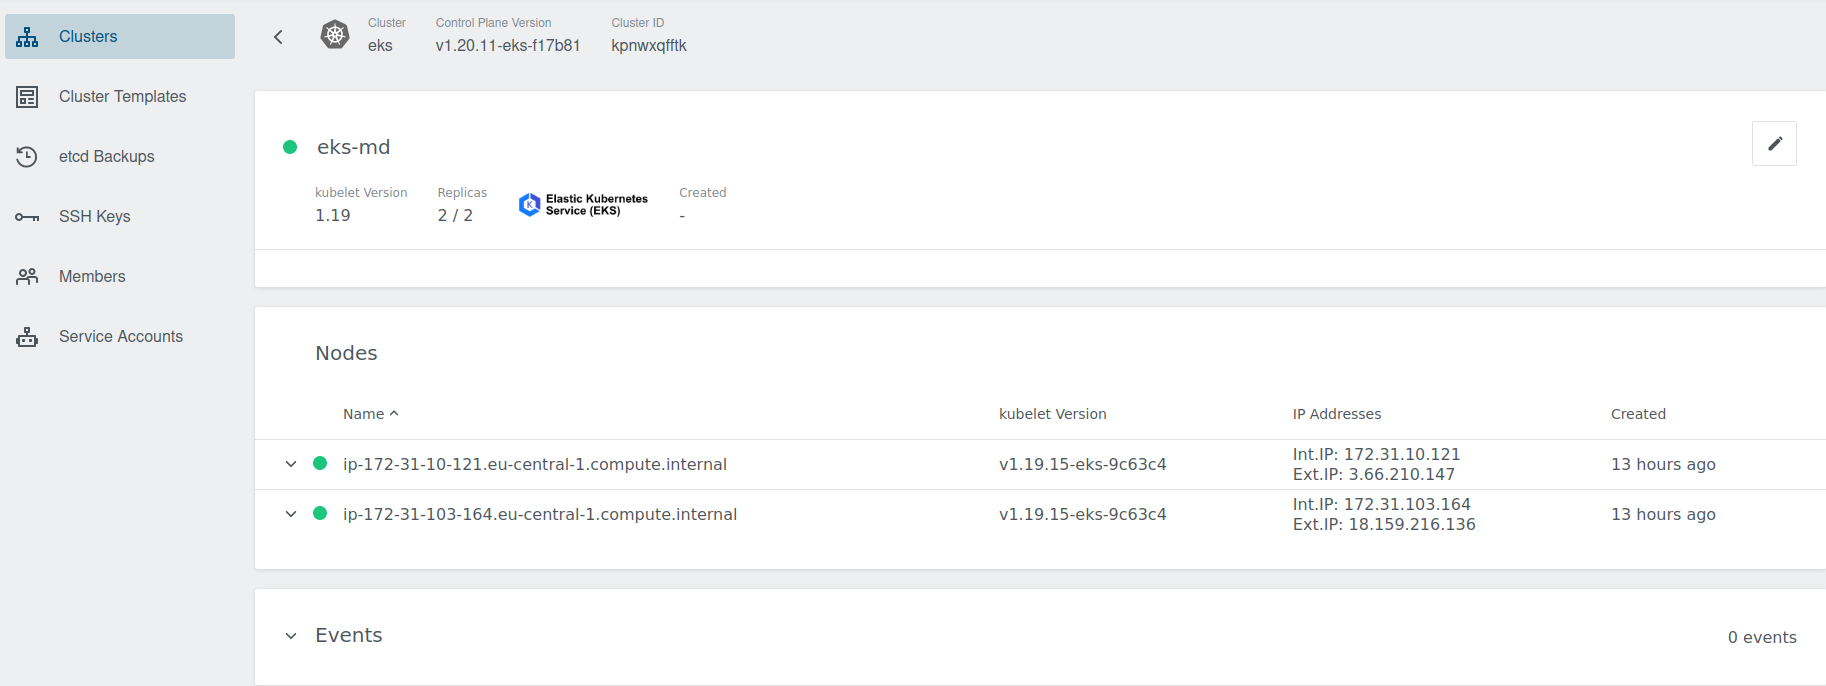
After the cluster is added, the KKP controller retrieves the cluster kubeconfig to display all necessary information.
A healthy cluster has Running state. Move the mouse cursor over the state indicator to get more details.
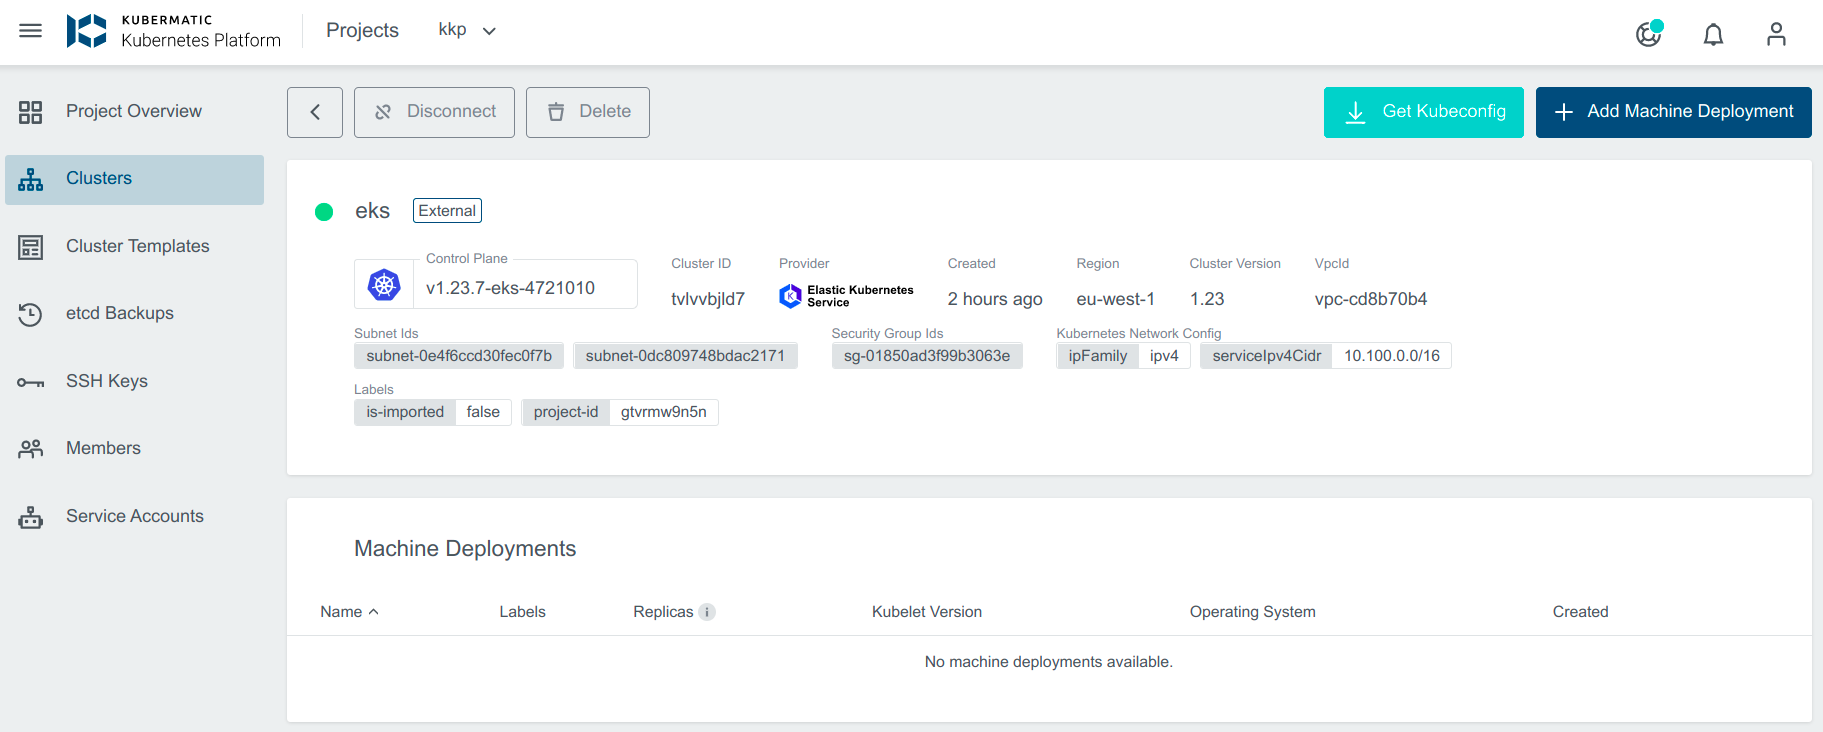
You can also expand Events to get information from the controller.
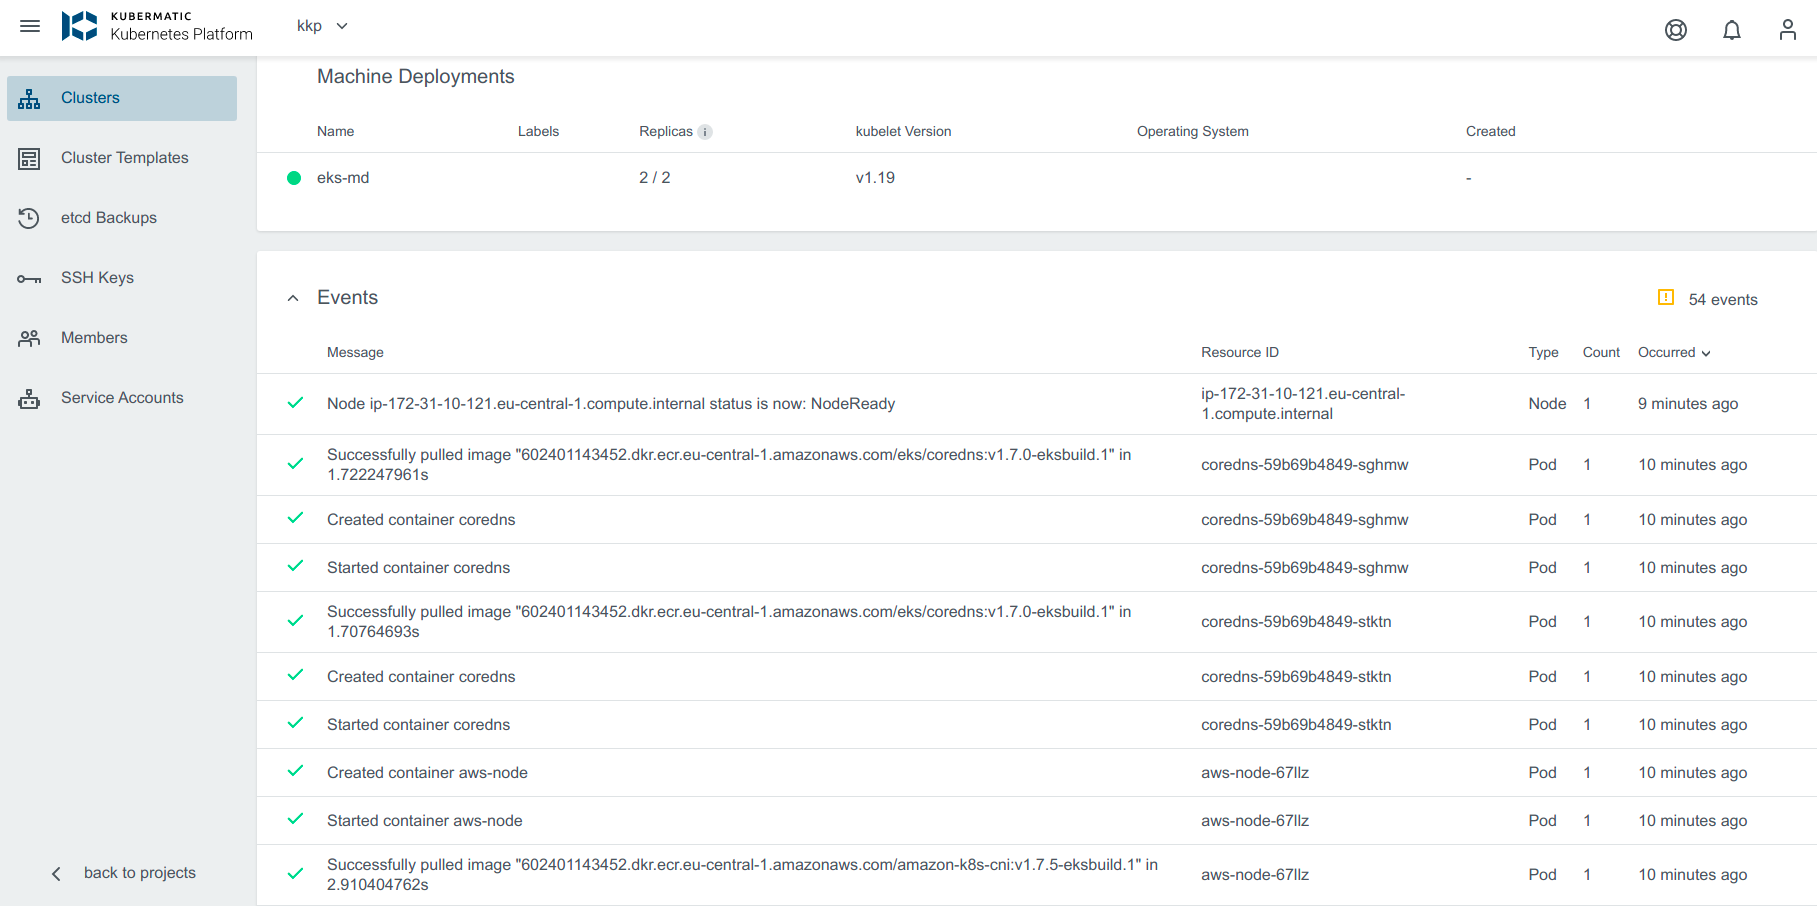
You can also click on Machine Deployments to get the details:
Update Cluster
Upgrade Version
To upgrade, click on the little dropdown arrow beside the Control Plane Version on the cluster’s page and select the version from the dropdown. For more details about EKS available Kubernetes versions
Amazon EKS Kubernetes versions
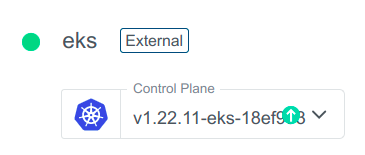
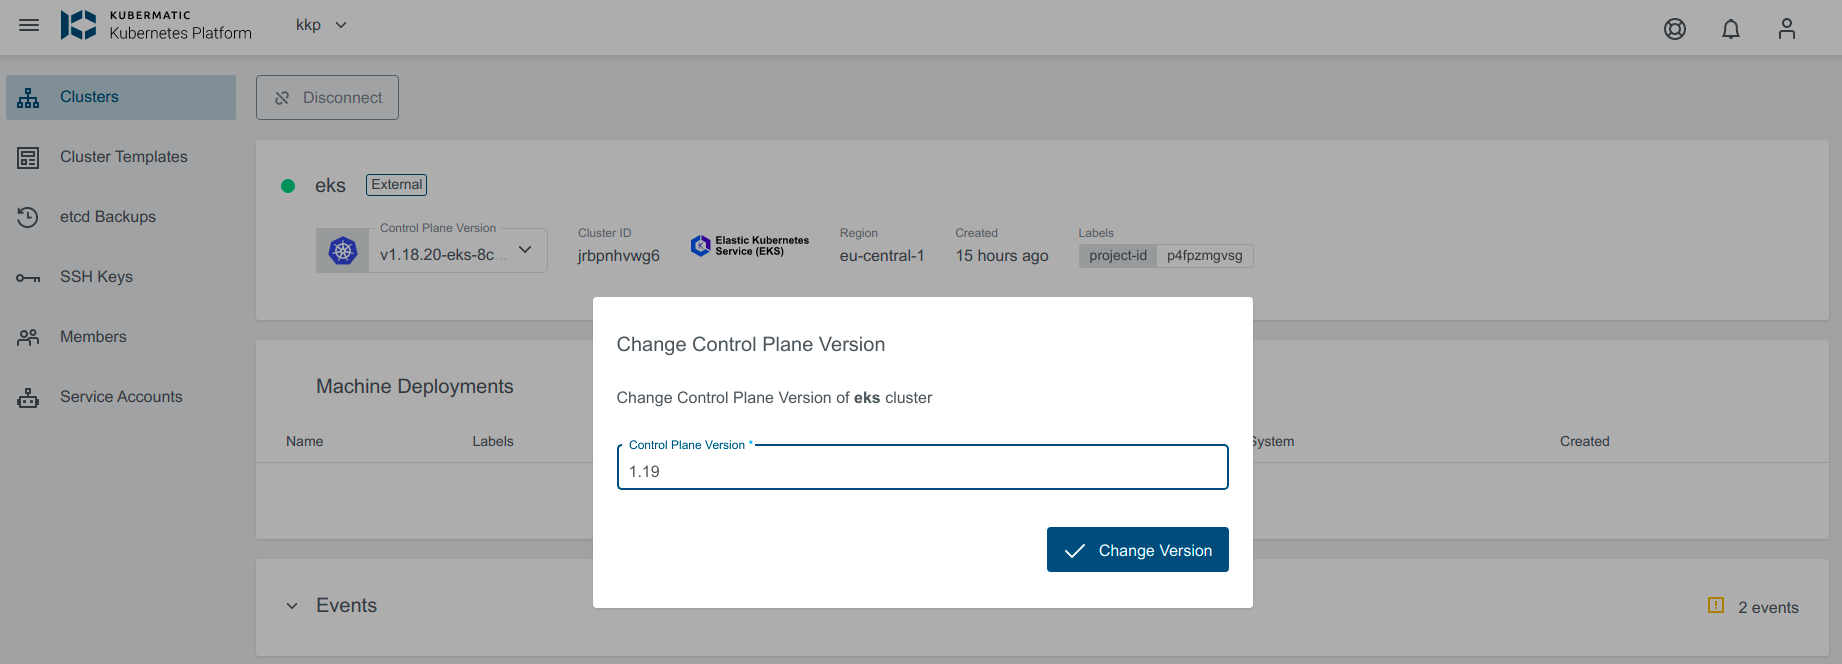
If the upgrade version provided is valid, the cluster state will change to Reconciling
Edit the Machine Deployment
Only one operation can be performed at one point of time. If the replica count is updated then Kubernetes version upgrade will be disabled and vice versa.
Navigate to the cluster overview, scroll down to machine deployments.
Click on the edit icon next to the machine deployment you want to edit.

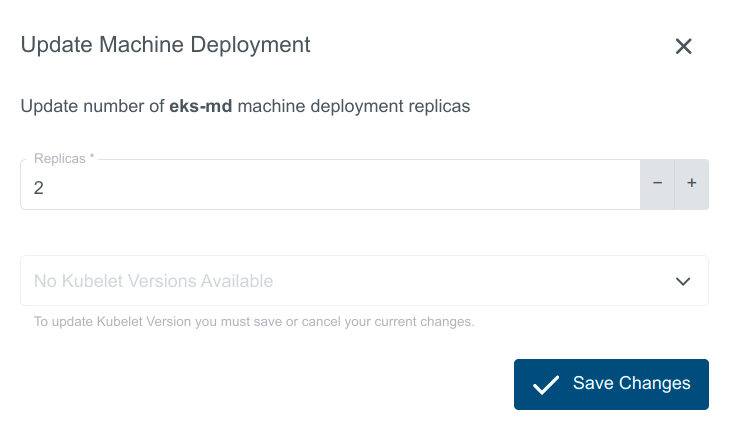
Upgrade Kubernetes Version. Select the Kubernetes Version from the dropdown to upgrade the md.
Scale the replicas: In the popup dialog, you can increase or decrease the number of worker nodes that are managed by this machine deployment. Either specify the number of desired nodes or use the
+or-to increase or decrease node count.
Delete Cluster
Delete operation is not allowed for imported clusters.
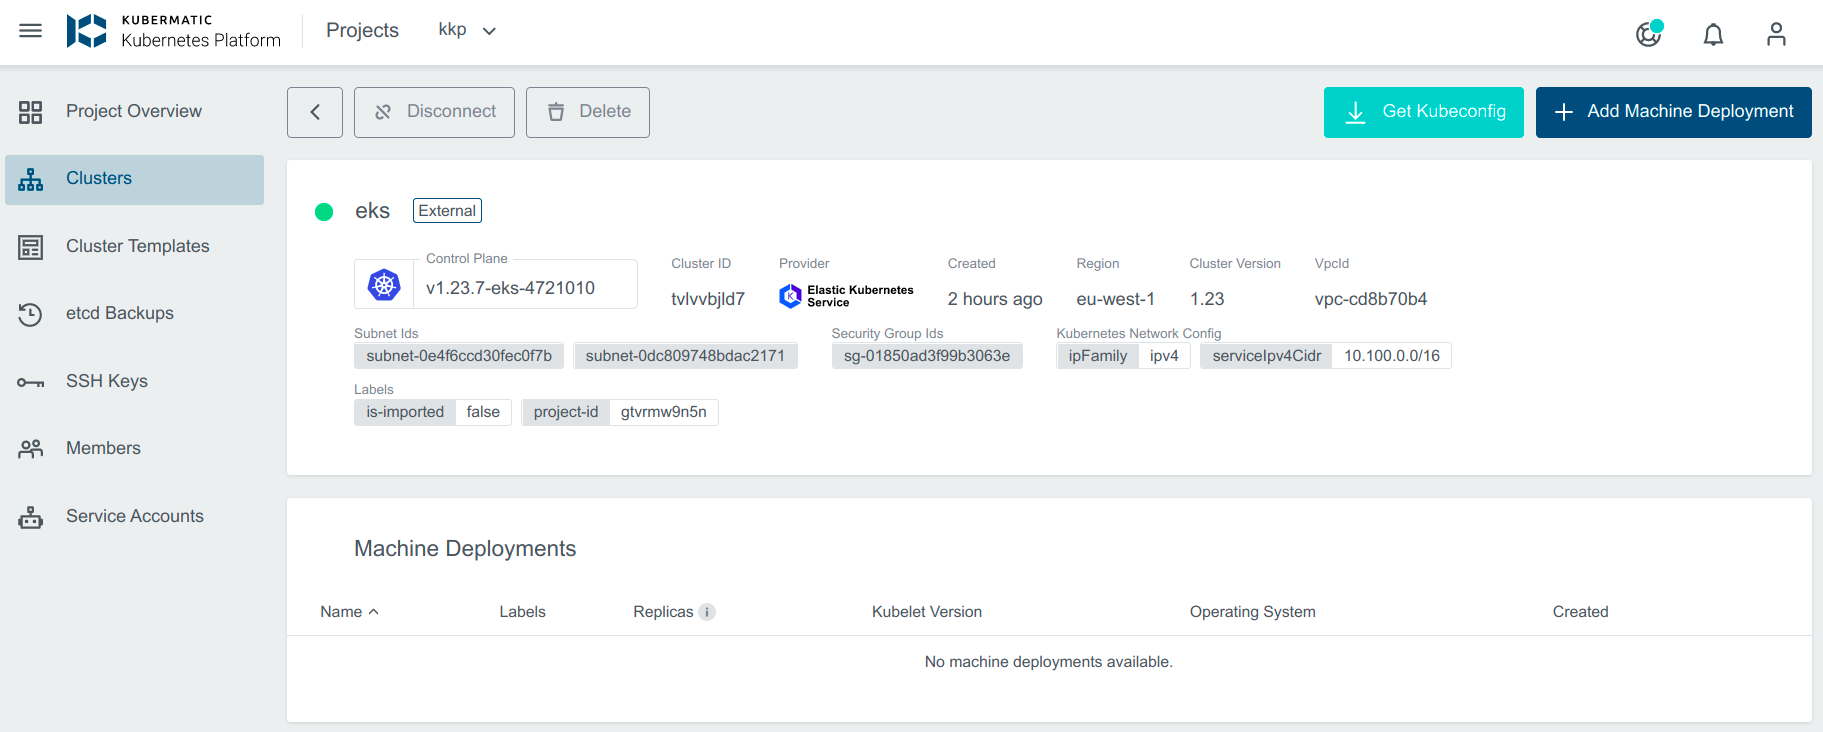
Delete cluster operation allows to delete the cluster from the Provider. Click on the Delete button.
Delete the Node Group
Navigate to the cluster overview, scroll down to machine deployments and click on the delete icon next to the machine deployment you want to delete.

Authenticating with EKS
The KKP platform allows getting kubeconfig file for the EKS cluster. The end-user must be aware that the kubeconfig expires after some short period of time. It’s recommended to create your kubeconfig file with the AWS CLI.
Configure AWS credentials
The AWS CLI uses credentials and configuration settings located in multiple places, such as the system or user environment variables, local AWS configuration files, or explicitly declared on the command line as a parameter.
The AWS CLI stores sensitive credential information that you specify with aws configure in a local file named credentials,
in a folder named .aws in your home directory. The less sensitive configuration options that you specify with aws configure
are stored in a local file named config, also stored in the .aws folder in your home directory.
Example:
~/.aws/credentials
[default]
aws_access_key_id=AKIAIOSFODNN7EXAMPLE
aws_secret_access_key=wJalrXUtnFEMI/K7MDENG/bPxRfiCYEXAMPLEKEY
Create kubeconfig file
Now you can create kubeconfig file automatically using the following command:
aws eks update-kubeconfig --region region-code --name cluster-name
By default, the resulting configuration file is created at the default kubeconfig path (.kube/config) in your home directory
or merged with an existing kubeconfig file at that location. You can specify another path with the --kubeconfig option.