Due to the security reasons it will not be possible to read the provider configuration after creation. It will only be possible to use and override it.
Presets give administrators the ability to predefine a set of provider information that then can be used to speed up the cluster creation process. Be aware that a single Preset can contain information about multiple providers.
As an example let’s see what kind of information can be set for AWS provider.
aws:
  accessKeyID: '<accessKeyID>'
  secretAccessKey: '<secretAccessKey>'
  vpcID: '<vpcID>' // optional
  routeTableID: '<routeTableID>' // optional
  instanceProfileName: '<profileName>' // optional
  securityGroupID: '<securityGroupID>' // optional
  roleARN: '<roleARN>' // optional
Thankfully, all this can be managed through the Admin Panel in the Kubermatic Dashboard. We’ll shortly describe all the important features and how to use the preset management.
Checking Configured Presets
Creating a Preset
Adding a Provider to the Preset
Editing a Provider Preset
Showing/Hiding Providers Inside the Preset
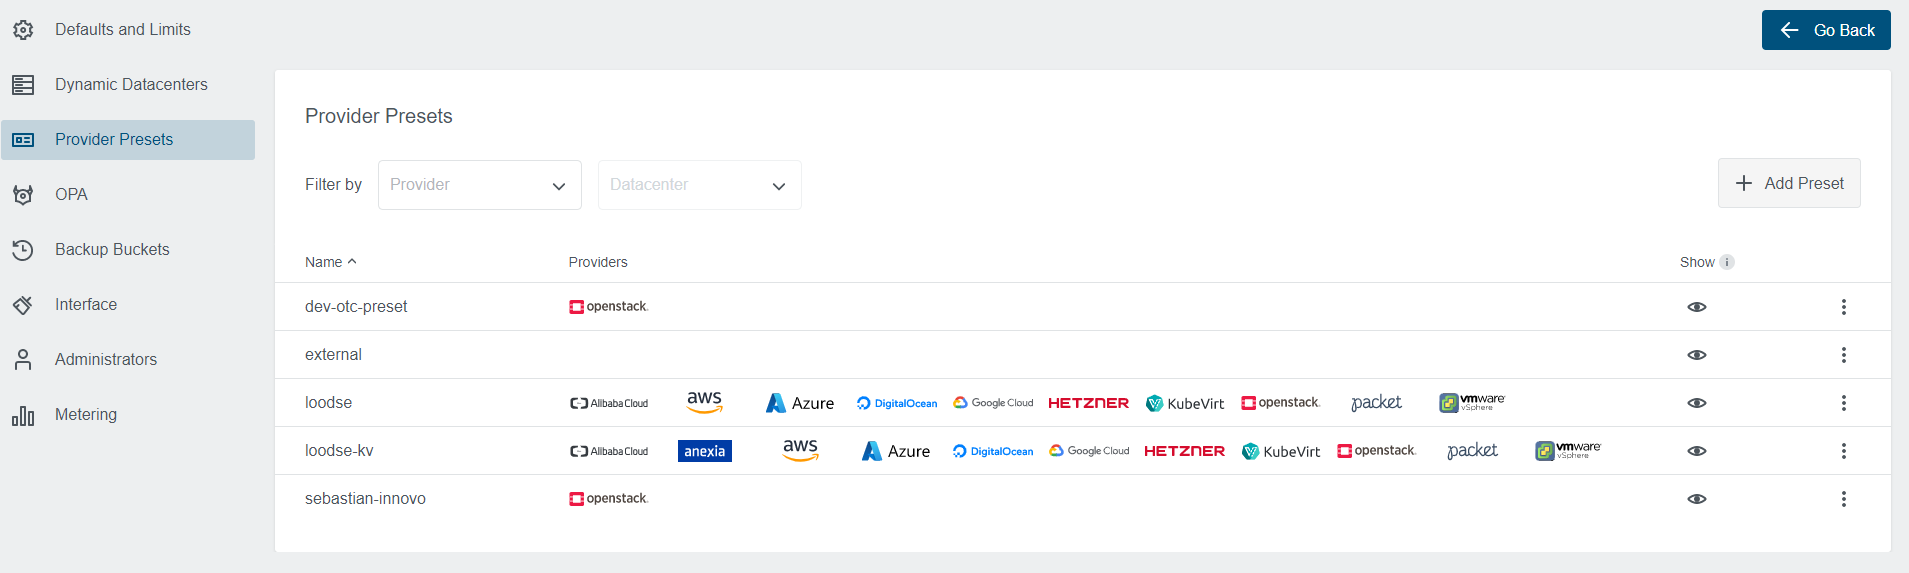
Checking Configured Presets
Preset list offers multiple options that allow Administrators to manage Presets.

- Create a new Preset
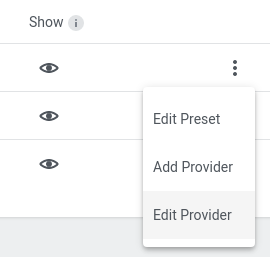
- Manage existing Preset
- Edit Preset (allows showing/hiding specific providers)
- Add a new provider to the Preset
- Edit configure provider
- Show/Hide the Preset. Allows hiding Presets from the users and block new cluster creation based on them.
- A list of providers configured for the Preset.
Creating a Preset
Open the Create Preset dialog through the button available on the Preset list.
1. Preset Step
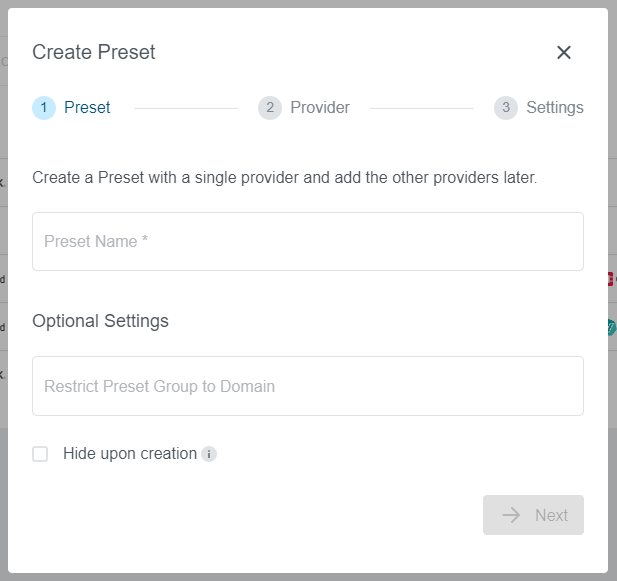
Nameis a required parameter and will be used in the wizard to select the providerDomainis an optional parameter that allows to limit Preset availability only to the specific users with email matching this domainHide upon creationallows to hide the preset after creation from the users
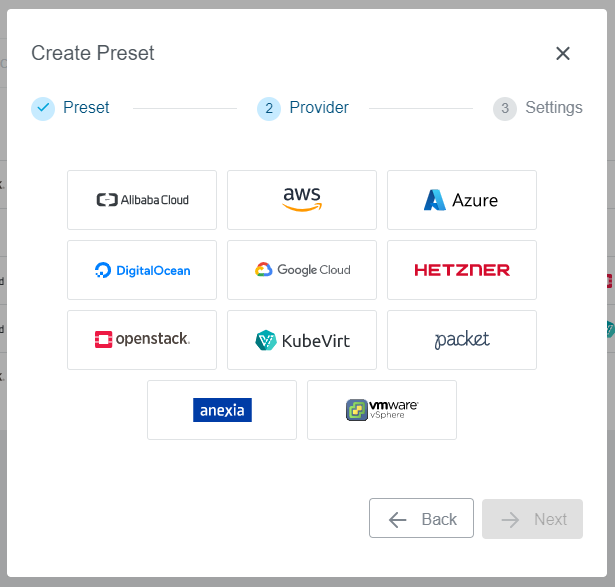
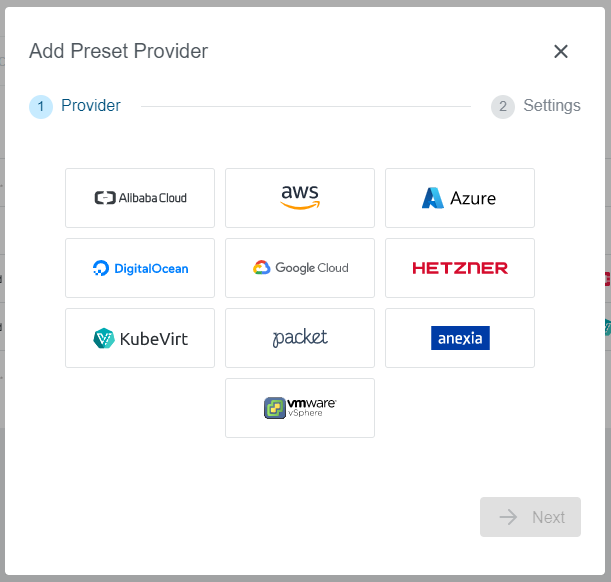
2. Provider Step
All configured providers will be available on this step and only a single provider can be selected.
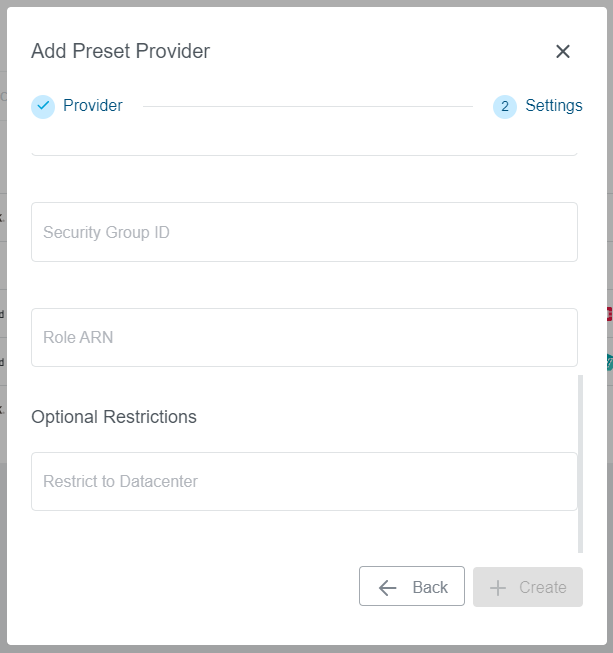
3. Settings Step
Settings step will vary depending on the provider selected in the previous step. In our example, we have selected an AWS provider.
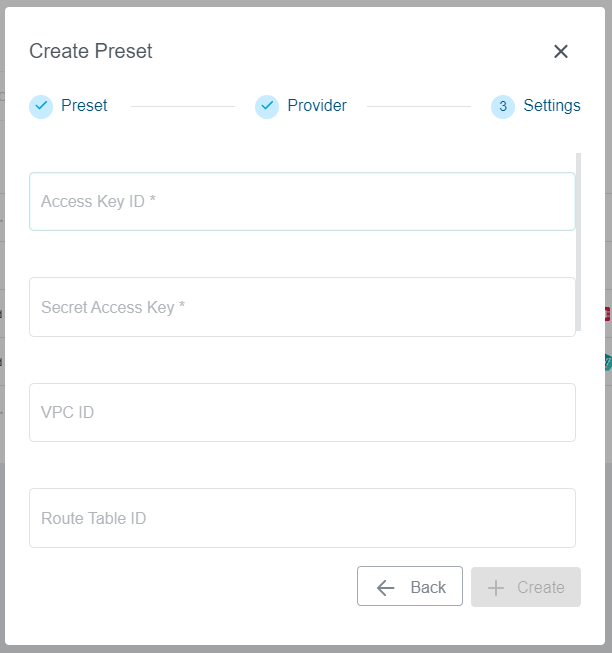
There are provider specific fields available here. Some of them will be mandatory as they are needed for the cluster creation.
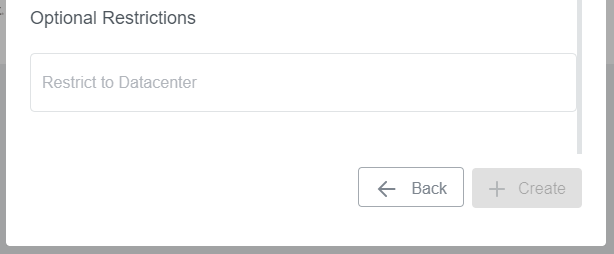
Restrict to Datacenter field will be available for all providers. It allows Administrators to
restrict the Preset to a single datacenter. Datacenter names can be found i.e. on the Dynamic Datacenters list.
Make sure to use actual datacenter names and not the display names that are used i.e. in the wizard while creating the clusters.

Adding a Provider to the Preset
Open Add Provider option through dotted menu on the Preset list entry. Note that it will only be available if not all
available providers were configured for the Preset.

1. Provider Step
Select a provider you would like to add to the Preset. In our example, we have selected an AWS provider. Note that every provider can be configured only once for the Preset and only providers that are not already configured will appear on the list.
2. Settings Step
Provider specific fields will be available to fill out, same as during the Preset creation process.
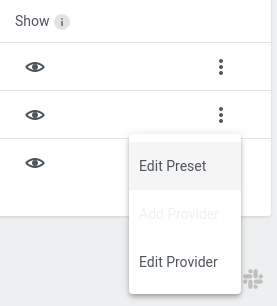
Editing a Provider Preset
Open Edit Provider option through dotted menu on the Preset list entry.
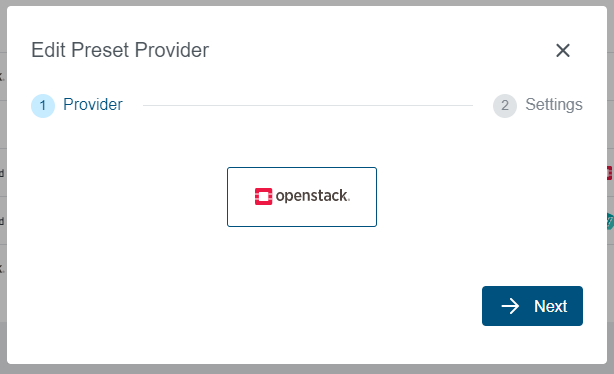
1. Provider Step
Select a provider you would like to add to the Preset. In our example, we have selected an Openstack provider. Note that every only already configured providers are available on the list.
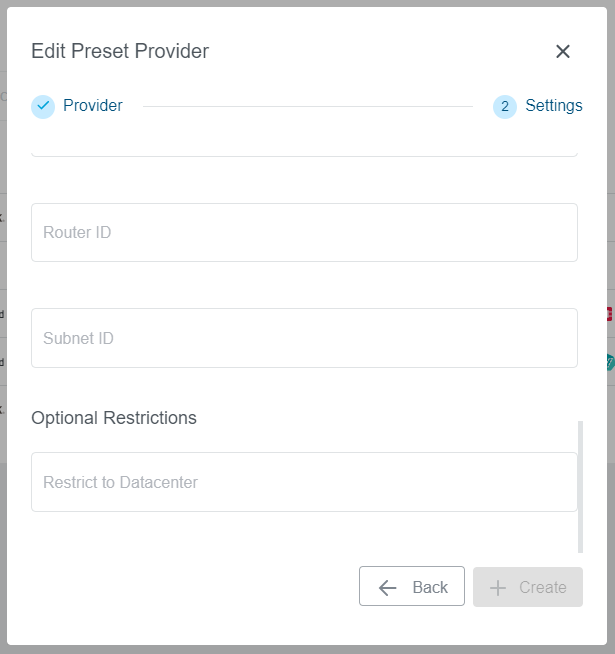
2. Settings Step
Provider specific fields will be available to fill out, same as during the Preset creation process.
Showing/Hiding Providers Inside the Preset
Open Edit Preset option through dotted menu on the Preset list entry.
It allows managing the Preset status on the per-provider basis. In case only a specific provider should be hidden/shown instead of hiding the whole Preset it can be managed here.
