Kubermatic Kubernetes Platform (KKP) organizes your clusters into projects. Projects allow you to share clusters with other users and make it easier to collaborate.
Step 1 – Create a Project
After you log in to KKP, you will be greeted with the list of all projects you created or have been given access to. When first using KKP, the list will be empty and you will need to create your first project.
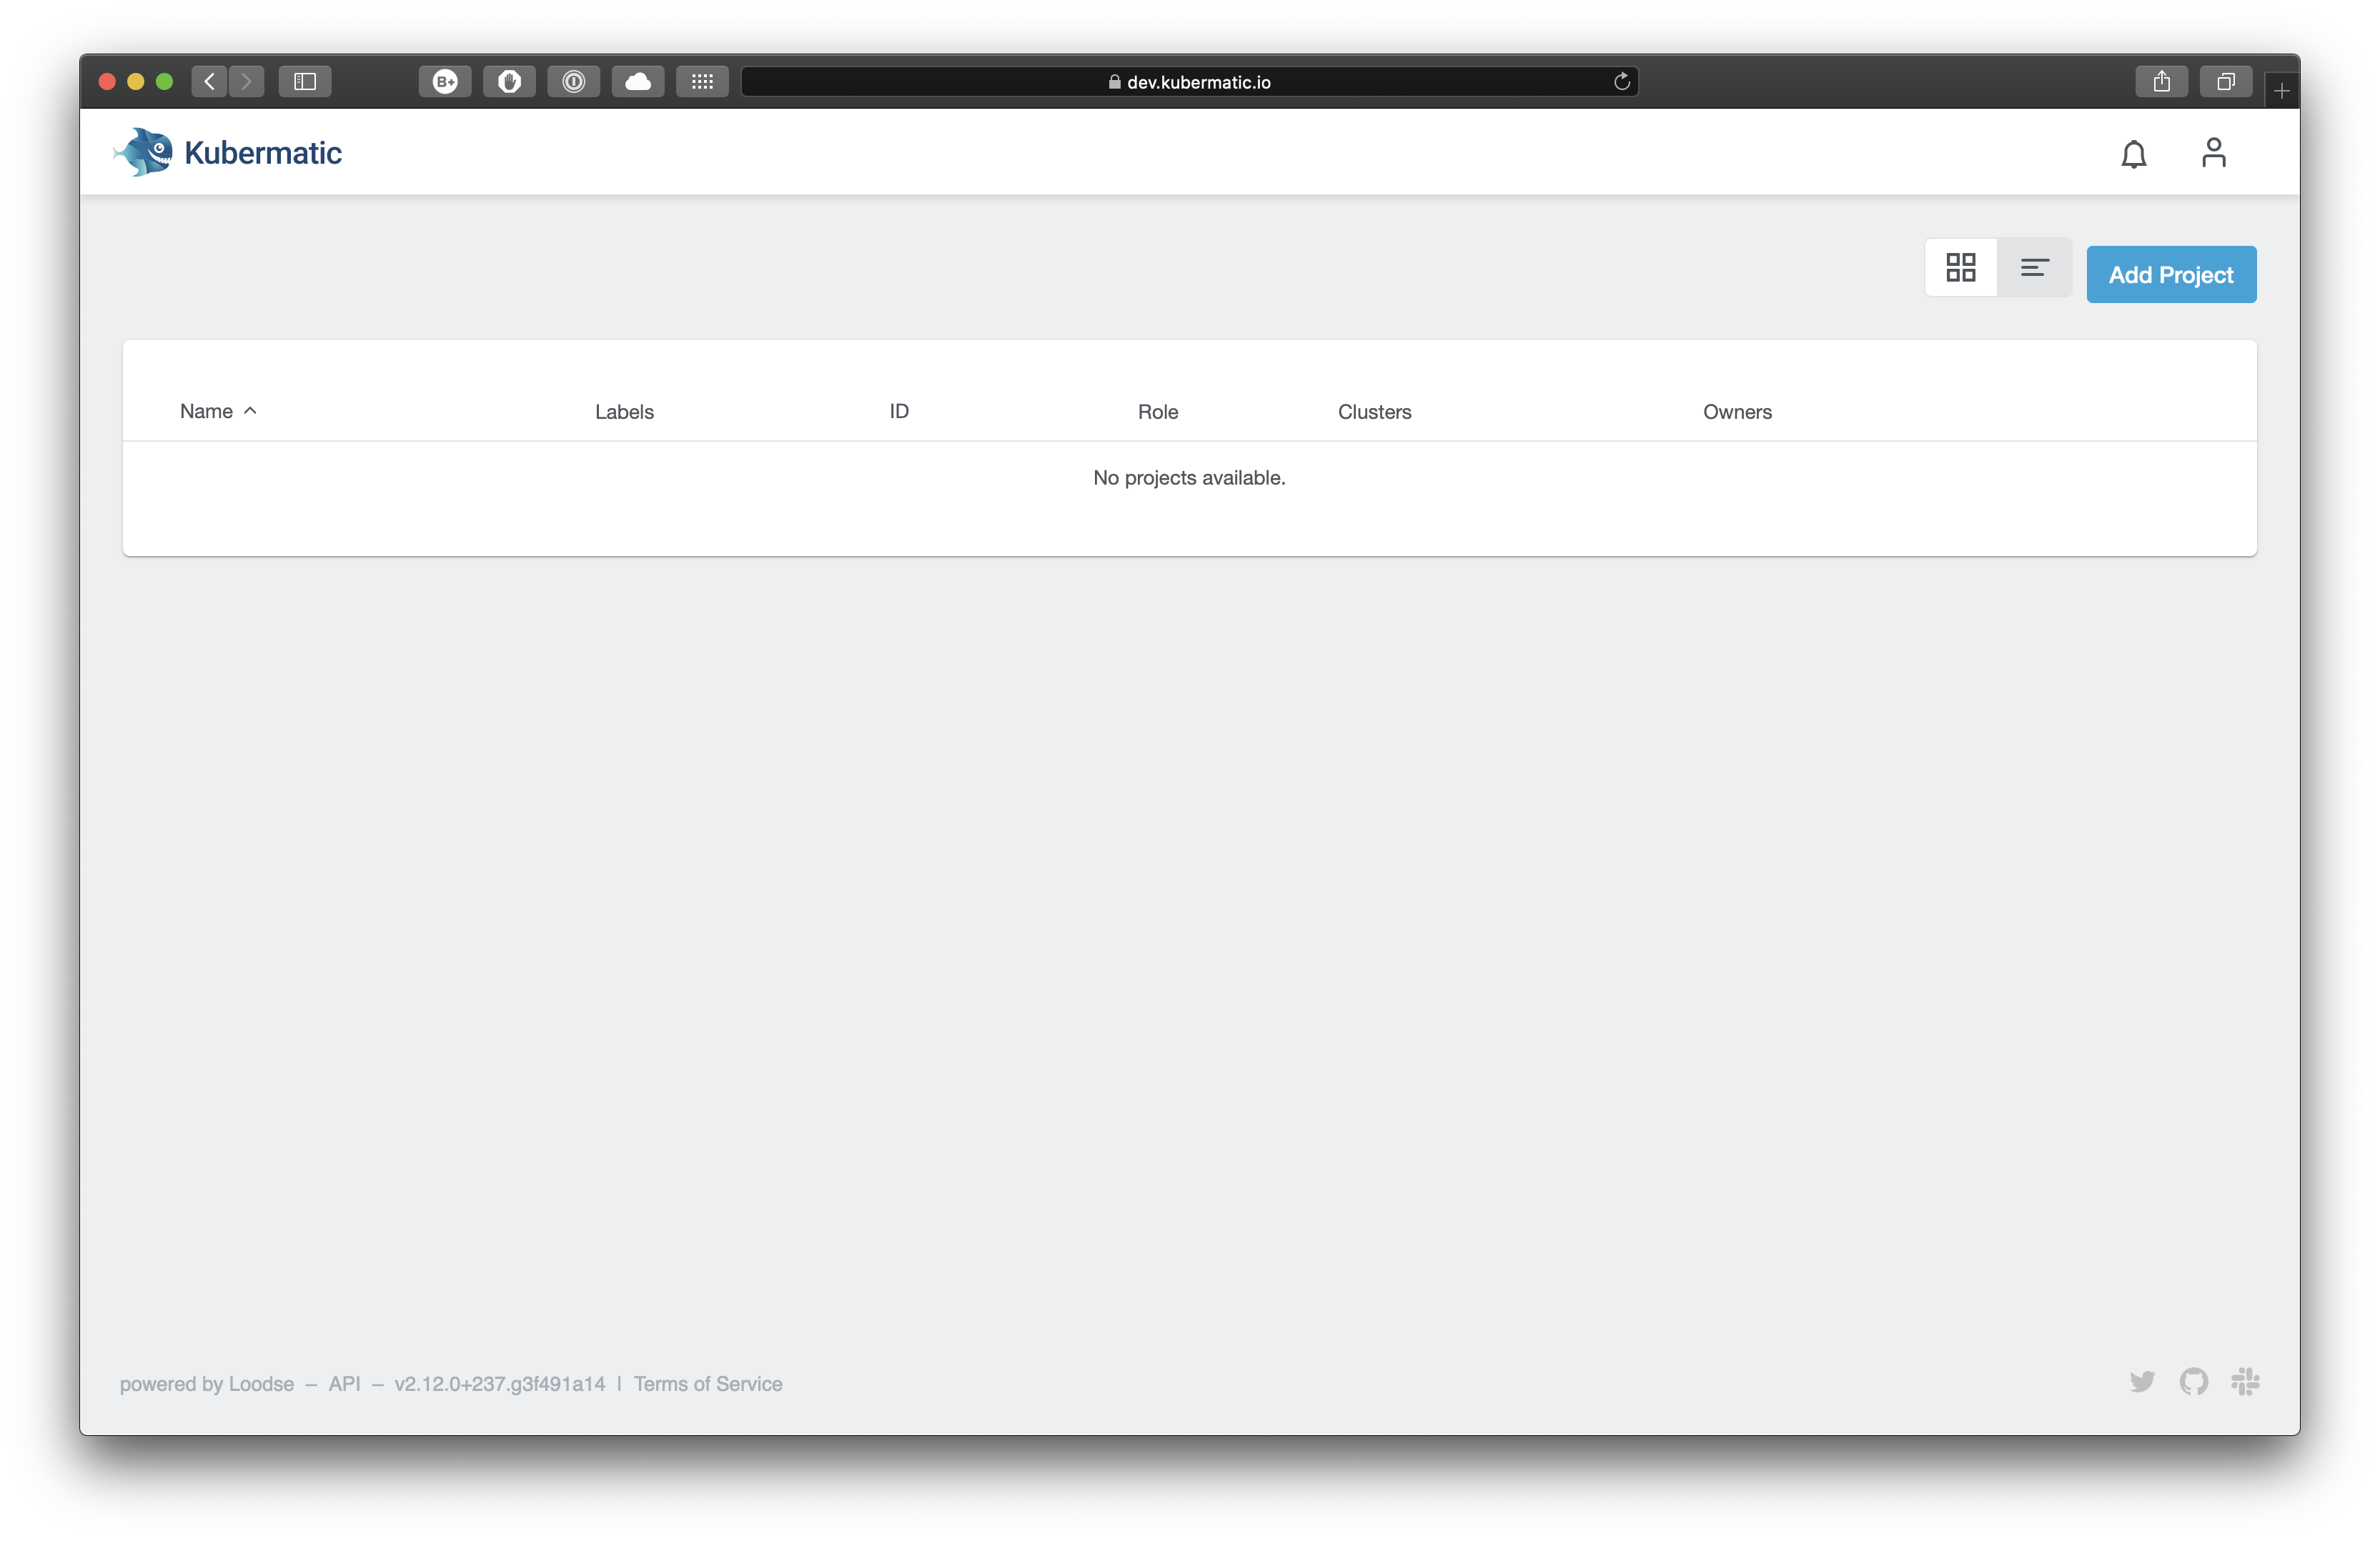
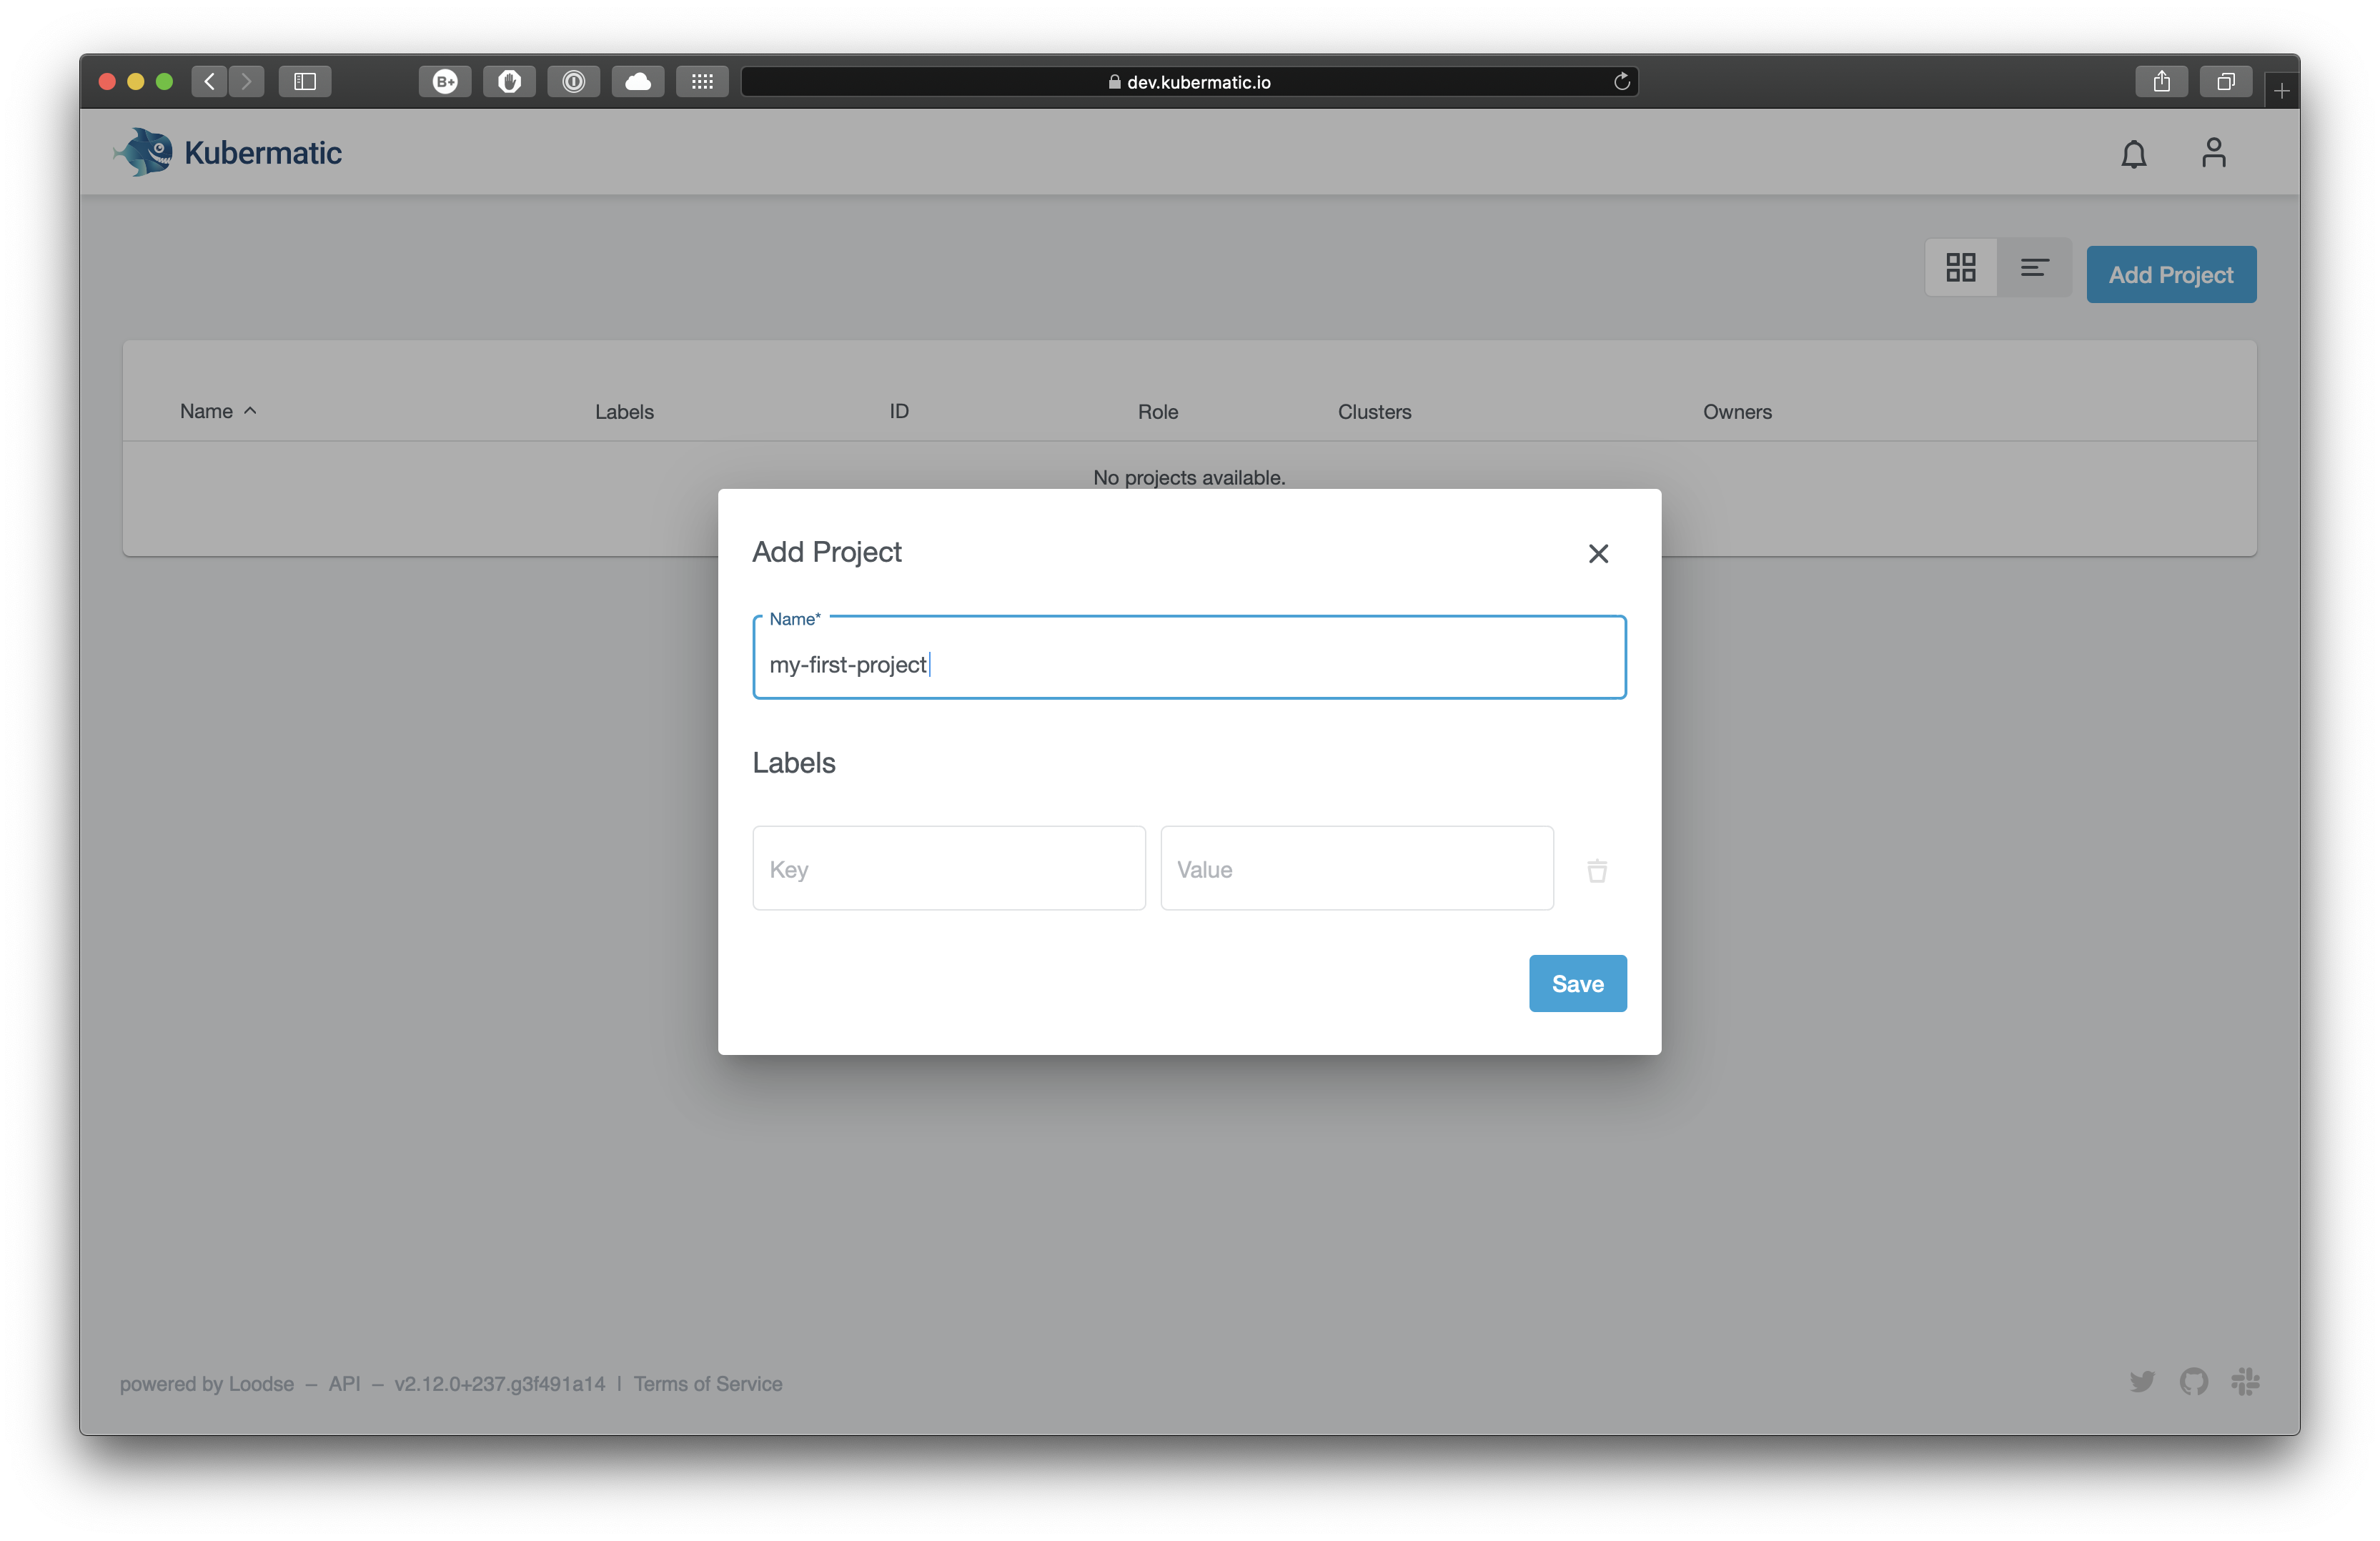
Click on the button above the table or the link below to table to create your first project. Give it a descriptive name and click “Save”.
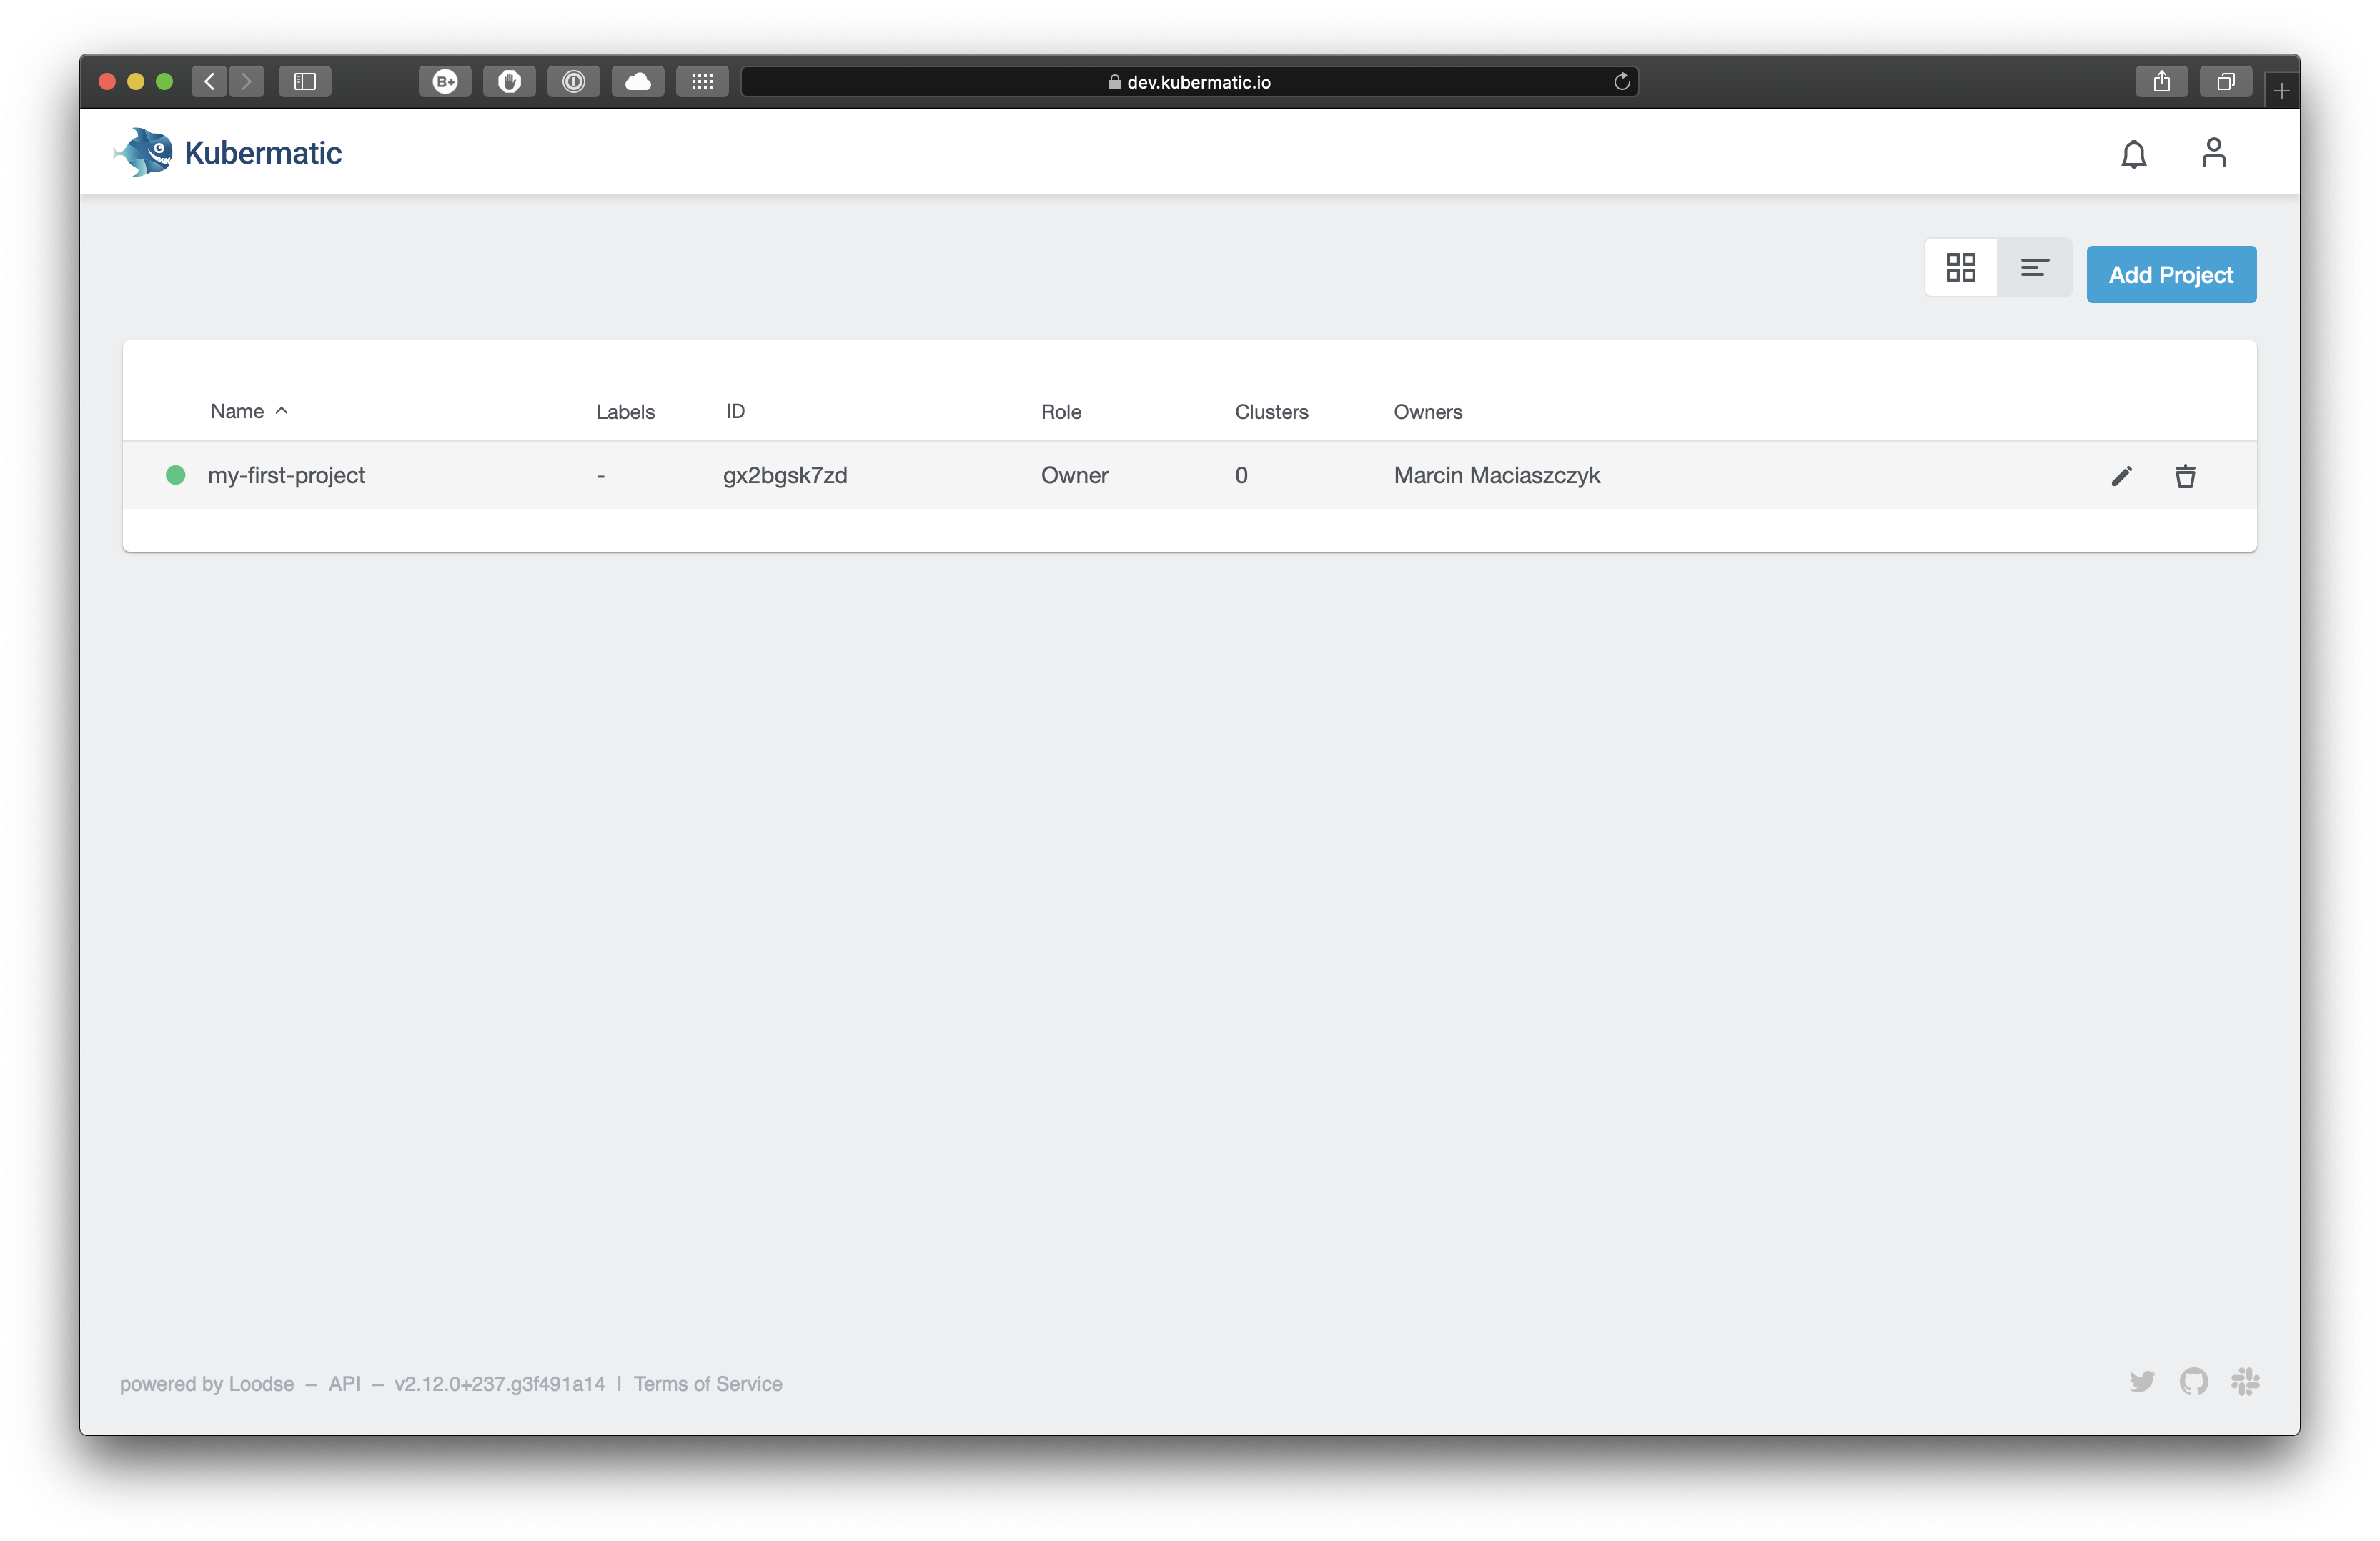
After a short moment, your project will be ready.
Step 2 – Select Your Current Project
To manage clusters, you need to select in which project you would like to work. This can be achieved by either clicking the project in the project list or by using the dropdown in the top-left corner (it is visible only when you are already in one of the projects).
After selecting the current project, the menu items for managing clusters, members and service accounts become active.
Step 3 – Create a Cluster
Refer to the cluster documentation for more information on how to create and manage clusters.
Step 4 – Manage Project Members
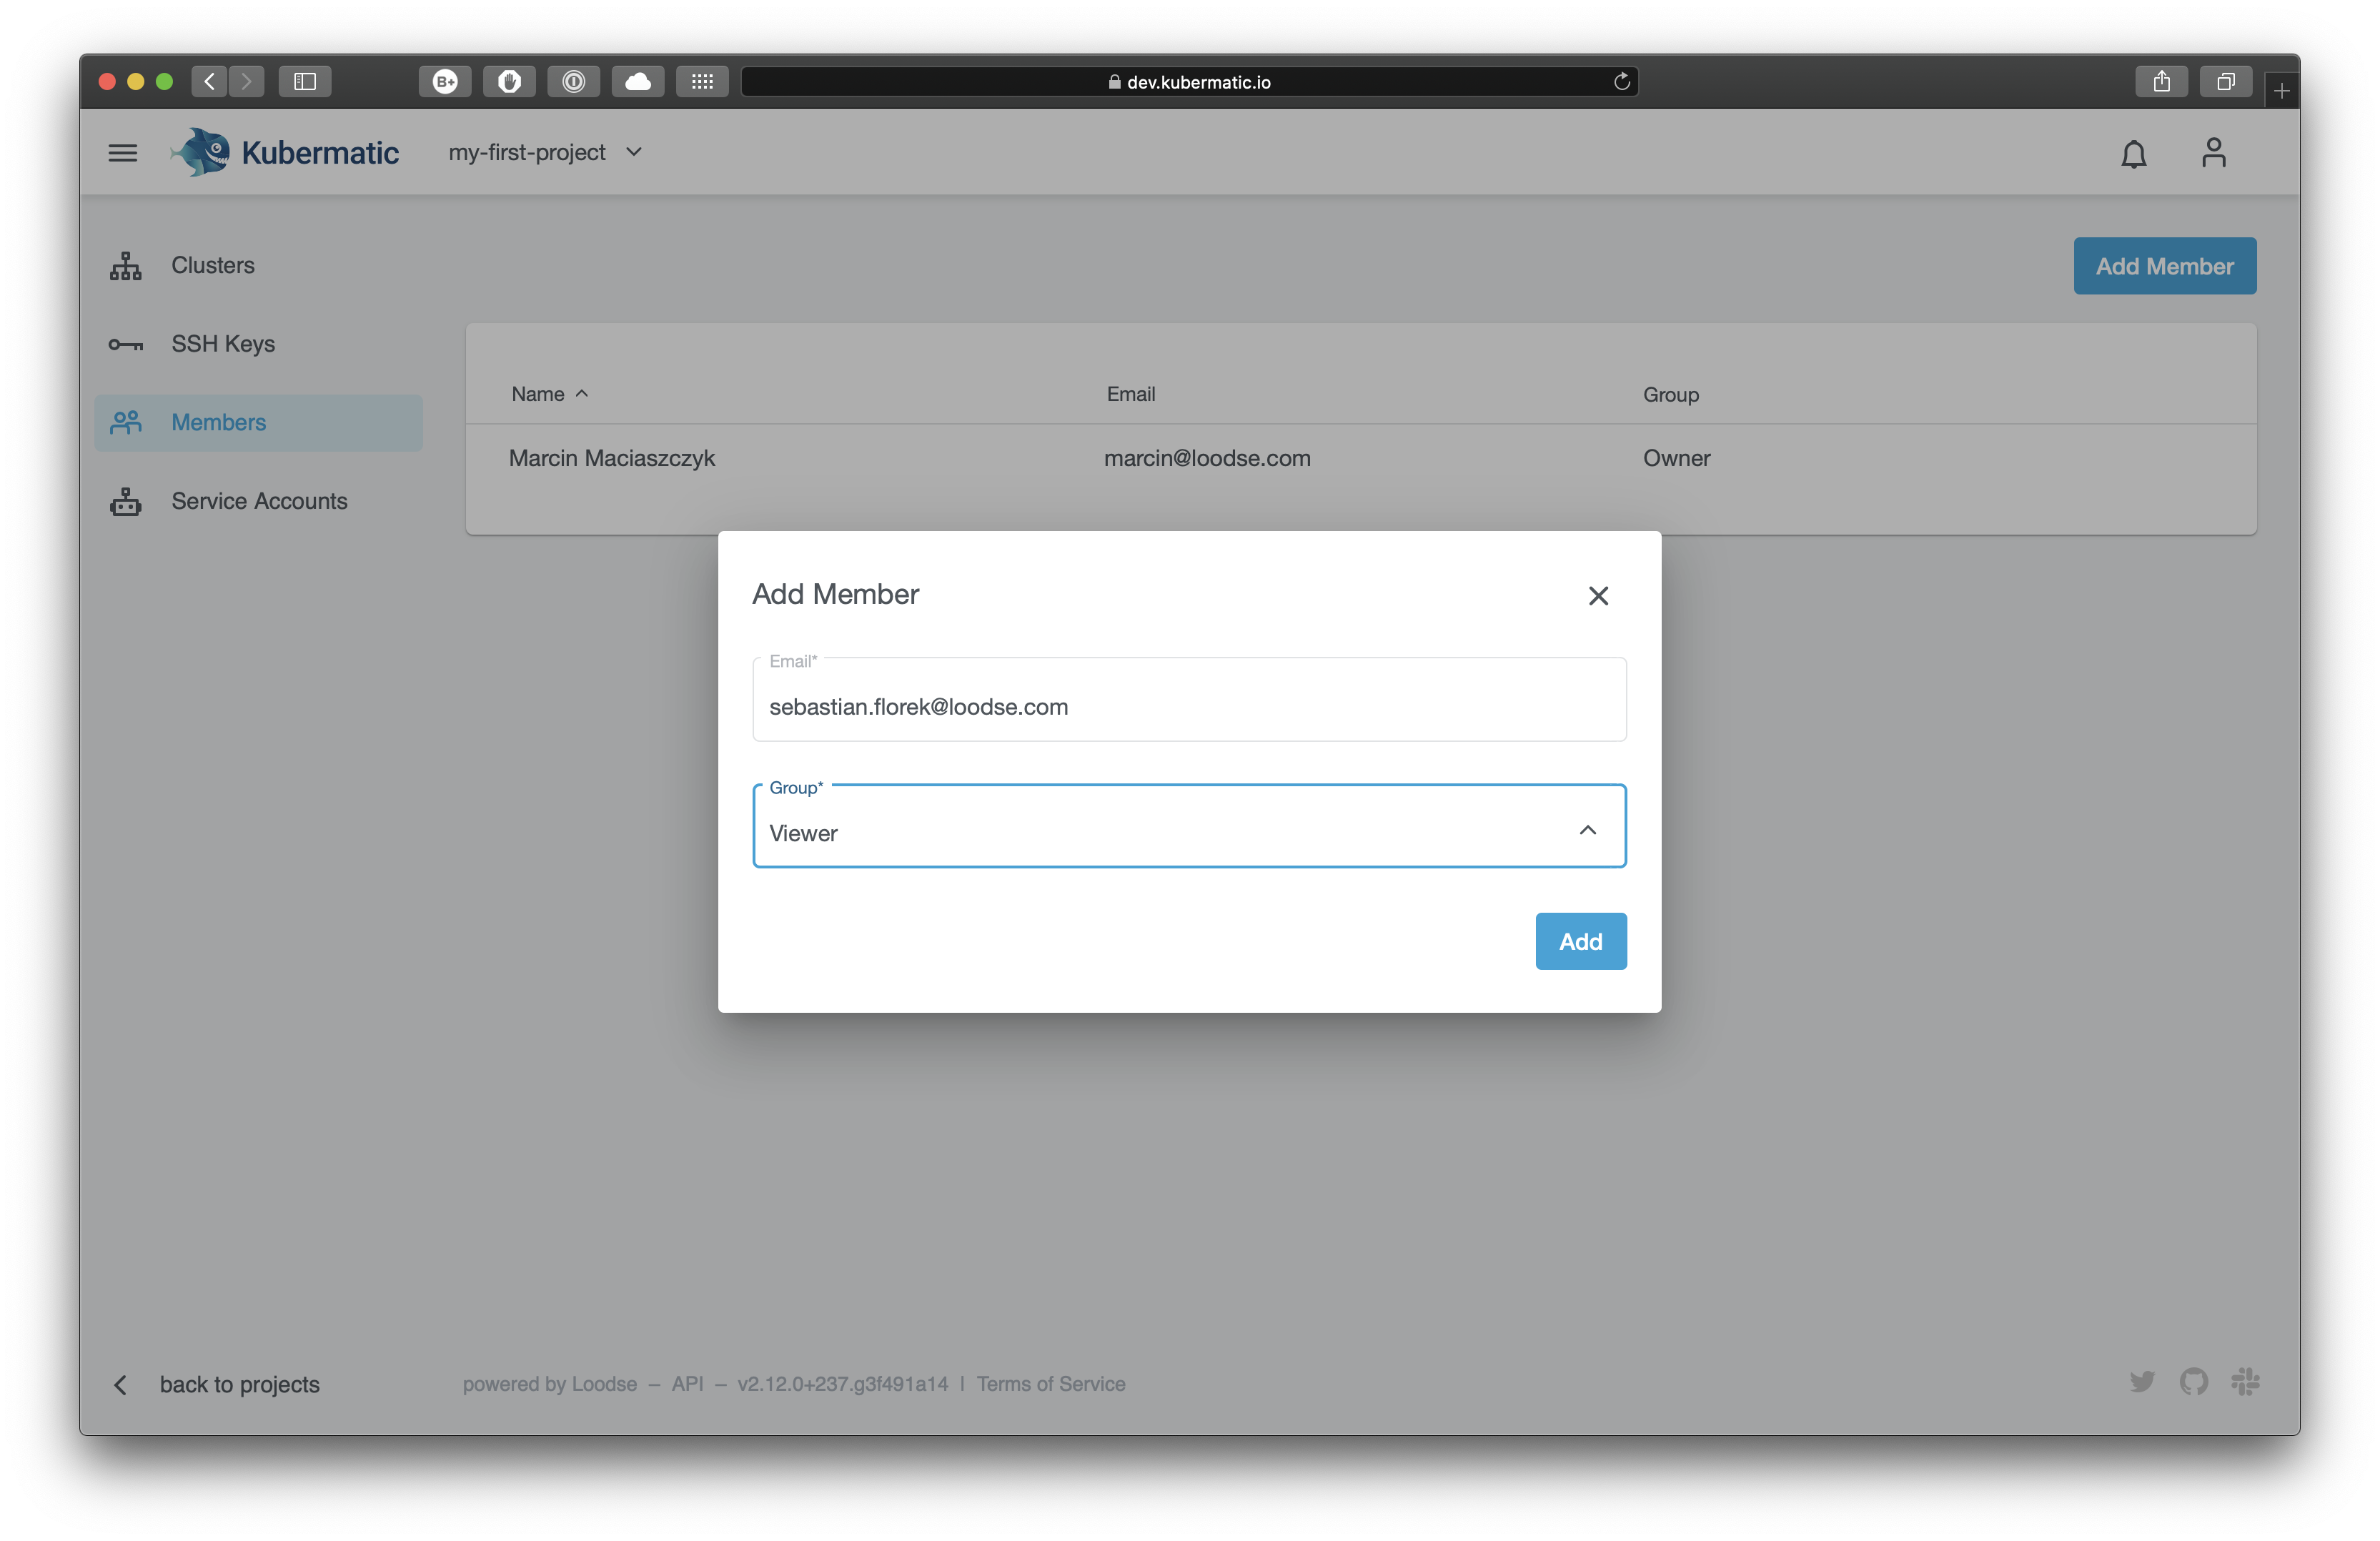
After selecting a project like in step 2, click on “Members” in the menu on the left to see the list of active members. If you are the owner, you can add and remove members in your project. To add a member, just like adding a project or a cluster, use the button above the member list. Add the e-mail address of an existing user and define their role in the project.
- Editors have write access to your project and can manage clusters, nodes and SSH keys.
- Viewers have read-only access and can only view the existing resources.
You can change the role for a user or remove them altogether at any time.
After adding a user to a project, the project will immediately show up in the user’s project list.
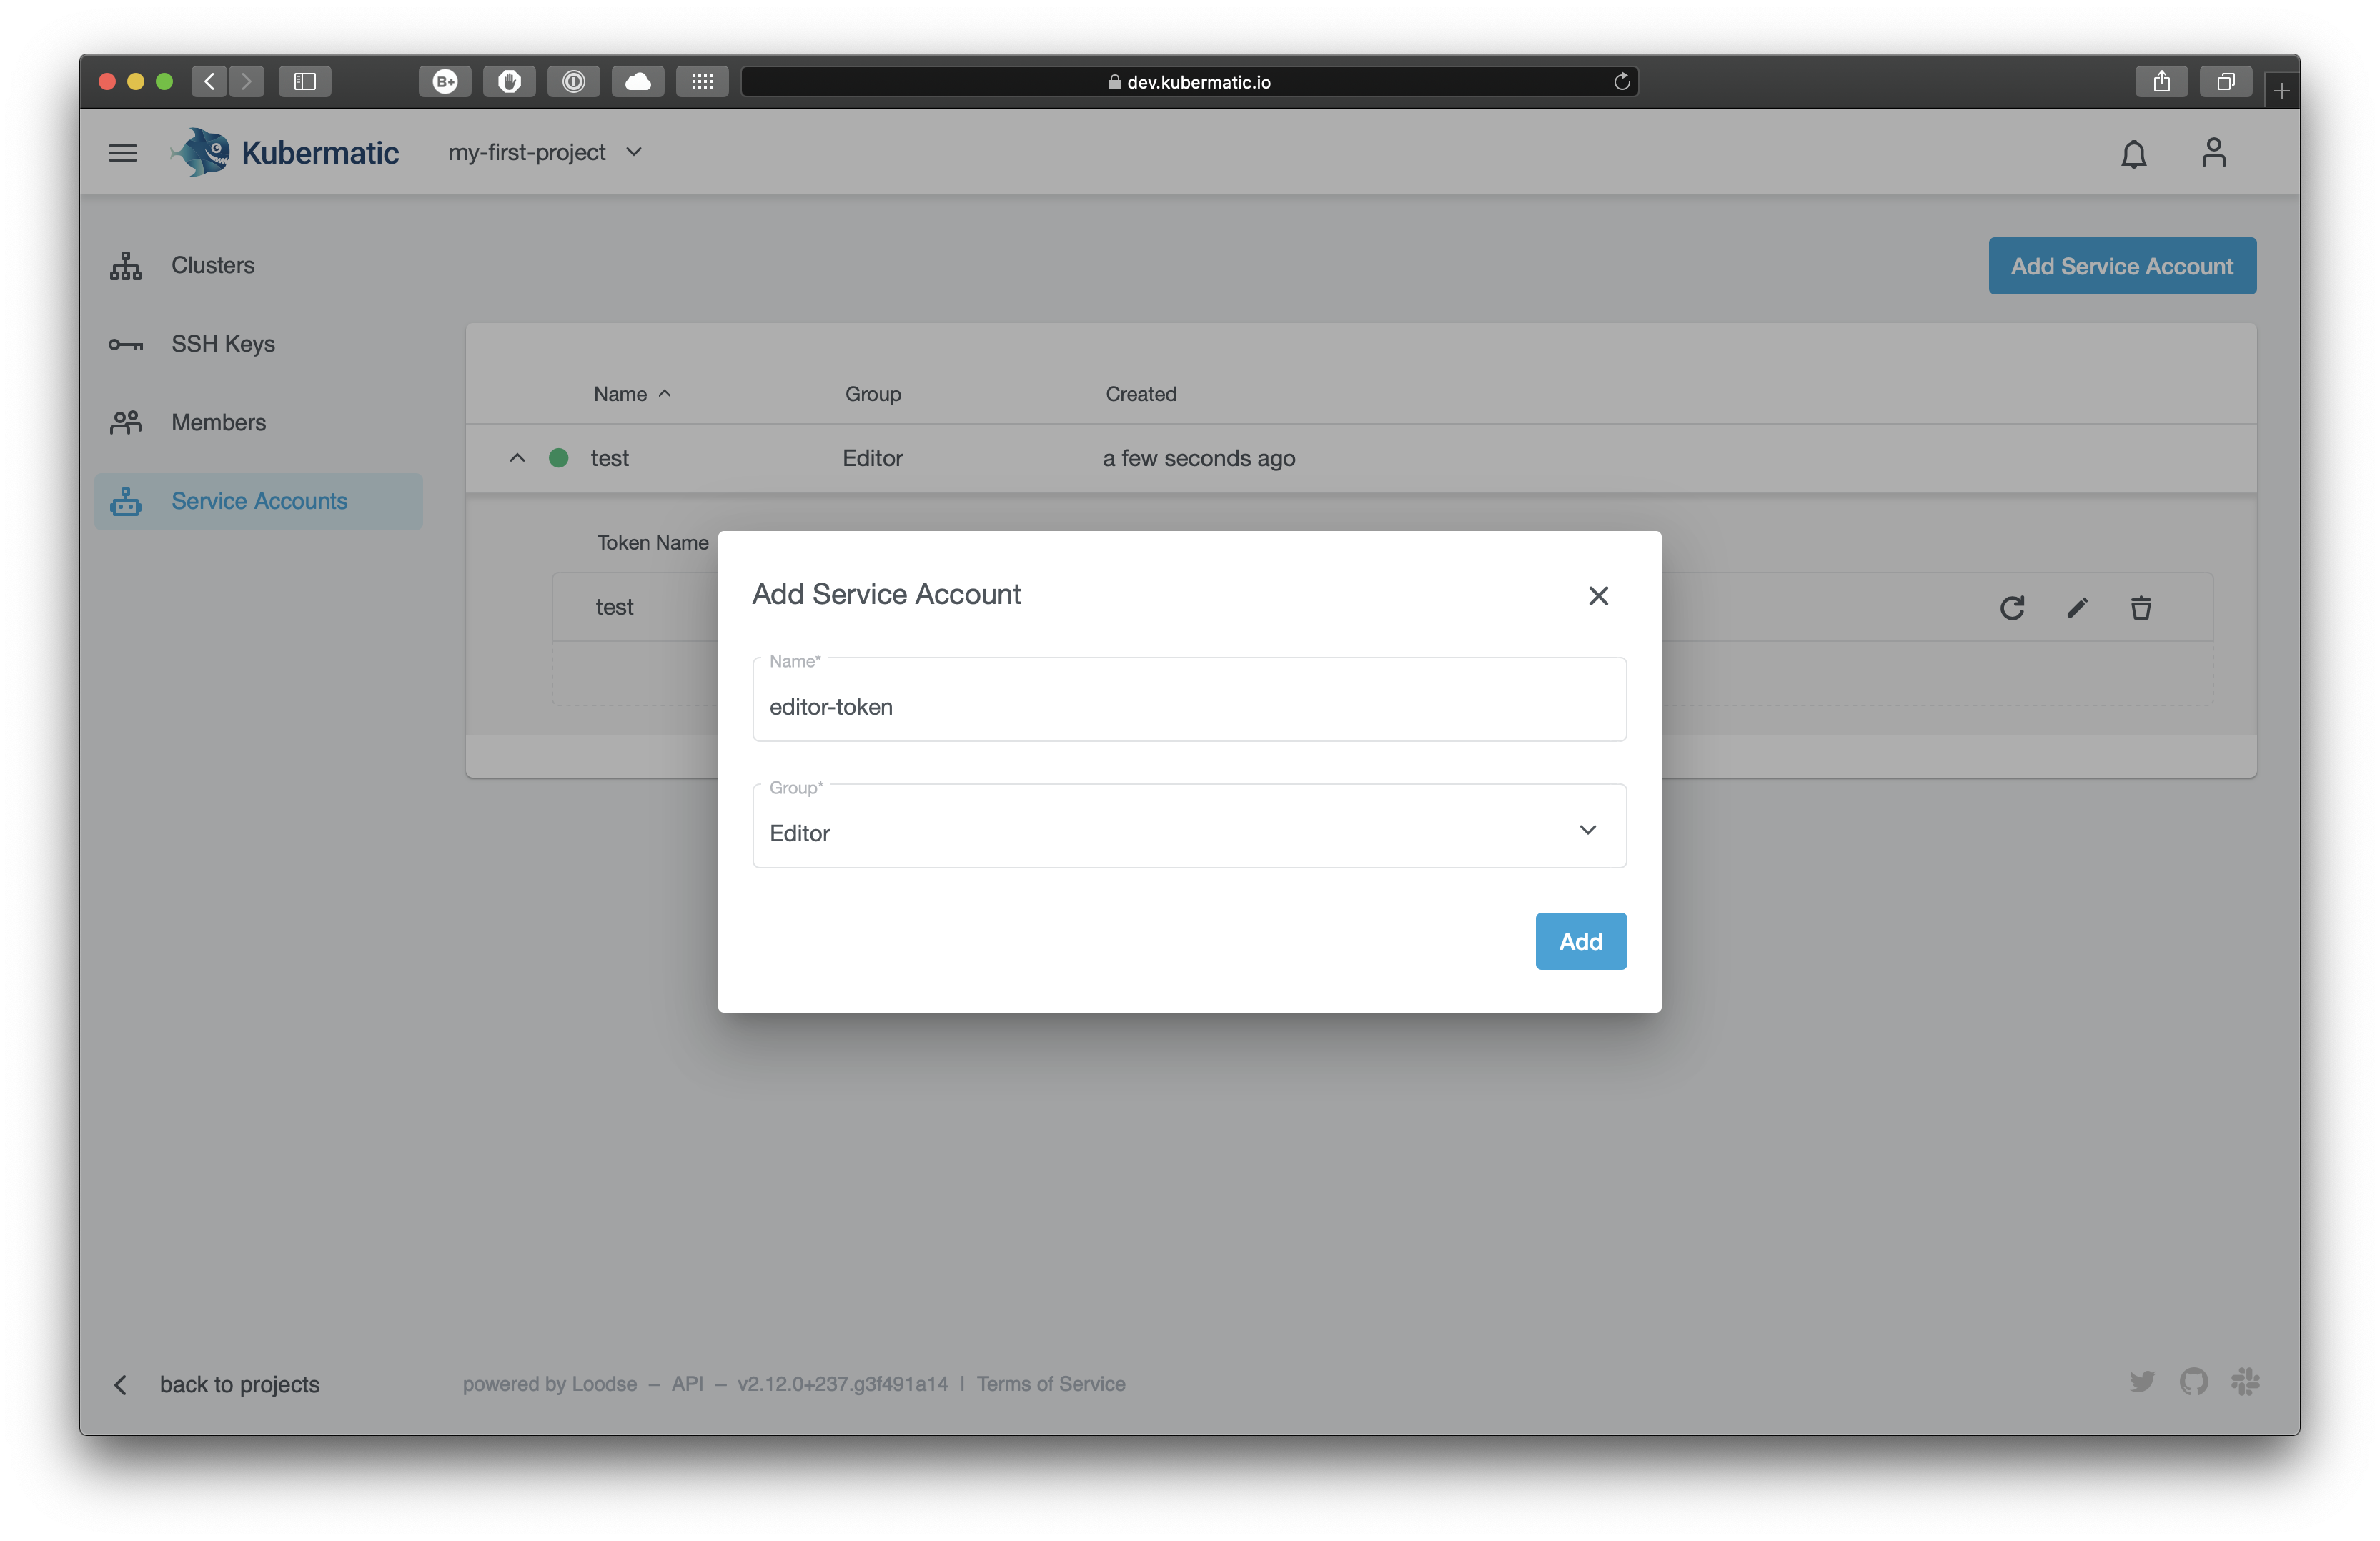
Step 5 - Manage Project Service Accounts
After selecting a project like in step 2, click on “Service Accounts” in the menu on the left to see the list of active service accounts. If you are the owner of the project, you can add and remove service accounts and manage tokens that belong to them as well. To add a service account, just like adding a project or a cluster, use the button above the service account list. Add the name and select the group to assign.
- Editors have write access to your project and can manage clusters, nodes and SSH keys.
- Viewers have read-only access and can only view the existing resources.
You can change the role for a service account or remove them altogether at any time.