Using the installer is the recommended way of installing Kubermatic Kubernetes Platform (KKP) into your cluster. It provides a simple web wizard for configuration and automates the installation of all required components.
At the moment you need to be invited to get access to KKP’s Docker registry before you can try it out. Please contact sales to receive your credentials.
Quickstart
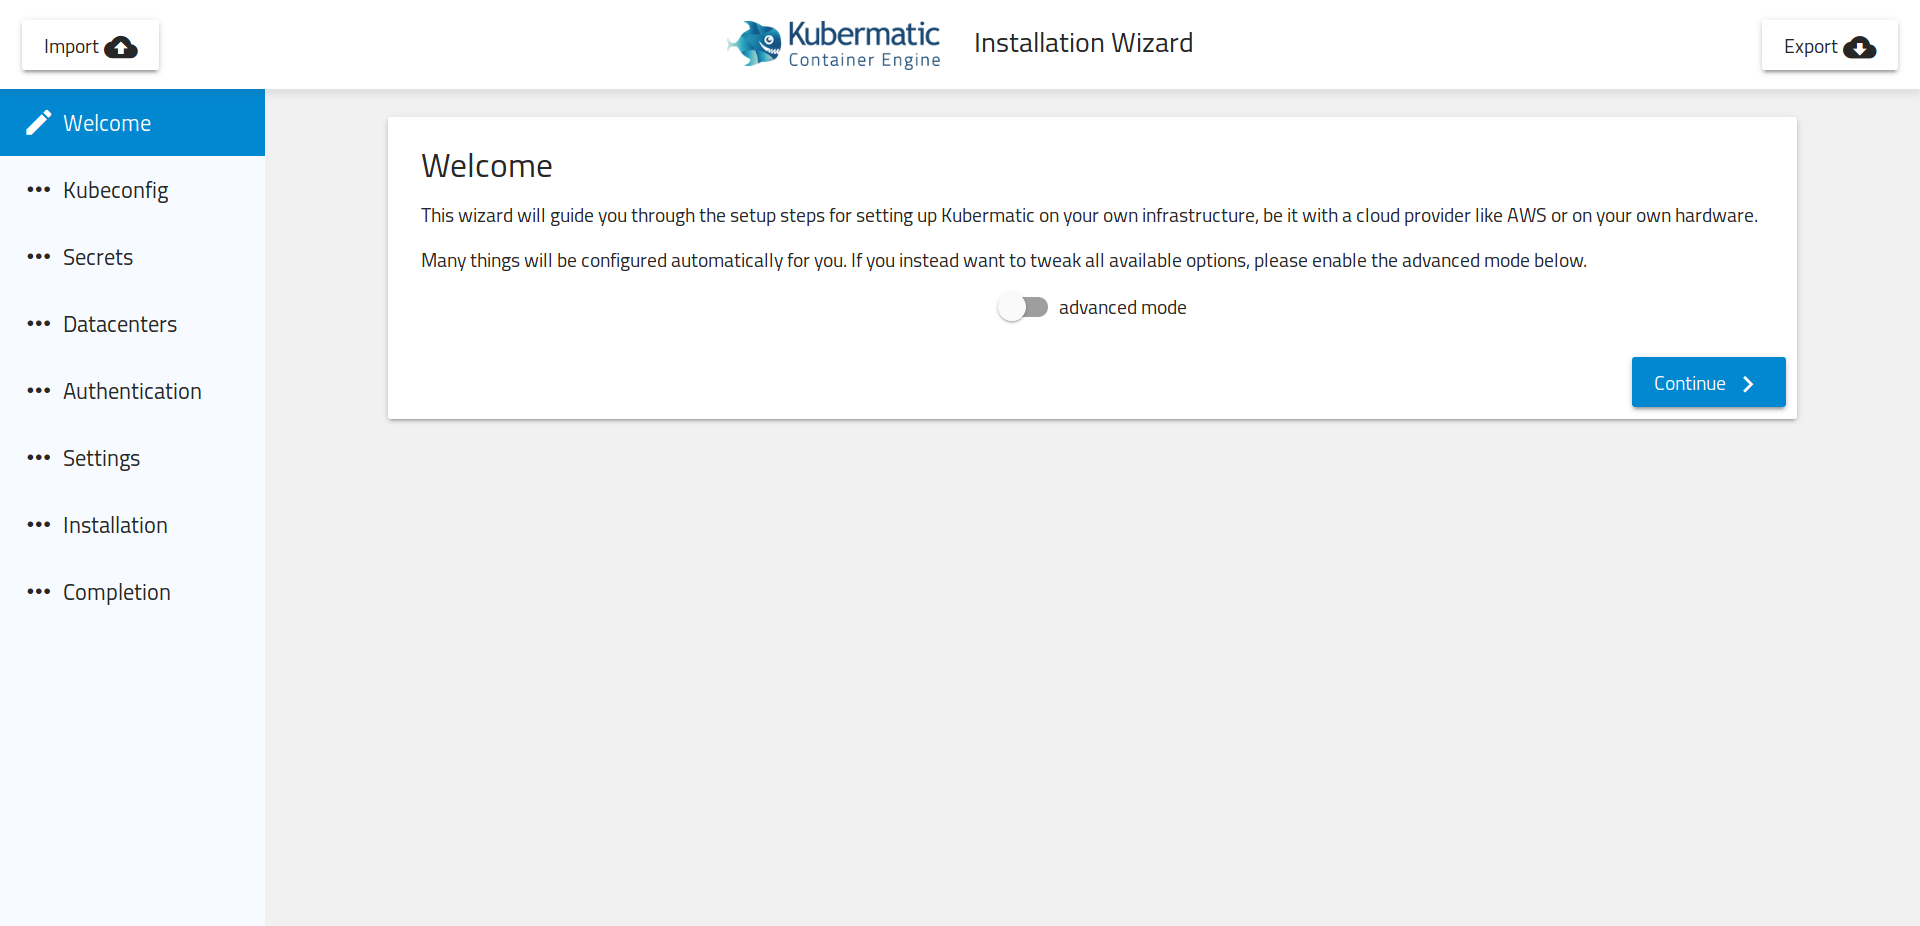
The installer is available via Docker and can be run by
docker run --rm -p 8080:8080 quay.io/kubermatic/installer wizard
and then opening localhost:8080 in your browser. Follow the steps and you should be up and running in no time.
Because the installer runs inside a Docker container, it cannot access any cluster authentication providers on your host machine, like Amazon’s aws-iam-authenticator. Make sure to provide static credentials in your kubeconfig or use the kubeconfig-serviceaccounts.sh script to automatically add static accounts to your clusters (see credentials section below).
If you feel more comfortable with using Helm, you can also use the installer to only create the values.yaml for you and the continue to use Helm for the actual installation.
In any case, make sure to download the installer manifest and the values.yaml when you’re done, so you can easily restart the installer at a later point to upgrade KKP.
Credentials
Because the Docker image cannot access your local development toolset, you need to provide static credentials in your kubeconfig to the installer. The recommended approach is to create a service account in your cluster that has cluster-admin permissions and then use this account’s token for authentication.
To aid in this process, the installer repository contains a kubeconfig-serviceaccounts.sh script that will automate the process. Create a copy of your ~/.kube/config and then call the script like so:
./kubeconfig-serviceaccounts.sh mykubeconfig
The script will update the file in-place. Afterwards you can copy&paste the file into the installer.
Pre-Requisites
Your cluster needs to have a storage class kubermatic-fast defined. The installer can automatically create a class that is backed by SSD storage with the provider’s default settings, but in case you need further customizations, create it before running the installer.
Limitations
Please note the following limitations in the current installer:
- You cannot run KKP in KKP.
- The
kubeconfigneeds to contain exactly one cluster and context. - It’s not yet possible to automatically install separate master and seed clusters.
- Your cluster needs to have a
kubermatic-faststorage class already existing or run on GKE, EKS or ASK. - Because we install Tiller in the
kubermaticnamespace, thekubeconfigneedscluster-adminpermissions. - You need publicly reachable hosts and be able to point DNS records to them in order for KKP to acquire TLS certificates from Let’s Encrypt.
We are working on removing these limitations in the future.