Share Clusters via Delegated OIDC Authentication
The purpose of this feature is to allow using an OIDC provider like dex to authenticate to a Kubernetes cluster
managed by Kubermatic Kubernetes Platform (KKP). This feature can be used to share access to a cluster with other users.
Note: This feature is experimental and not enabled by default. See the prerequisites section for instruction on how to enable this for your installation.
How Does It Work
This section will demonstrate how to obtain and use the kubeconfig to connect to a cluster owned by a different user.
Note that the user to which the kubeconfig is shared will not have any permissions inside that shared cluster unless explicitly granted
by creating appropriate RBAC bindings.
In order to demonstrate the feature we are going to need a working cluster. If you don’t have one please check the how to create a cluster section. If the feature was enabled on your installation you should see a “Share cluster” button after navigating to “Cluster details” page.

Right after clicking on the button you will see a modal window where you can copy the generated link to your clipboard.
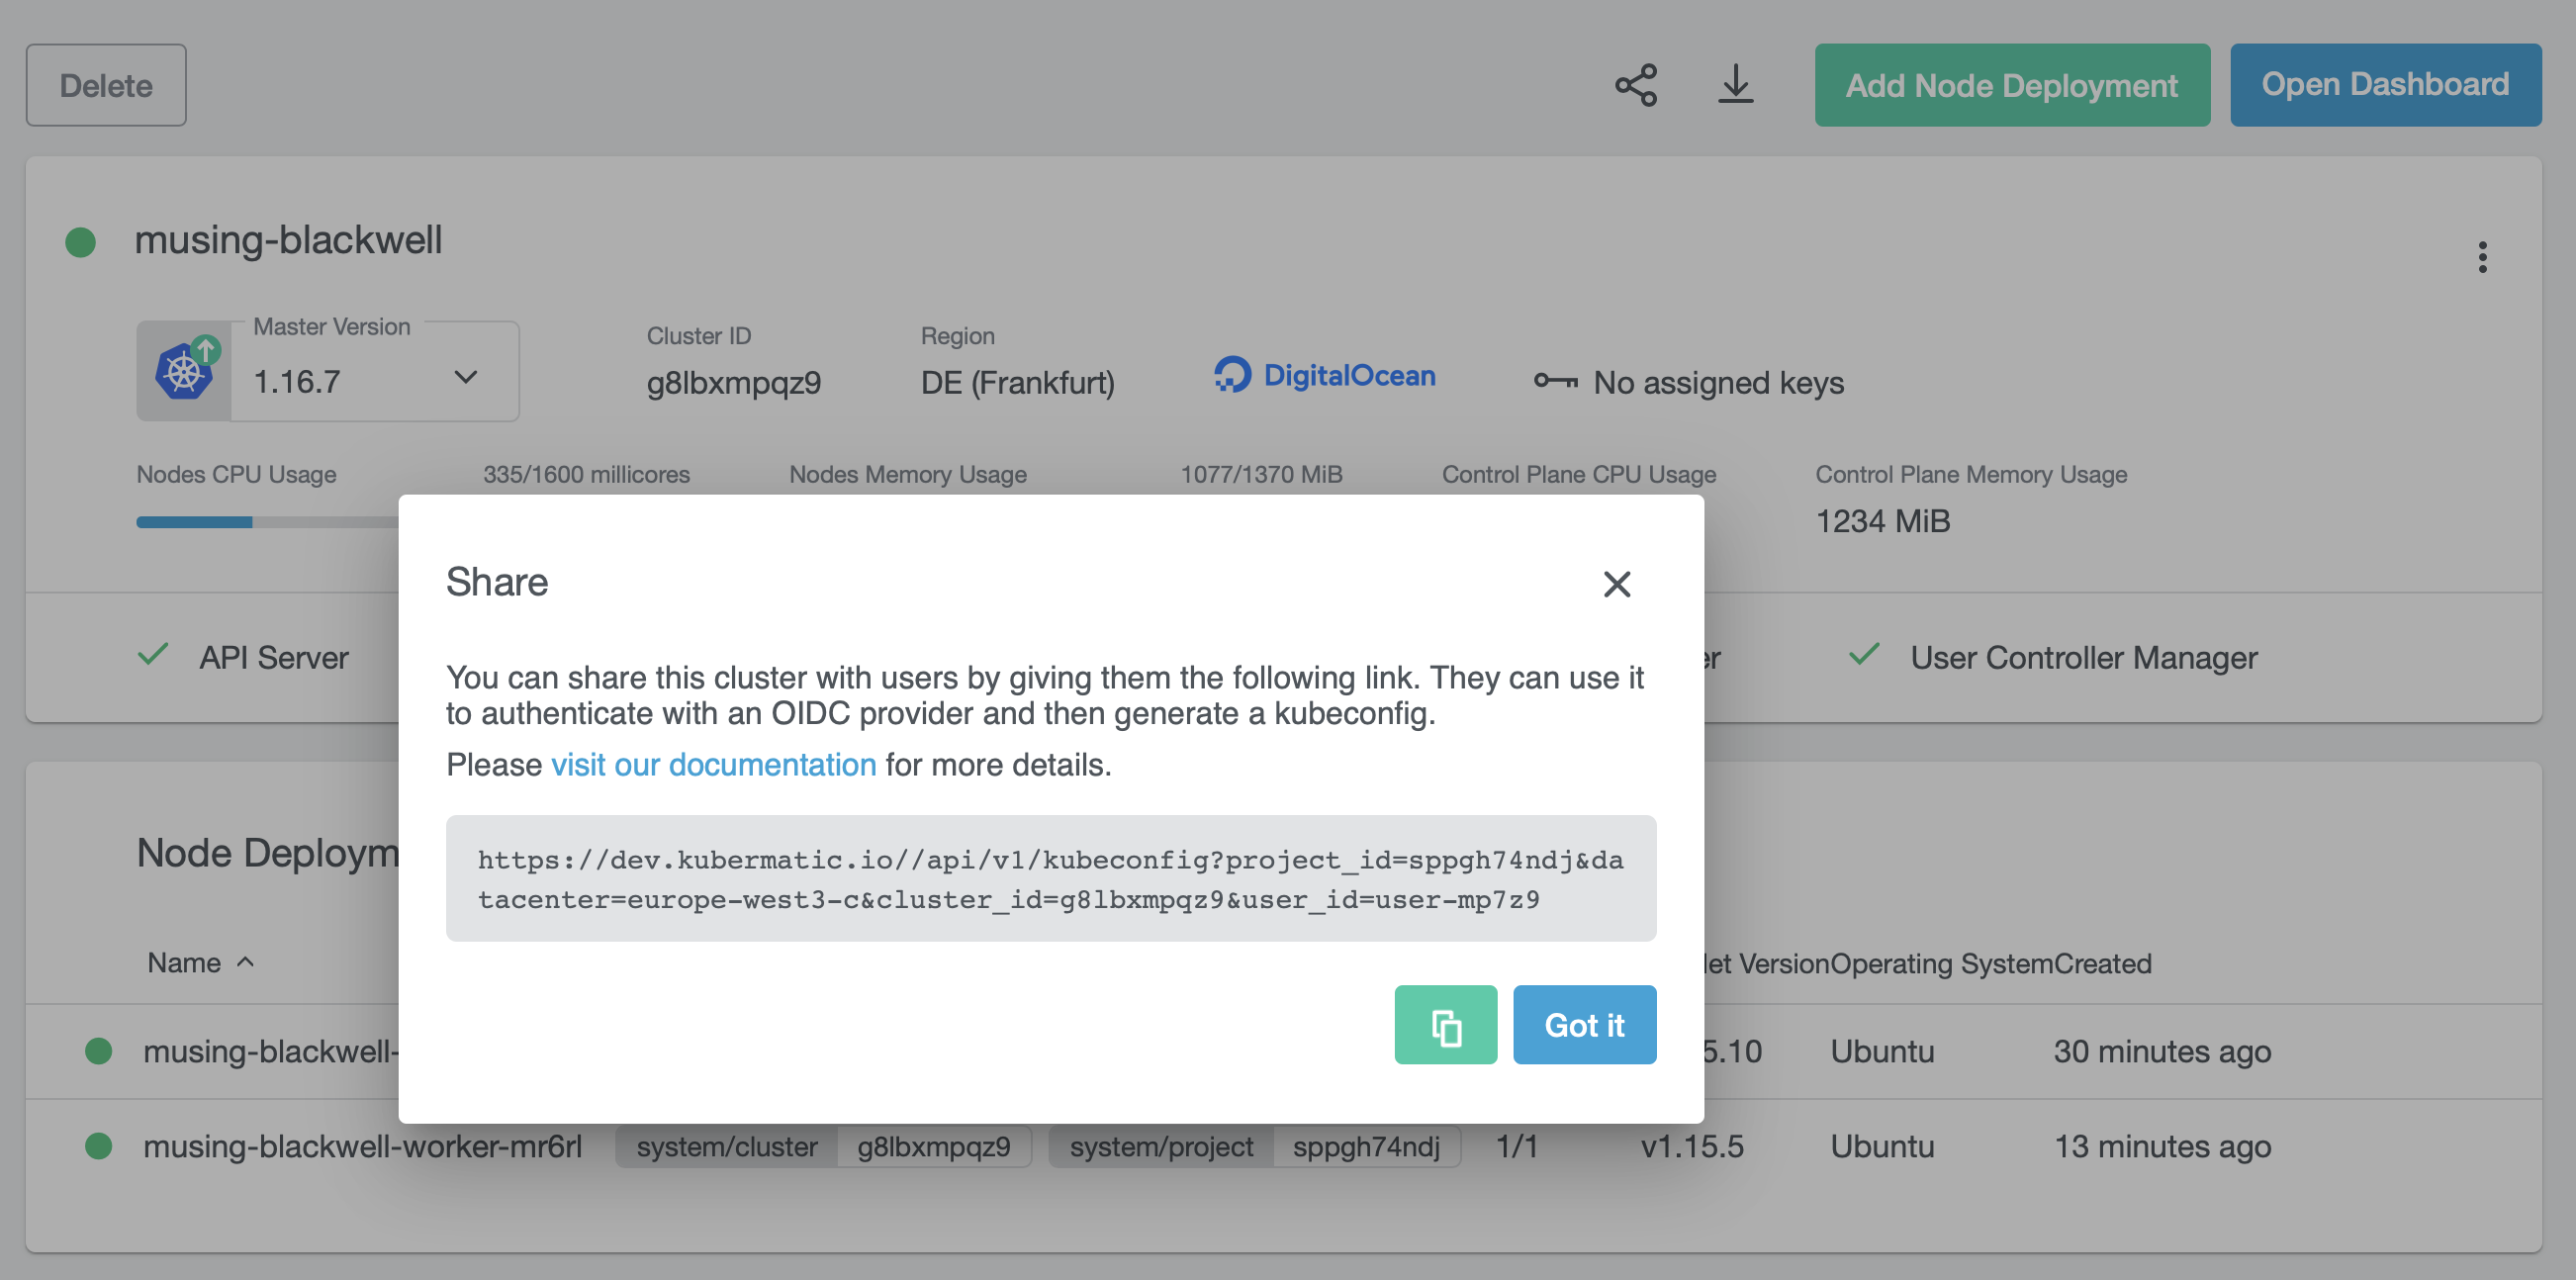
You can now share this link with anyone that can access the KKP UI. After login, that person will get a download link for a
kubeconfig.
In order for the shared kubeconfig to be of any use, we must grant that other user some permissions. To do so, configure kubectl to
point to the cluster and create a rolebinding or clusterrolebinding, using the email address of the user the kubeconfig was
shared to as value for the user property.
The following example command grants read-only access to the cluster to lukasz@kubermatic.com:
kubectl create clusterrolebinding lukaszviewer --clusterrole=view --user=lukasz@kubermatic.com
Now it’s time to let the user the cluster was shared to use the config and list some resources for example pods.
Even though there might be no pods running at the moment the command will not report any authorization related issues.
kubectl get pods
No resources found.
If the lukaszviewer binding gets deleted or something else goes wrong, the following output is displayed instead:
kubectl get pods

Error from server (Forbidden): pods is forbidden: User "lukasz@kubermatic.com" cannot list pods in the namespace "default"
Prerequisites
In order to enable the feature the necessary flags must be passed to various applications.
This is best done by directly changing the entries in the corresponding values.yaml file.
kubermatic-api-server must be run with the following flags.
--feature-gates={{ .Values.kubermatic.api.featureGates }} # must contain "OIDCKubeCfgEndpoint=true"
--oidc-issuer-redirect-uri={{ .Values.kubermatic.auth.issuerRedirectURL }}
--oidc-issuer-client-id={{ .Values.kubermatic.auth.issuerClientID }}
--oidc-issuer-client-secret={{ .Values.kubermatic.auth.issuerClientSecret }}
--oidc-issuer-cookie-hash-key={{ .Values.kubermatic.auth.issuerCookieKey }}
The value for .Values.kubermatic.auth.issuerCookieKey can be randomly generated (e.g. openssl rand -hex 32) and should have 32 or 64 bytes.
kubermatic-controller-manager must be run with the following flags:
--feature-gates={{ .Values.kubermatic.controller.featureGates }}  # must contain "OpenIDAuthPlugin=true"
--oidc-issuer-url={{ .Values.kubermatic.auth.tokenIssuer }}
--oidc-issuer-client-id={{ .Values.kubermatic.auth.issuerClientID }}
--oidc-ca-file={{ .Values.kubermatic.auth.caBundle }}
Note that .Values.kubermatic.auth.caBundle must contain OIDC provider’s root CA certificates chain, see Root CA certificates chain section that explains how to create the file.
config.json file for kubermatic-dashboard must contain "share_kubeconfig":true.
You can set it by changing the kubermatic.ui.config entry in the values.yaml file. Afterwards, update KKP.
Root CA Certificates Chain
In order to verify OIDC provider’s certificate in kubermatic-controller-manager when establishing TLS connection a public root CA certificate is required. Ideally the whole
chain including all intermediary CAs certificates. Note that we expect that all certificates will be PEM encoded.
For example if the certificate used by your provider was issued by Let’s Encrypt. You can visit Let’s Encrypt to download the necessary certificates and use the following command to prepare the bundle.
cat isrgrootx1.pem.txt lets-encrypt-x3-cross-signed.pem.txt > caBundle.pem
Update KKP
After all values are set at the values.yaml the installed helm charts kubermatic and oauth need to get updated (at the master cluster):
helm upgrade --install --wait --timeout 300 --values values.yaml --namespace oauth oauth charts/kubermatic/oauth
helm upgrade --install --wait --timeout 300 --values values.yaml --namespace kubermatic kubermatic charts/kubermatic/