Create a Cluster
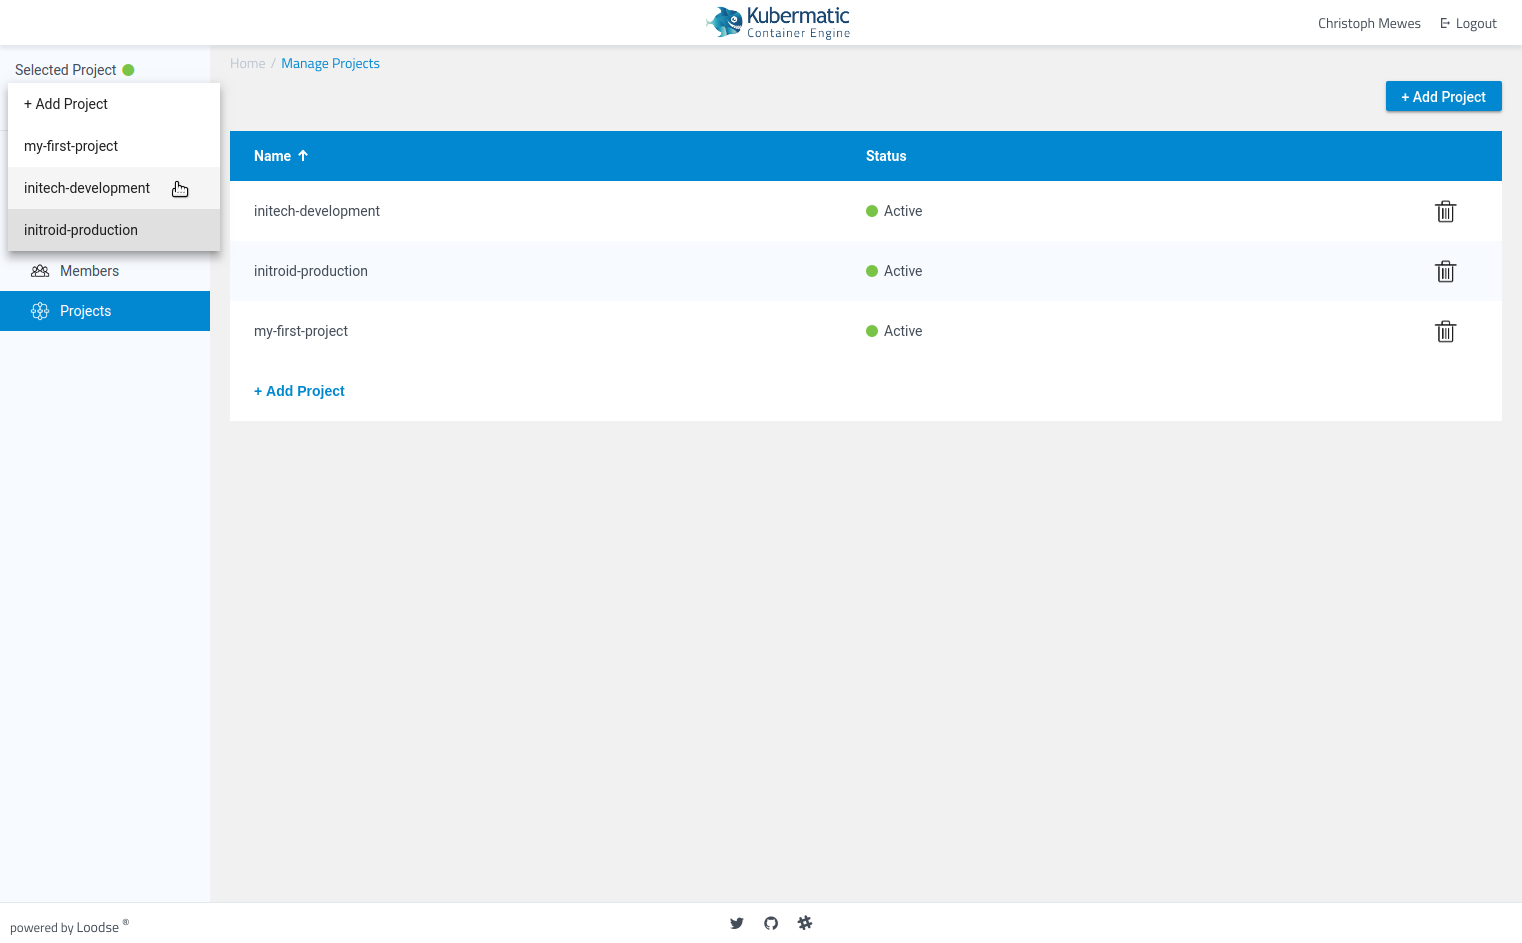
Step 1 – Select Your Project
Before you can manage clusters or SSH keys, select your current project by using the project list after you logged in or use the dropdown in the top left corner of the page. After choosing the project, the relevant menu items will become active.
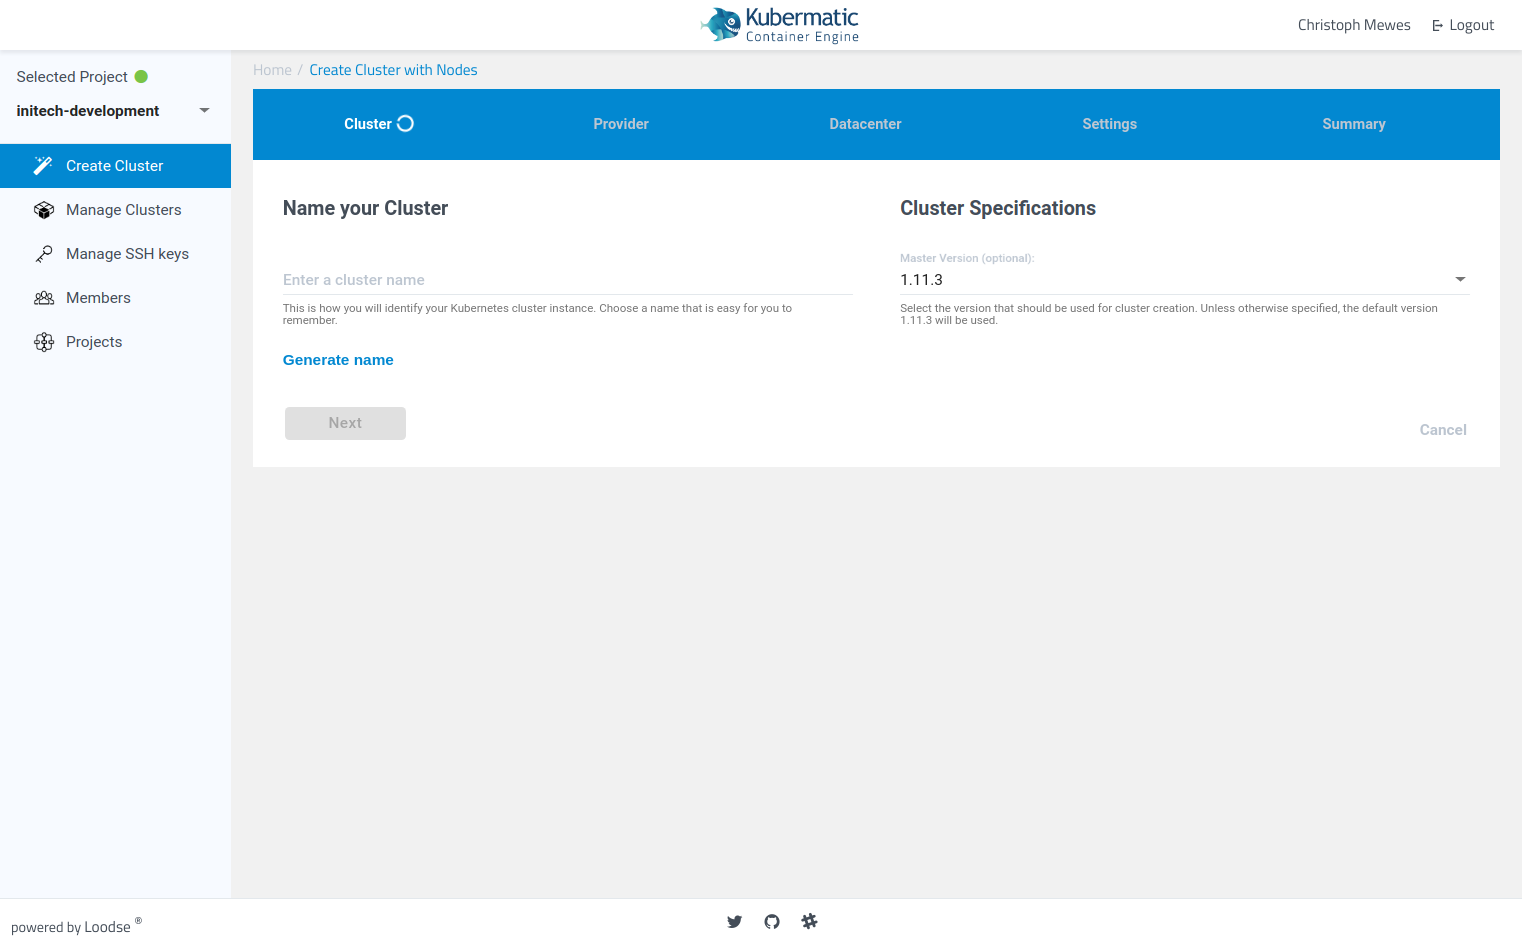
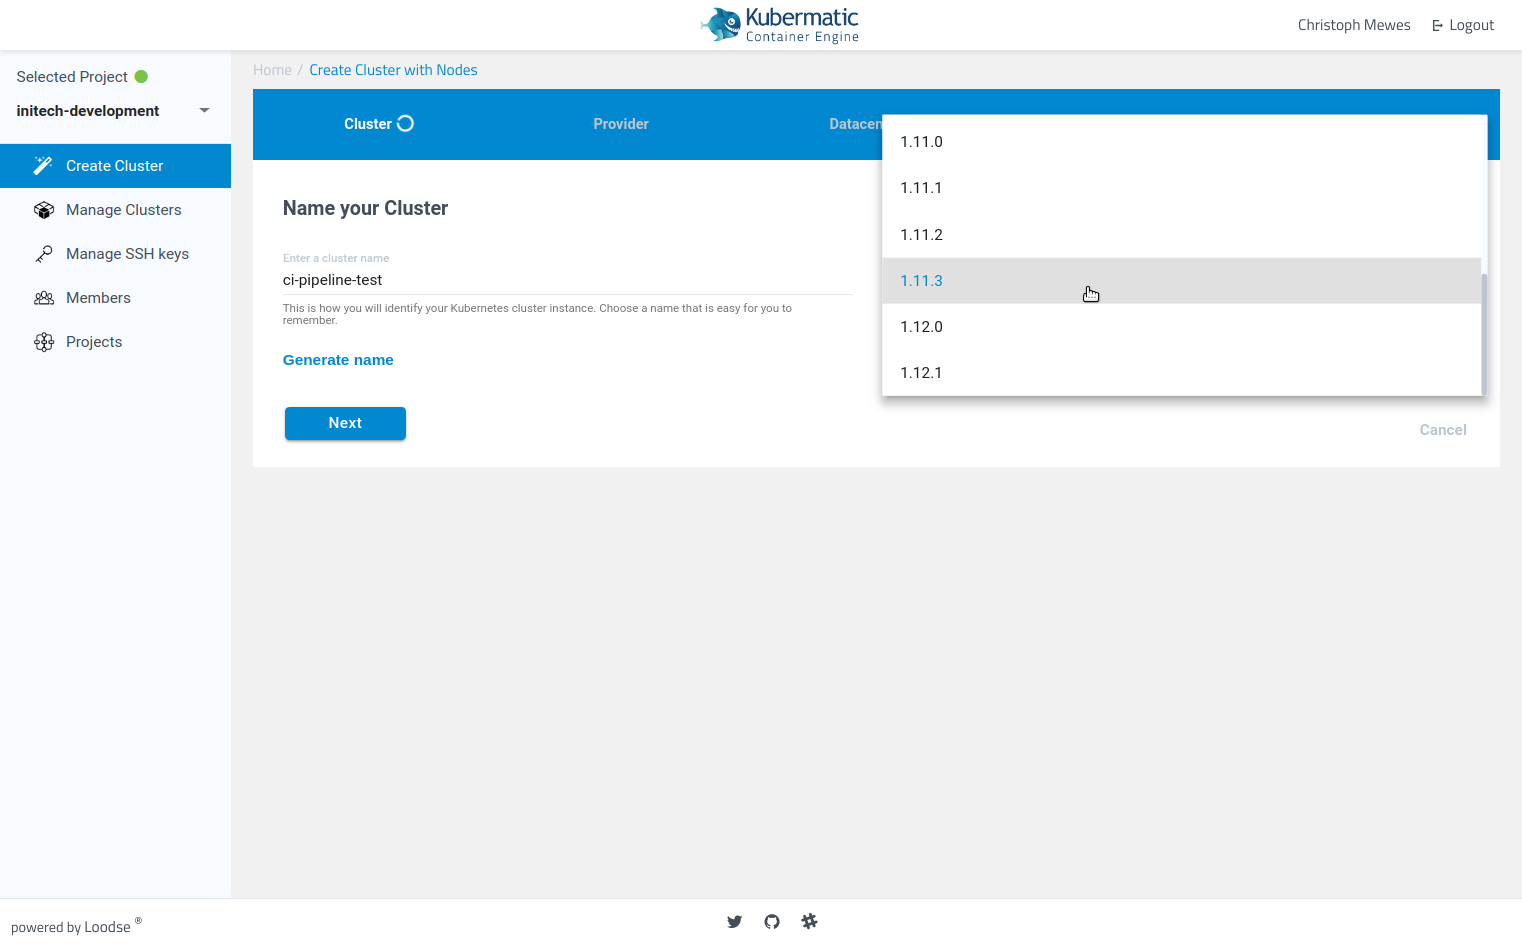
Step 2 – Specify the Cluster Name and Kubernetes Version
The cluster name is how you will identify your Kubernetes cluster instance. Choose a name that is easy for you to remember. You must also select your desired Kubernetes version.
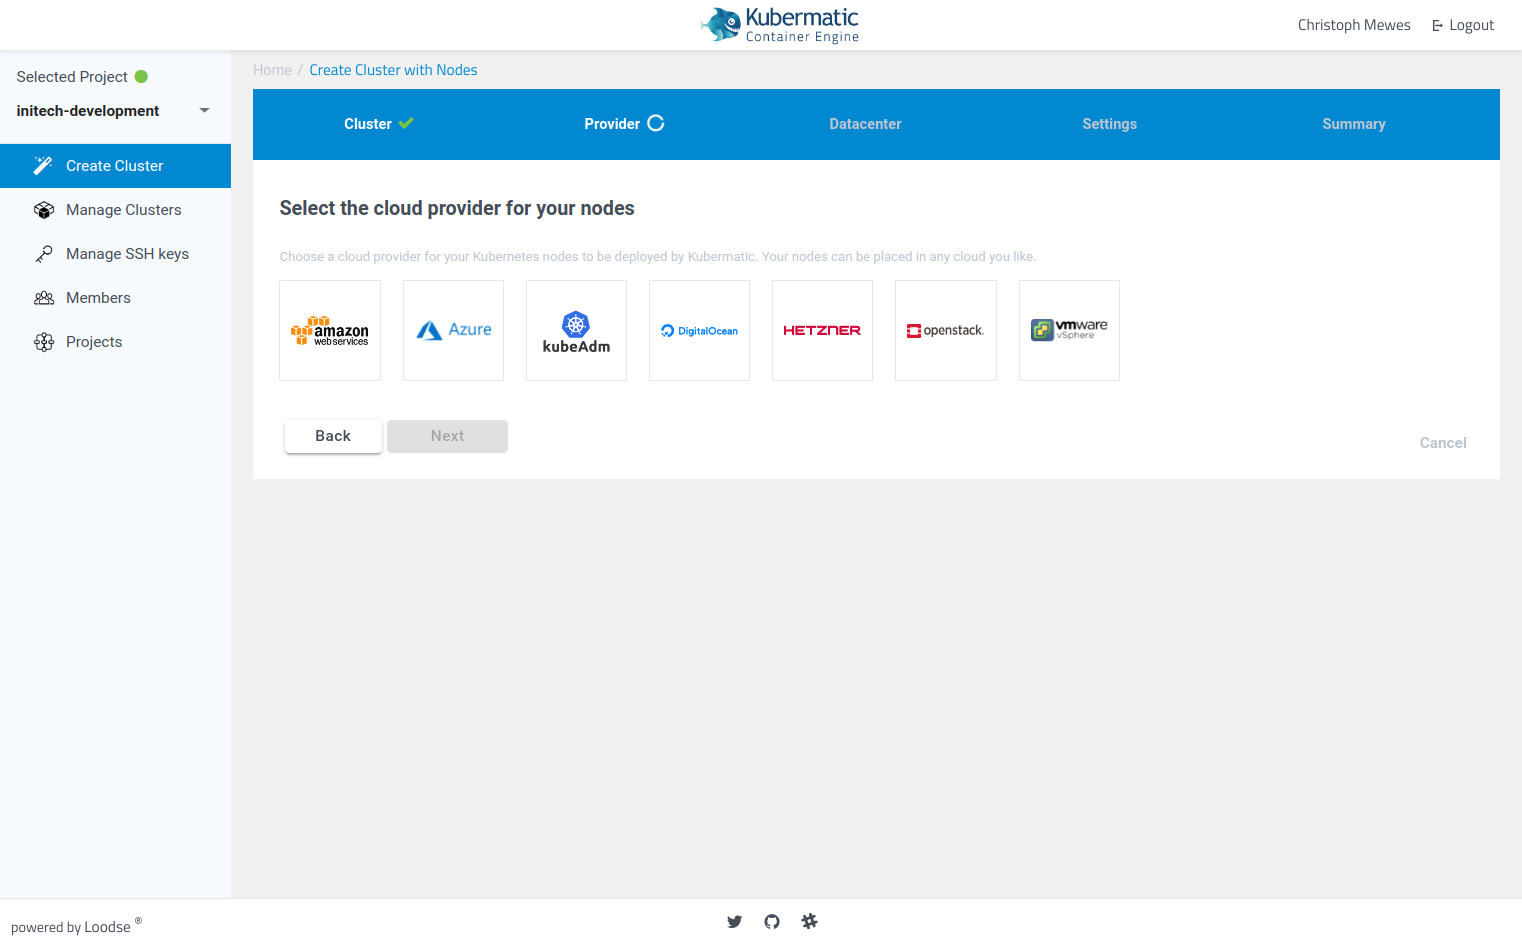
Step 3 – Choose a Cloud Provider for Your Kubernetes Nodes
Choose a cloud provider for your Kubernetes nodes to be deployed by KKP. Your nodes can be placed in any cloud you like.
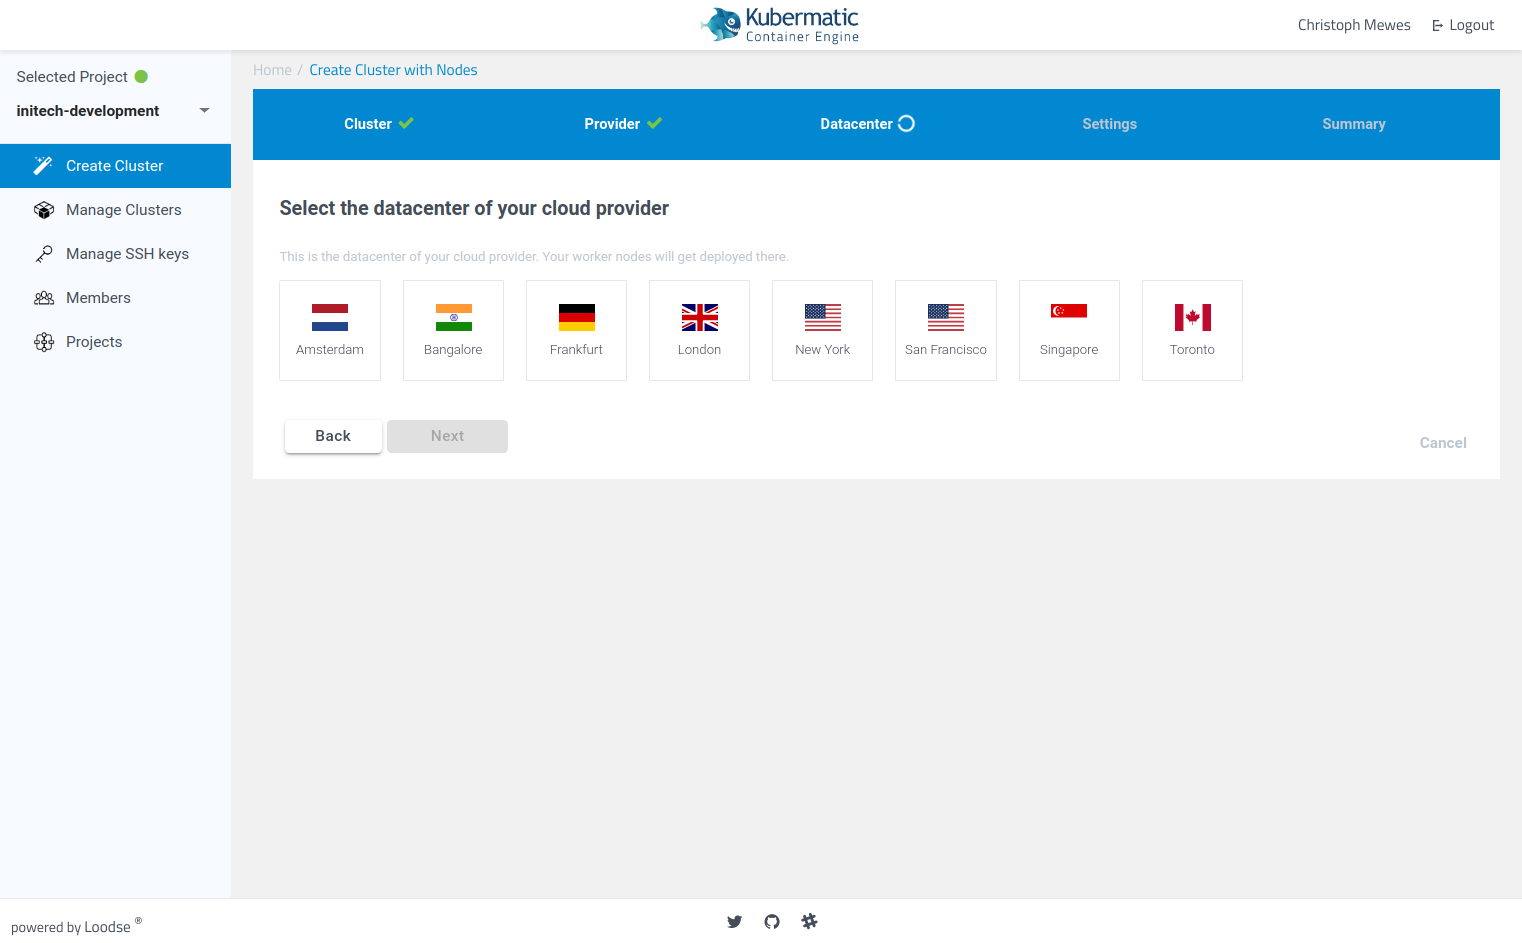
Step 4 – Select the Datacenter of Your Cloud Provider
This is the datacenter of your cloud provider. Your worker nodes will get deployed there.
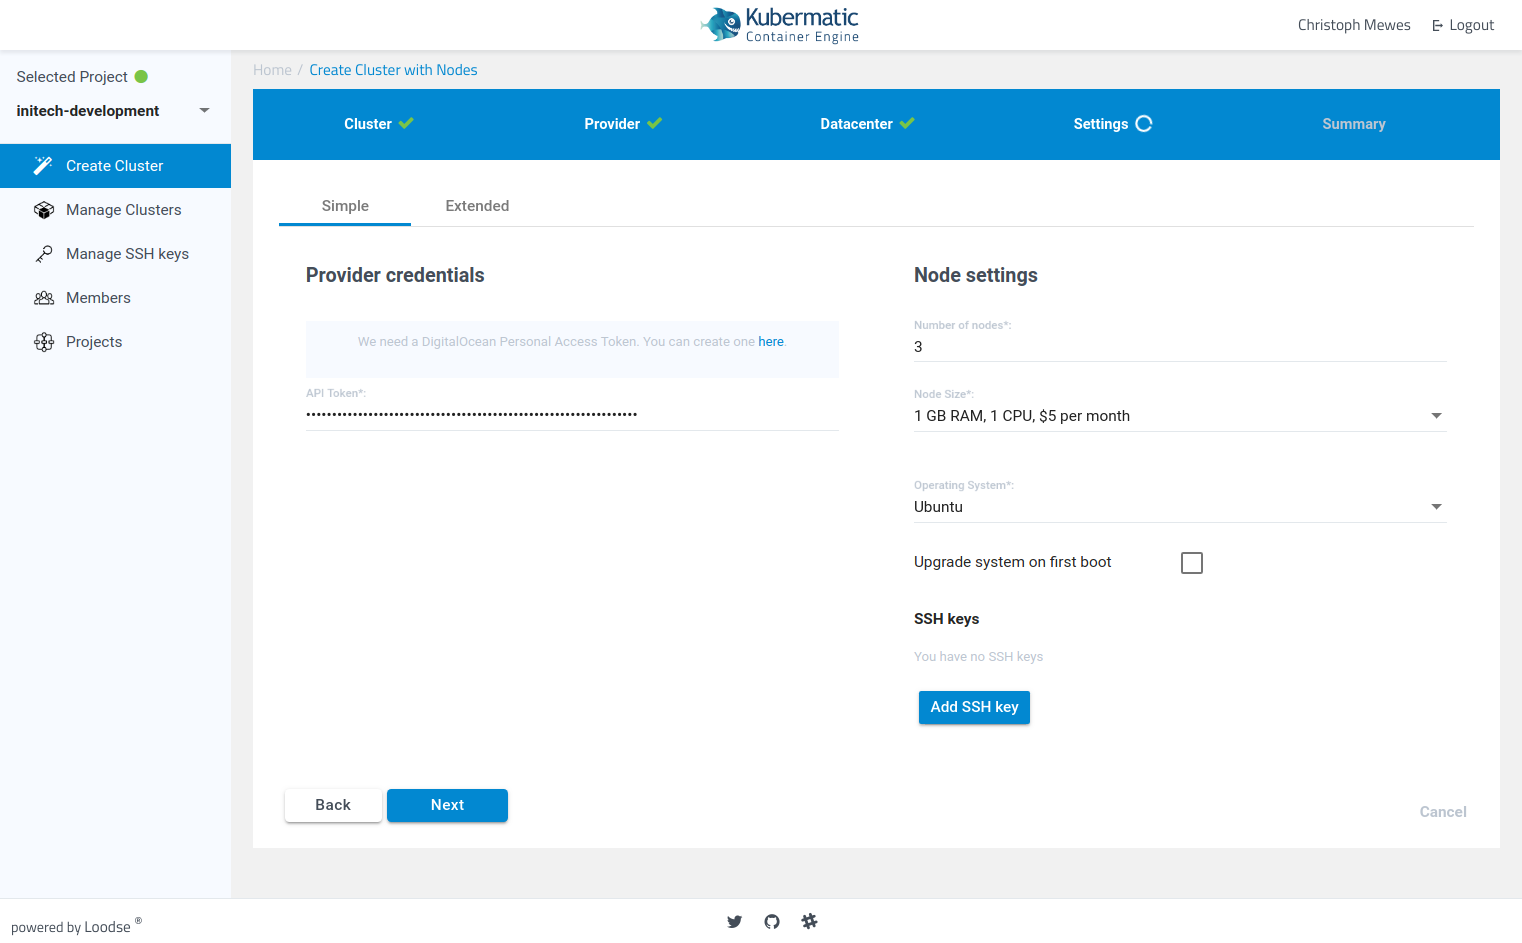
Step 5 – Enter Your Provider Credentials and Configure Your Worker Nodes
Enter your provider specific credentials so that KKP can configure your worker machines and integrate them into your cluster.
This step varies depending on the selected provider! You will be asked for different provider credentials when choosing AWS or Google for example
Step 6 – Review Your Configuration Settings and Confirm Cluster Creation
Check whether all your configuration settings are correct and create your cluster!
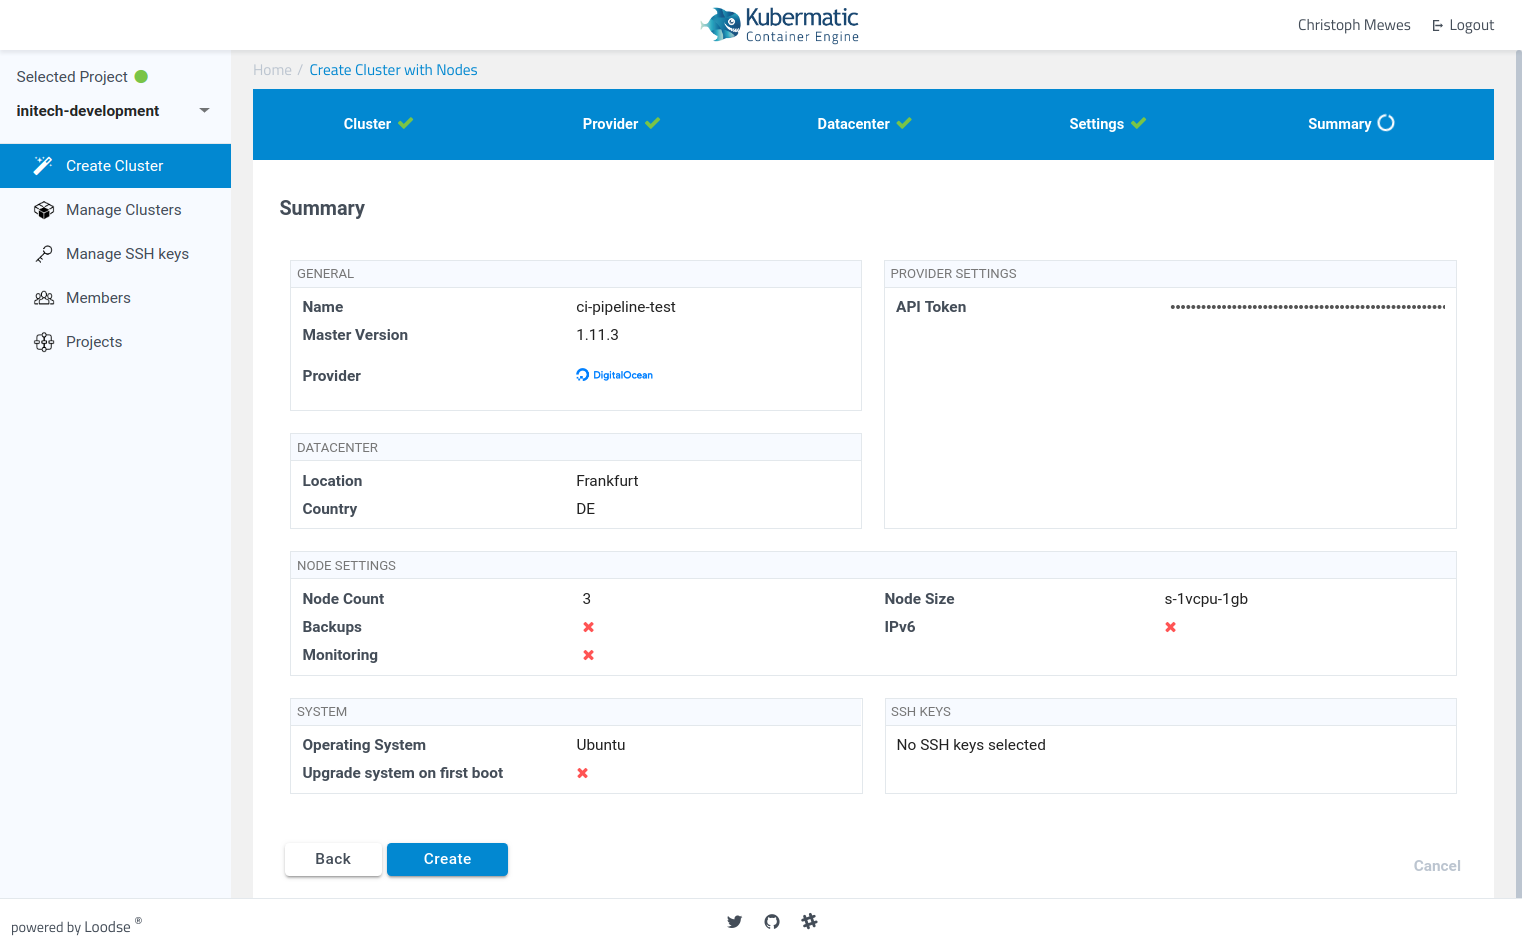
Please note that depending on the capacities in the seed cluster and the chosen cloud provider, cluster creation can take up to a few minutes until your nodes are ready.