Due to security considerations it will not be possible to read provider configuration after creation from the Dashboard. It will only be possible to use and override it.
Presets give administrators the ability to predefine a set of provider information that can subsequently be used to speed up the cluster creation process. Be aware that a single Preset can contain information about multiple providers.
As an example let’s see what kind of information can be set for the AWS provider.
aws:
  accessKeyID: '<accessKeyID>'
  secretAccessKey: '<secretAccessKey>'
  vpcID: '<vpcID>' // optional
  routeTableID: '<routeTableID>' // optional
  instanceProfileName: '<profileName>' // optional
  securityGroupID: '<securityGroupID>' // optional
  roleARN: '<roleARN>' // optional
Managing Presets via the Dashboard
Thankfully, all this can be managed through the Admin Panel in the Kubermatic Dashboard. We’ll shortly describe all the important features and how to use the preset management.
Checking Configured Presets
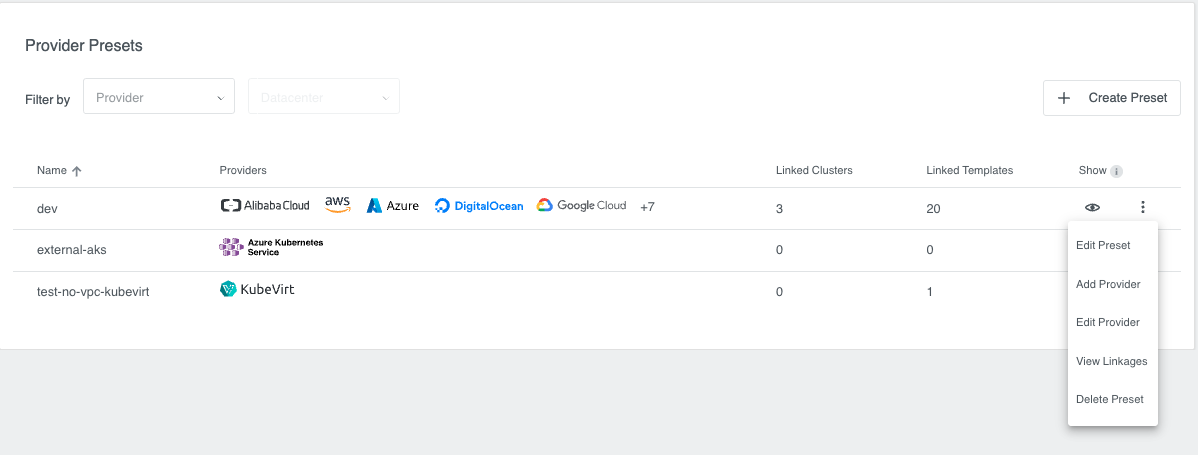
Preset list offers multiple options that allow Administrators to manage Presets.
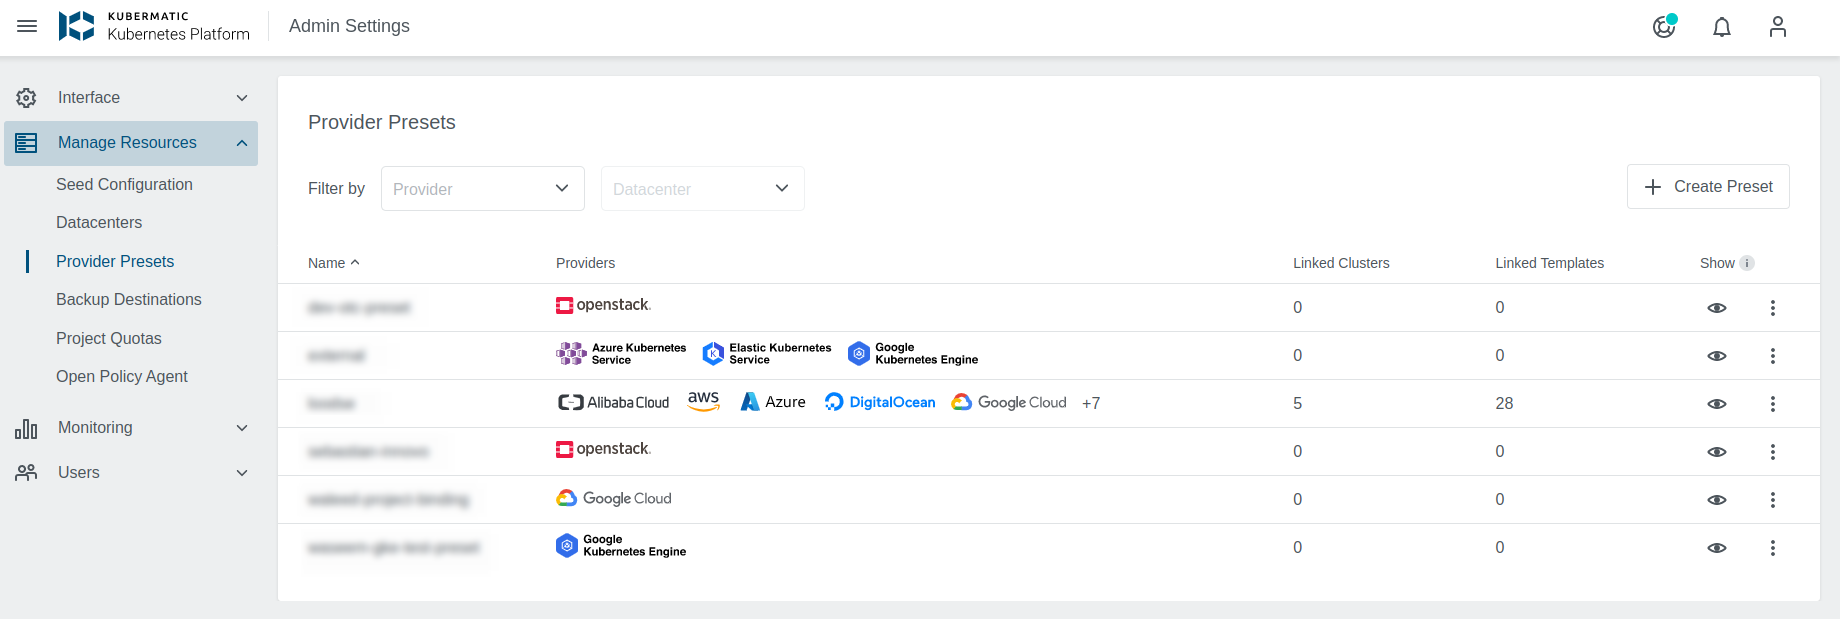
- Create a new Preset
- Manage existing Preset
- Edit Preset (allows showing/hiding specific providers)
- Add a new provider to the Preset
- Edit configure provider
- Show/Hide the Preset. Allows hiding Presets from the users and block new cluster creation based on them.
- A list of providers configured for the Preset.
Creating a Preset
Open the Create Preset dialog through the button available on the Preset list.

Step 1: Preset

Nameis a required parameter and will be used in the wizard to select the provider.Domainis an optional parameter that allows to limit Preset availability only to the specific users with email matching this domain.Projectsis an optional list of projects that allows to limit Preset availability to the specific projects.Hide upon creationallows to hide the preset after creation. The Preset can later be updated to be visible to users.
Email domain and project limitations “stack”, which means that setting both fields will limit a Preset to be used by users with the correct email domain but only within projects for which the Preset is allowed.
Note that project limitations can only be edited from kubectl after creating a Preset.
Step 2: Provider
All configured providers will be available on this step and only a single provider can be selected.

Step 3: Settings
The Settings step will vary depending on the provider selected in the previous step. In our example, we have selected an AWS provider.

There are provider specific fields available here. Some of them will be mandatory as they are needed for the cluster creation.

The Restrict to Datacenter field is available for all providers. It allows administrators to
restrict using the Preset to a single datacenter. Datacenter names can be found i.e. on the Dynamic Datacenters list.
Make sure to use actual datacenter names and not the display names that are used i.e. in the wizard while creating the clusters.

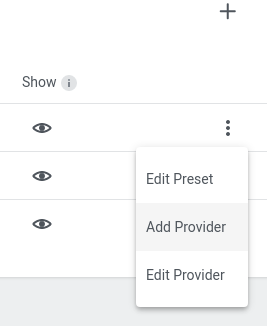
Adding a Provider to the Preset
Open Add Provider option through dotted menu on the Preset list entry. Note that it will only be available if not all
available providers were configured for the Preset.
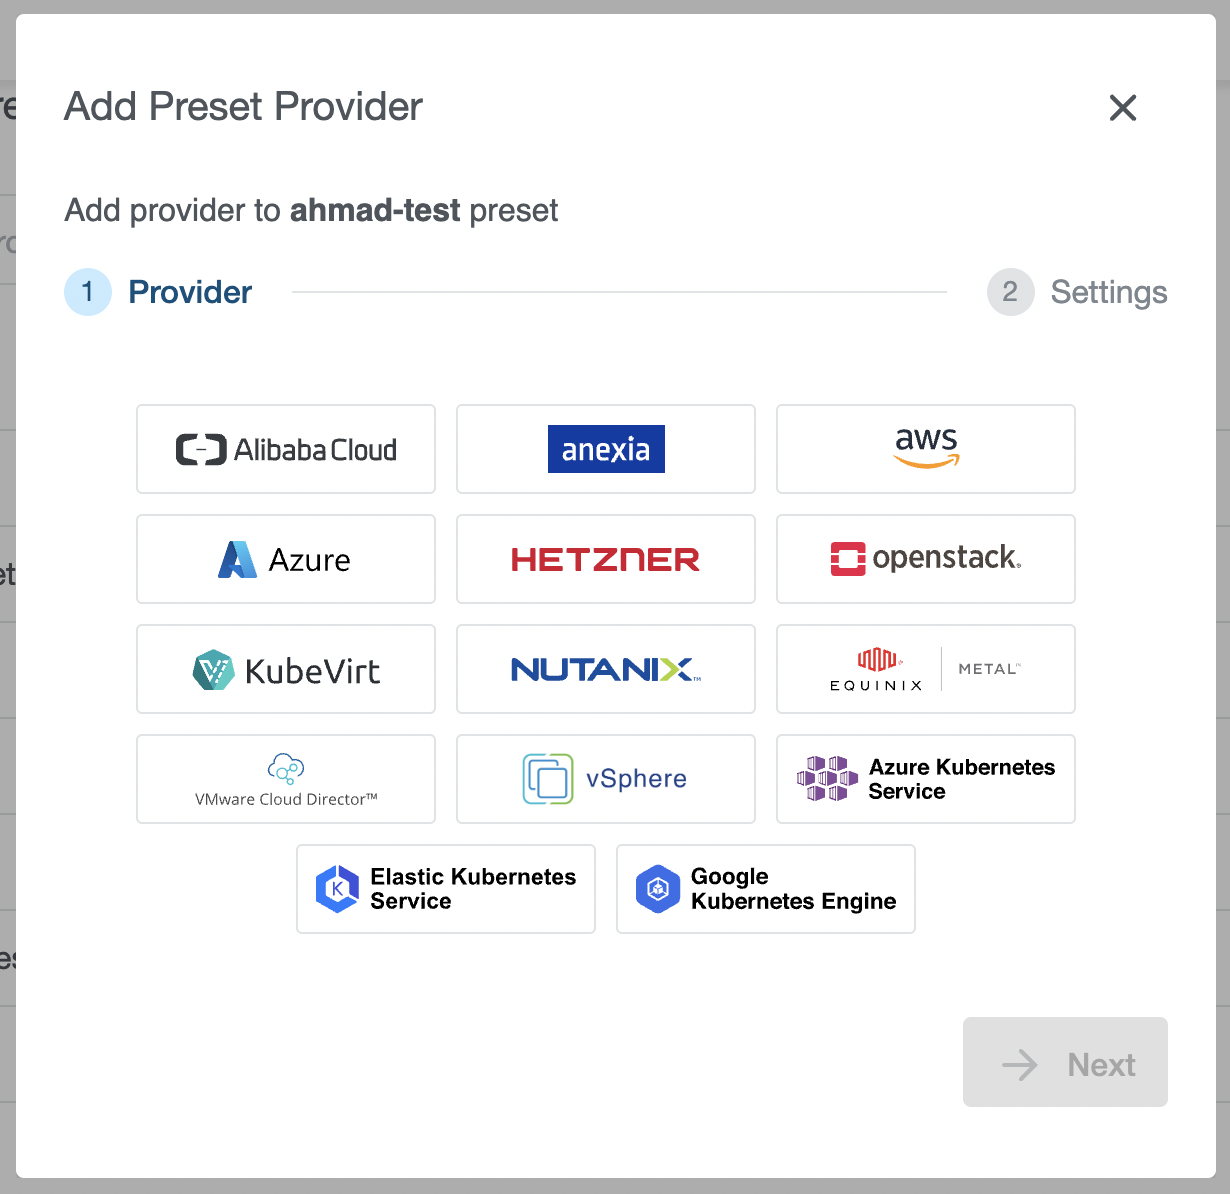
Step 1: Provider
Select a provider you would like to add to the Preset. In our example, we have selected an AWS provider. Note that every provider can be configured only once for the Preset and only providers that are not already configured will appear on the list.
Step 2: Settings
Provider specific fields will be available to fill out, same as during the Preset creation process.

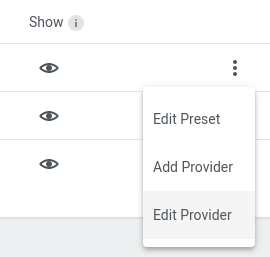
Editing a Provider Preset
Updating a Provider Preset does not update credentials used by clusters already created from said Preset.
Open Edit Provider option through dotted menu on the Preset list entry.
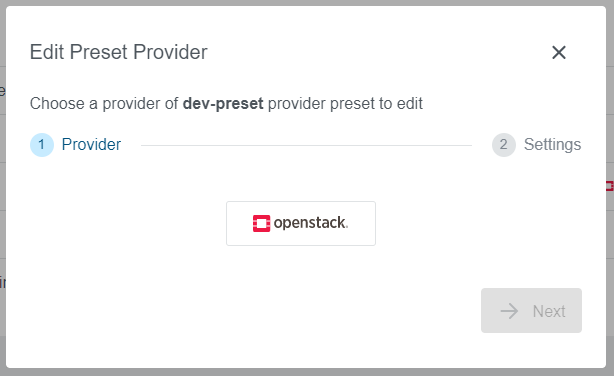
Step 1: Provider
Select a provider you would like to add to the Preset. In our example, we have selected an Openstack provider. Note that every only already configured providers are available on the list.
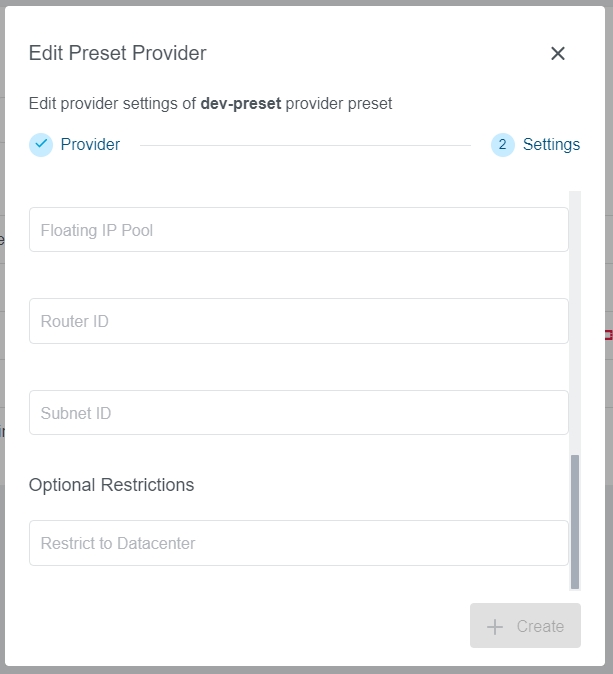
Step 2: Settings
Provider specific fields will be available to fill out, same as during the Preset creation process.
Deleting a Preset
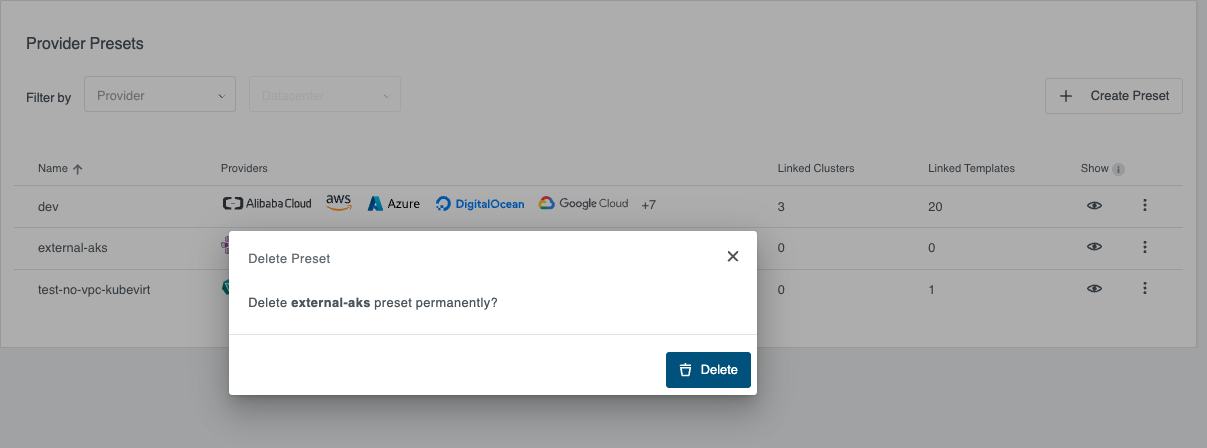
To delete a preset, select the dotted menu on the Preset list entry and choose the Delete Preset option.
Deleting a preset is permanent and will remove the entire preset and any associated provider configurations.
The system displays a confirmation message that differs depending on whether the preset is associated with any resources:
For presets with no associations
- Simple confirmation message asking if you want to delete the preset permanently and has no associations with existing preset.
For presets with associations
Displays a warning showing the number of associated clusters and cluster templates.
Before deleting this preset, use View Linkages to check which clusters and templates are using it.

Deleting a preset is a permanent action that only administrators can perform.
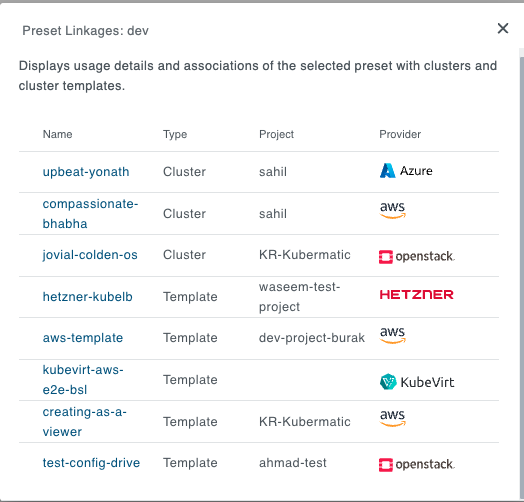
Viewing Preset Linkages
To view which clusters and cluster templates are using a preset, select View Linkages from the dotted menu.
The linkages view dialog displays associated clusters and templates, providing direct links for easy navigation. This option is only available when the preset has associated resources.
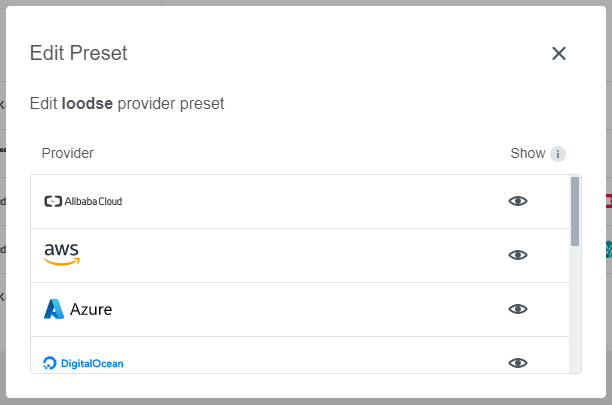
Showing/Hiding Providers Inside the Preset
Open Edit Preset option through dotted menu on the Preset list entry.
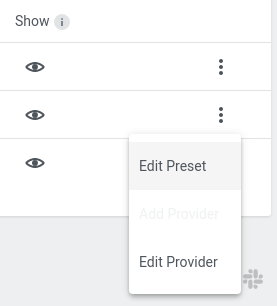
This dialog allows managing the Preset status on a per-provider basis. In case only a specific provider should be hidden/shown instead of hiding the whole Preset it can be managed here.
Managing Presets via kubectl
While the Kubermatic Dashboard offers easy options to manage Presets, it is also possible to use kubectl
on the Master Cluster to manage them. This can be useful for automation (e.g. GitOps workflows).
Since Presets can contain sensitive information, ensure that access to Preset resources is limited to KKP administrators.
Credentials with RBAC access to them (e.g. by binding the cluster-admin ClusterRole) must not be provided to end users.
Presets are stored in the Preset Custom Resource. Check out the full
CRD reference for details on all available fields.
Checking Configured Presets
As Presets are Kubernetes API resources created by KKP CRDs, they can be interacted with via kubectl standard
operations, e.g. to list available Presets:
kubectl get presets
#NAME                     AGE
#my-preset                26h
#my-second-preset         21h
Configuration for specific presets can be viewed by providing the -o yaml flag:
kubectl get preset my-preset -o yaml
Output will look similar to the YAML provided below. This contains sensitive data (cloud provider credentials), so be mindful of exposing the output of this command to others.
apiVersion: kubermatic.k8c.io/v1
kind: Preset
metadata:
  name: my-preset
  # [...]
spec:
  digitalocean:
    token: do-token
  hetzner:
    token: hetzner-token
  enabled: true
  requiredEmails:
  - kubermatic.com
  projects:
  - abm95xj85g
The example Preset above configures DigitalOcean and Hetzner as providers, is active (enabled), requires users to
have an email address with @kubermatic.com and can only be used in a project with the ID abm95xj85g.
It is important to note that this is the project ID and not the “human-readable” name.
Creating a Preset
Presets can also be created via kubectl. As with any other Kubernetes resource, you will need to draft a YAML file
for it and then create/apply it. The YAML example above can be reused to start creating a Preset resource. For respective
fields for each provider, check out the PresetSpec CRD reference.
Each provider implementation has different fields, but the Preset specification itself supports a few keys
that have already been mentioned above:
spec.enabled: whether the Preset is shown to users in the Kubermatic Dashboard.spec.requiredEmails: A list of user email domains that this Preset is restricted to.spec.projects: A list of projects that this Preset is restricted to.
Each provider section, apart from provider-specific fields, also offers the following two keys:
spec.<provider>.enabled: whether the specific provider in this Preset is shown to users in the Kubermatic Dashboard.spec.<provider>.datacenter: restricts this provider to a specific datacenter.
After finishing the YAML file, apply it:
kubectl apply -f ./preset.yaml
Editing a Preset
As with other Kubernetes API resources, already created Presets can be edited with kubectl.
kubectl edit preset my-preset
This will open the editor configured for kubectl edit and let you update the YAML specification.
It is possible to update any fields already present or add/remove provider sections from the Preset.
Limiting Permissions for Credentials used in Presets
For selected infrastructure providers it makes sense to limit the permissions of the credentials to protect against access creep.
For AWS no root is required and we recommend the following IAM policy:
{
  "Version": "2012-10-17",
  "Statement": [
    {
      "Effect": "Allow",
      "Action": [
        "iam:AddRoleToInstanceProfile",
        "iam:CreateInstanceProfile",
        "iam:DeleteInstanceProfile",
        "iam:GetInstanceProfile",
        "iam:RemoveRoleFromInstanceProfile",
        "iam:TagInstanceProfile"
      ],
      "Resource": "arn:aws:iam::YOUR_ACCOUNT_ID:instance-profile/*"
    },
    {
      "Effect": "Allow",
      "Action": [
        "iam:CreateRole",
        "iam:DeleteRole",
        "iam:DeleteRolePolicy",
        "iam:DetachRolePolicy",
        "iam:GetRole",
        "iam:ListAttachedRolePolicies",
        "iam:ListRolePolicies",
        "iam:PassRole",
        "iam:PutRolePolicy",
        "iam:TagRole"
      ],
      "Resource": "arn:aws:iam::YOUR_ACCOUNT_ID:role/*"
    },
    {
      "Effect": "Allow",
      "Action": [
        "ec2:AuthorizeSecurityGroupIngress",
        "ec2:CancelSpotInstanceRequests",
        "ec2:CreateSecurityGroup",
        "ec2:CreateTags",
        "ec2:DeleteSecurityGroup",
        "ec2:DeleteTags",
        "ec2:DescribeAvailabilityZones",
        "ec2:DescribeImages",
        "ec2:DescribeInstanceTypeOfferings",
        "ec2:DescribeInstanceTypes",
        "ec2:DescribeInstances",
        "ec2:DescribeRegions",
        "ec2:DescribeRouteTables",
        "ec2:DescribeSecurityGroups",
        "ec2:DescribeSubnets",
        "ec2:DescribeVpcAttribute",
        "ec2:DescribeVpcs",
        "ec2:RunInstances",
        "ec2:TerminateInstances"
      ],
      "Resource": "*"
    }
  ]
}
YOUR_ACCOUNT_ID is the account ID on AWS https://docs.aws.amazon.com/IAM/latest/UserGuide/console_account-alias.html
Customizable Presets
Customizable presets are a type of presets that have the credentials obscured but allow the users to select other non-sensitive fields during the cluster creation process.
Customizable presets are only supported for OpenStack.
As an example, for OpenStack you can have a preset in which the credentials are constant but during cluster creation the user can select the network, subnetwork and security group.
To enable customizable presets you will need to set isCustomizable: true in the preset.

Cluster creation with customizable presets
When creating a cluster using a customizable preset, the user will be presented with a list of customizable fields.
